Pick Your Perfect Ben Moore Paint Color Online

Pick Your Perfect Ben Moore Paint Color Online!

Pick Your Perfect Ben Moore Paint Color Online
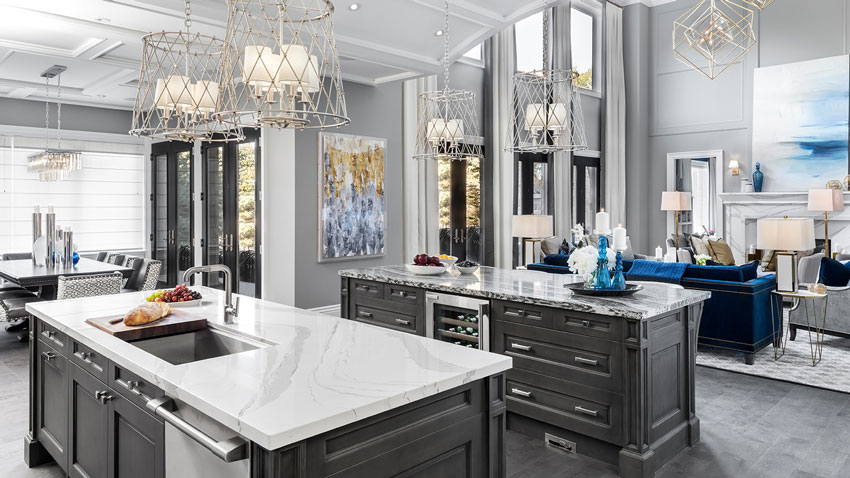
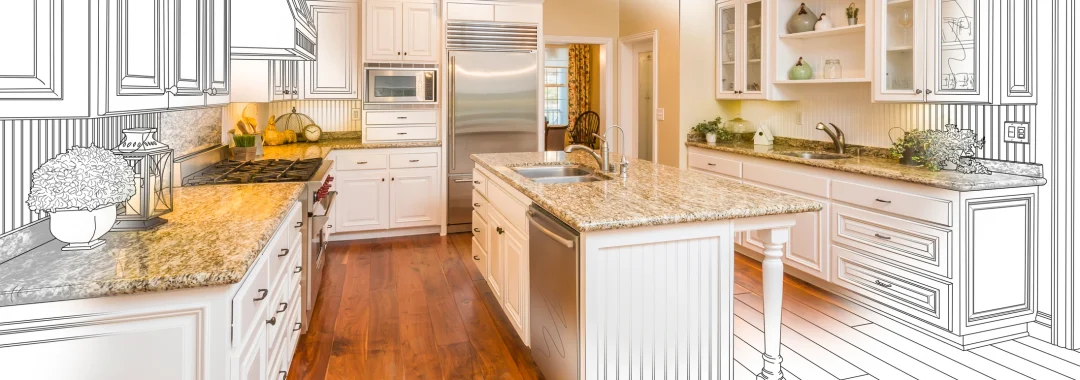
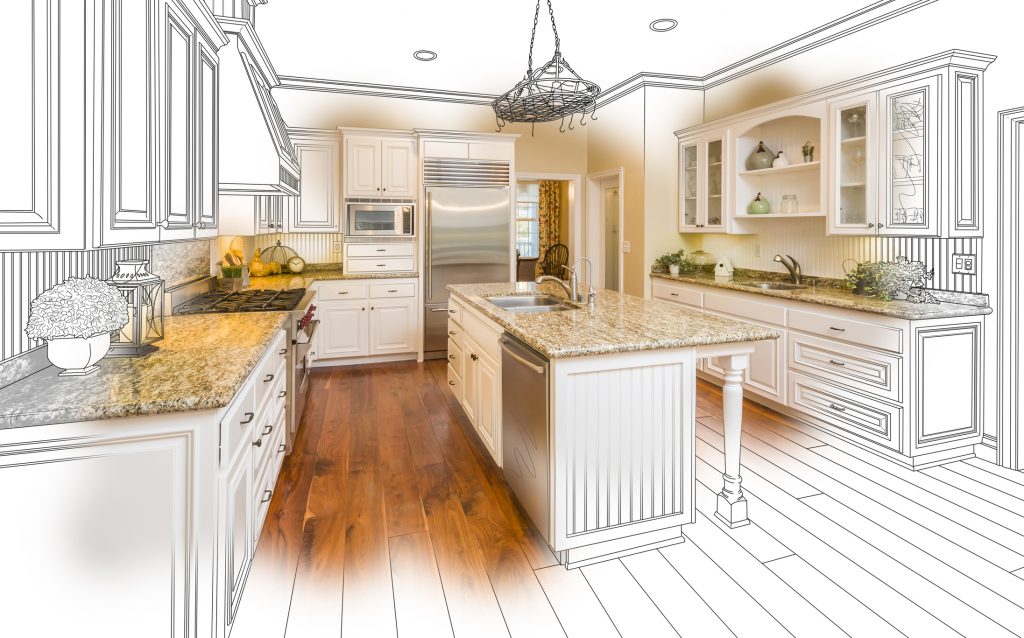
If you’re looking for the perfect indoor project to get the whole family involved, considering putting a fresh coat of beautiful paint on your interior walls! Whether it’s the kitchen, bedroom, hallway, living room, bathroom or den, a gorgeous splash of color will completely reinvent the same boring old space. And the best part is, you can choose the perfect Benjamin Moore paint color online! With Ben Moore’s suite of Paint Color Picking Tools, you can match any mood, style or whimsical idea to create the palette your family will love.

Find a great color to match any room, upload photos of your actual space and test any Ben Moore color on the walls, or search popular and trendy palettes — all with the click of a button!

Get your painting project started!

Here’s the list of tools to help you pick your perfect Ben Moore paint color online:

Personal Color Viewer:

Personal Color Viewer

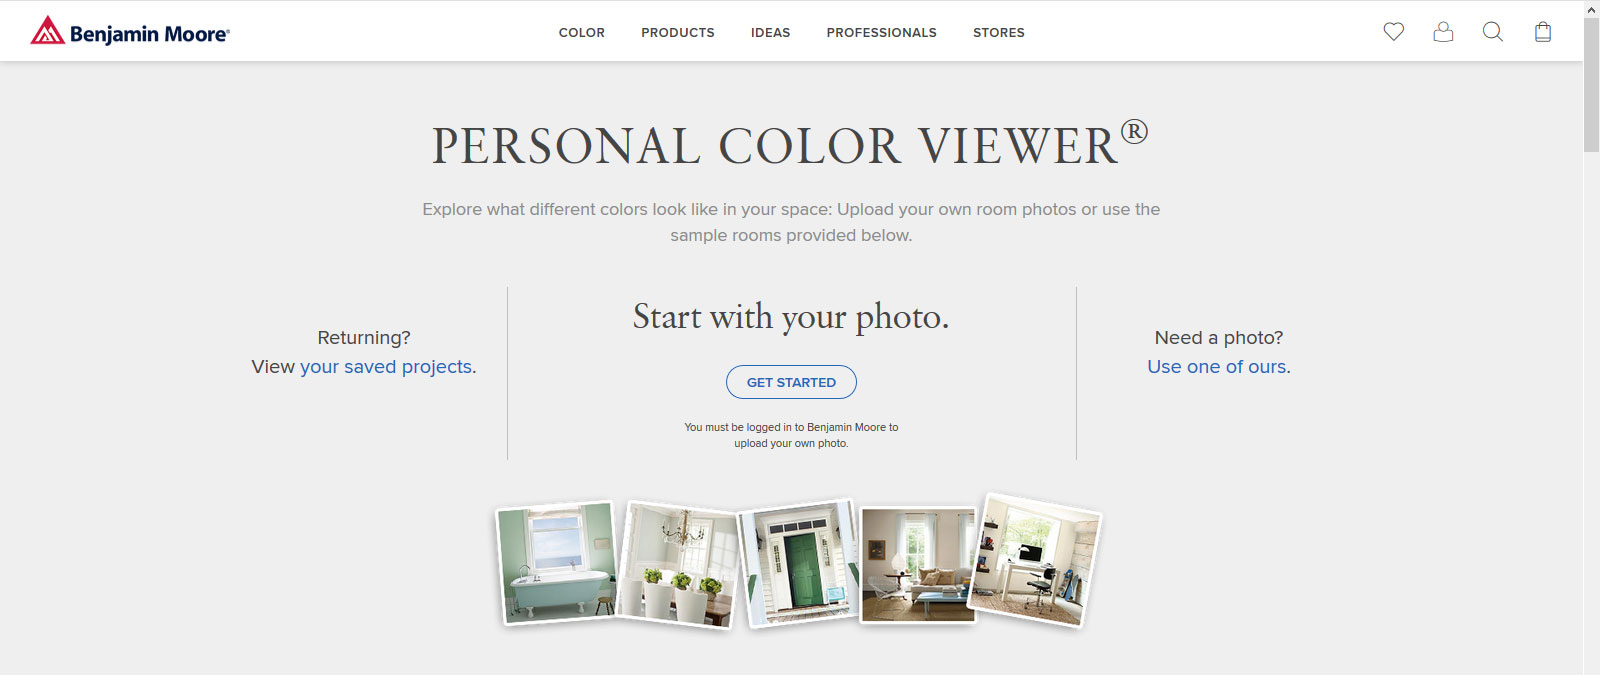
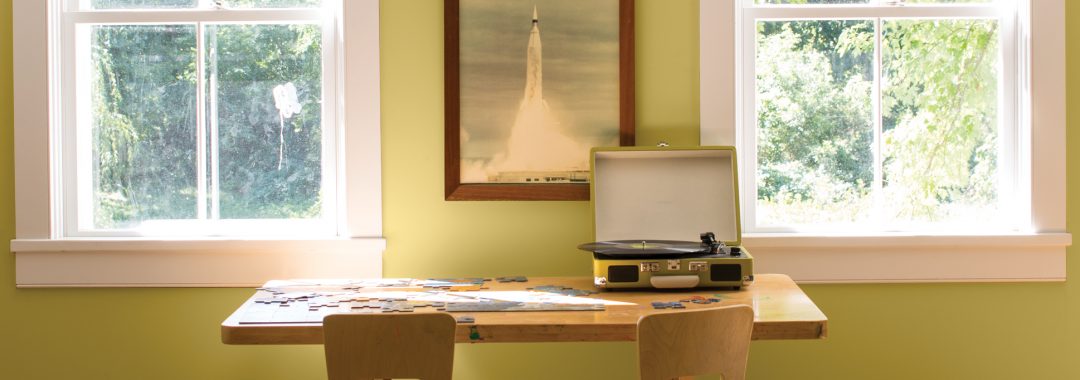
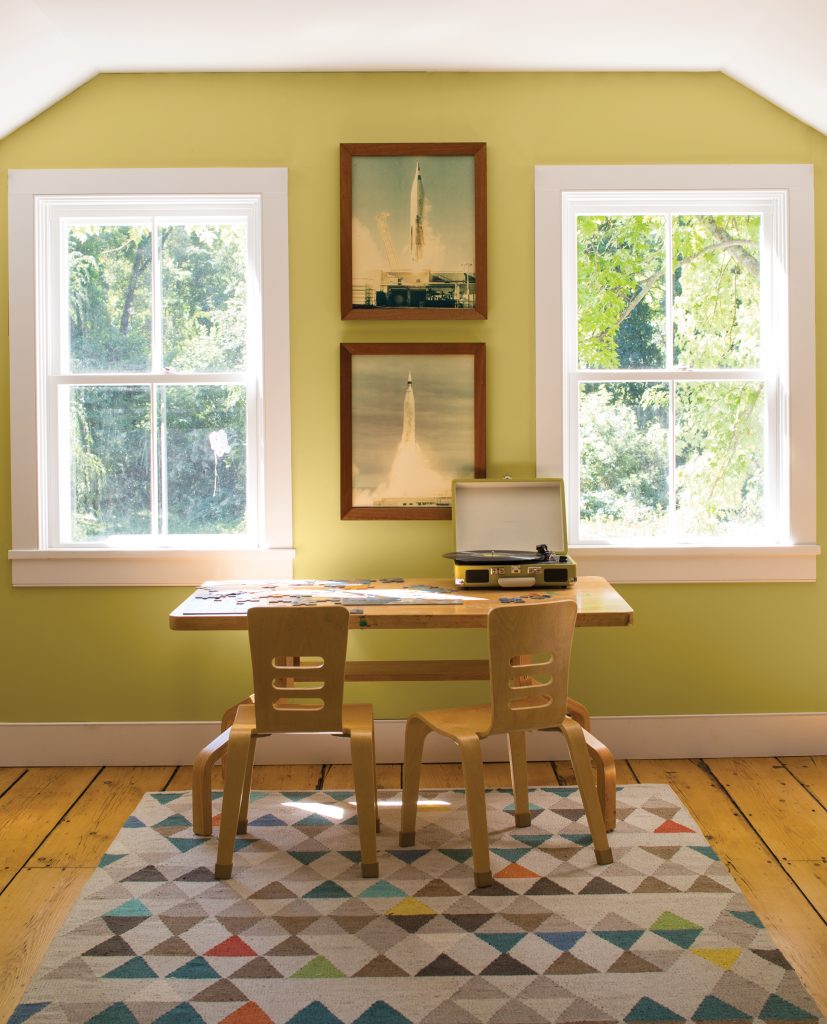
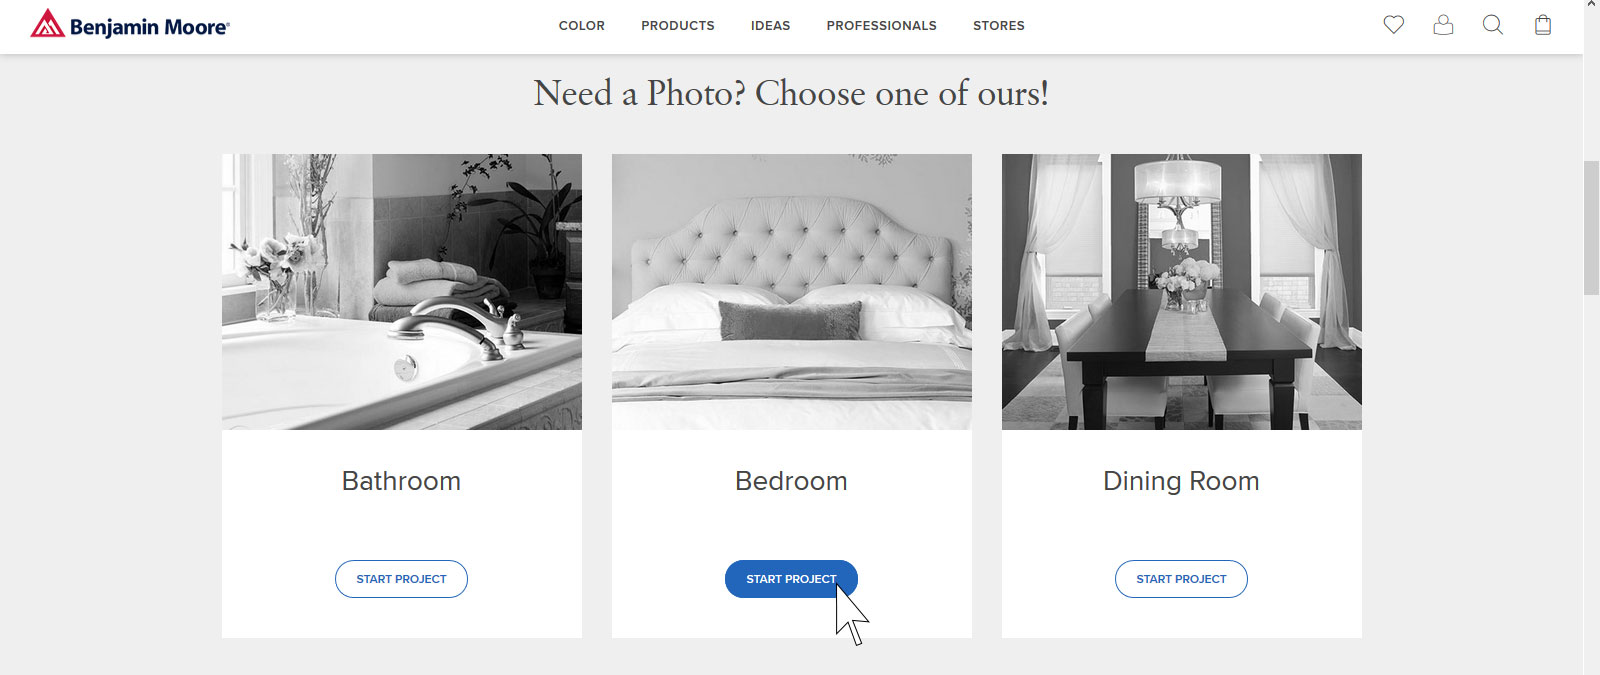
If you create a Ben Moore account, you can upload your own photo and then visualize any color combination you want! In a rush or don’t want to register for an account? No problem! Choose one of their photos to get the process started quickly and effortlessly:

Choose a Ben Moore Photo


Color by Family:

Choose a Color Family

If you have a general sense of the color you want to choose, exploring “color families” is a great way to find darker or lighter hues, more or less saturated hues, and a host of options in between!

After choosing a family of colors (in this case, vibrant oranges and orange-yellows), you can then select the exact Benjamin Color and view that color in the room of your choice:
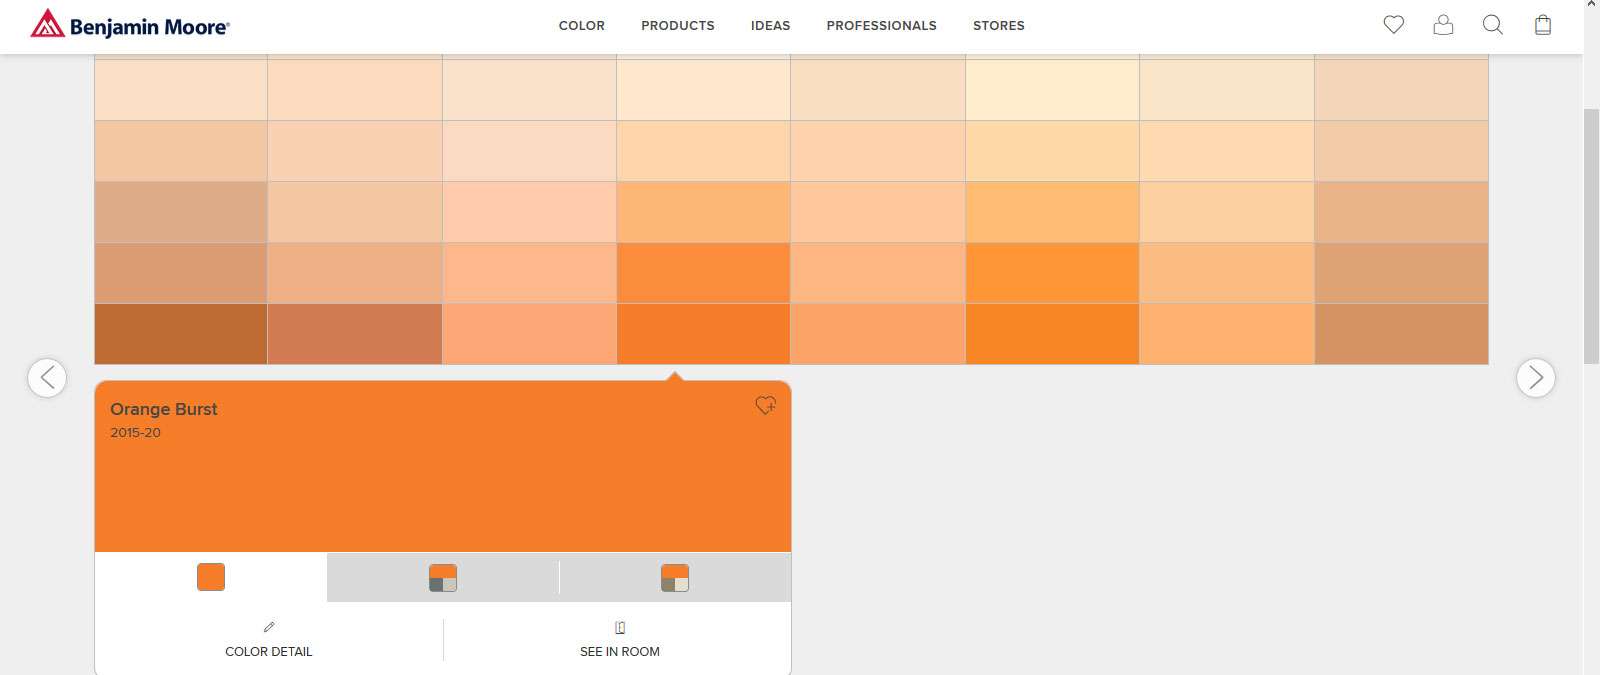
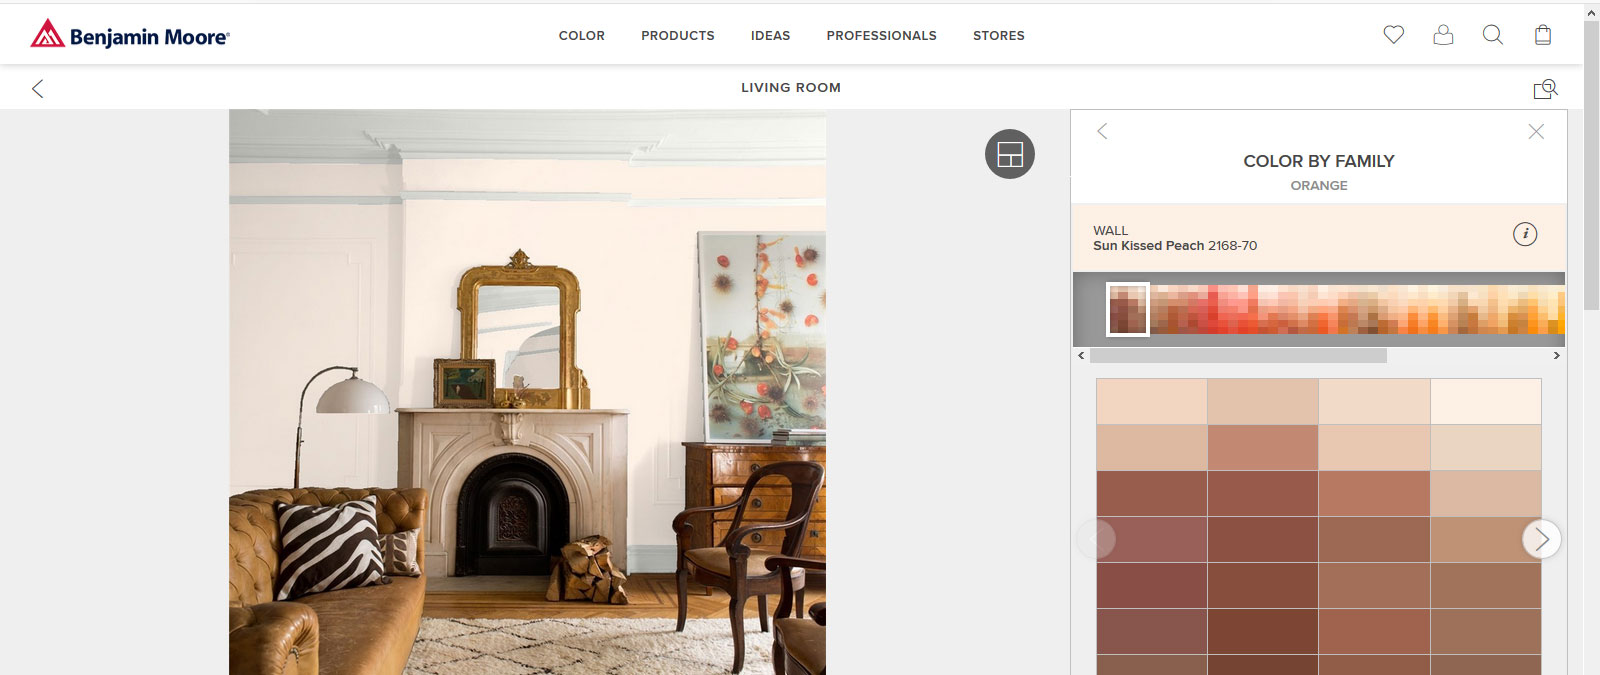
Choose a Color Family - Detail


Color a Room:

Color a Room

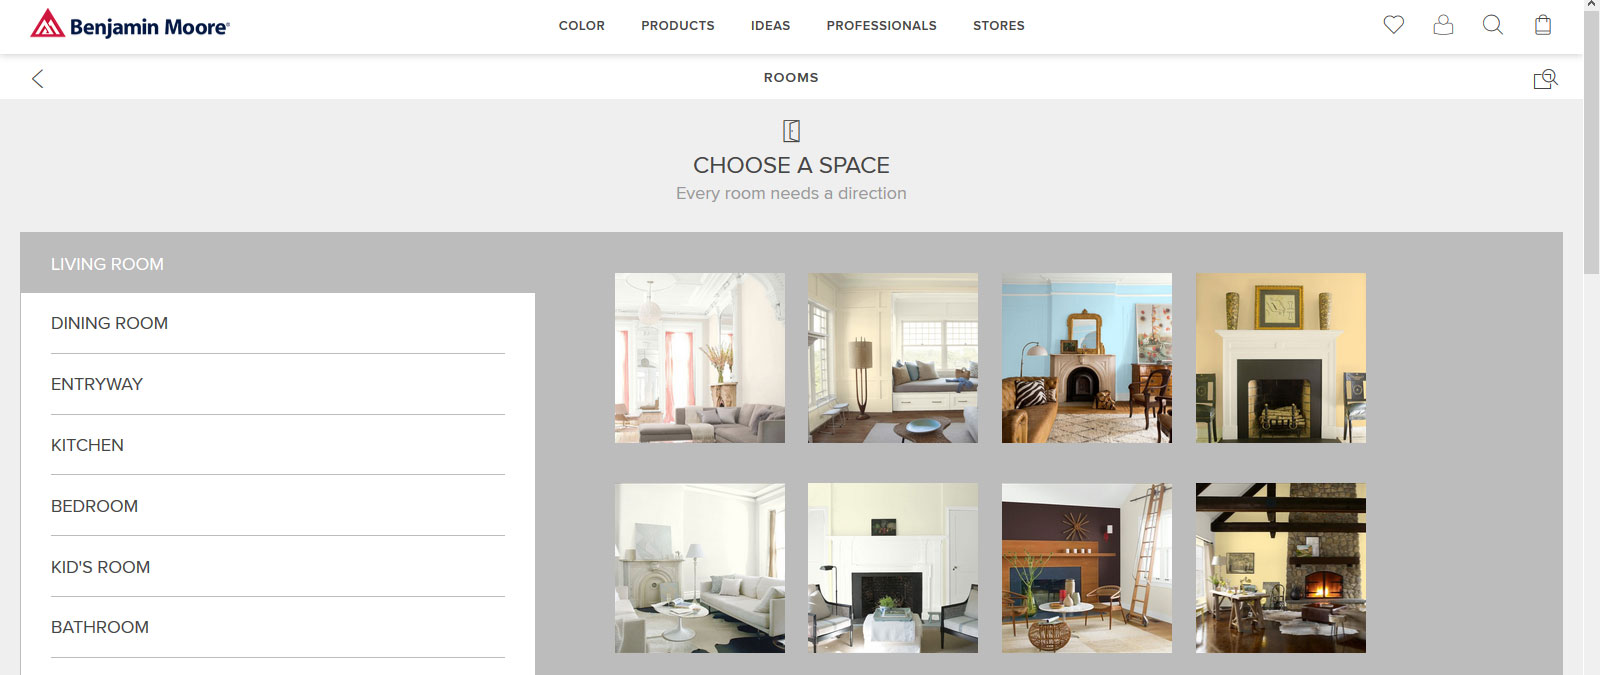
The Color a Room tool allow your to choose from a list of interior rooms like living room, dining room and entryway, and then select any Benjamin Moore color (or color combinations) to preview the finished look! Here’s an example of a living room in a warm beige hue:

Color a Room in Beige

Other tools to try online:

  • Color Collections: explore popular Benjamin Moore colors, such as Classics, Historical Colors, Americas Colors, Off-White Collection and more!
  • Search All Colors: looking for not just any red but just the right cinnamon and rose petal red? The search all colors tool is just right for you. Type in any color and see every option from Benjamin moore.

Get Your Interior Painting Project Done!

Painting the rooms of your home can have tremendous impact, and it’s a great family project with a modest price tag. Strive for a balance of linear elements and colors, and don’t be afraid to ask the experts at GNH Lumber for guidance and tips along the way. Get your painting project started!

Sources: https://www.benjaminmoore.com/en-us/color-overview/find-your-color

custom-kitchen-design

Brighten Up Your Kitchen in 3 Easy Steps

custom-kitchen-designKitchens are often central to a home, both in terms of their physical location and with regards to their importance. It’s where we prepare our morning coffee, make the kids’ packed lunches, bake birthday cakes, and gather when hosting holiday dinners. So, why tolerate a dark and gloomy kitchen?

Instead of letting your dull, outdated kitchen get you down, give yourself the bright, new kitchen you really want to spend time in.

There are many tips and tricks to making your kitchen brighter, including these 3 budget-friendly kitchen improvement steps.

1. Fresh Paint

painting-kitchen
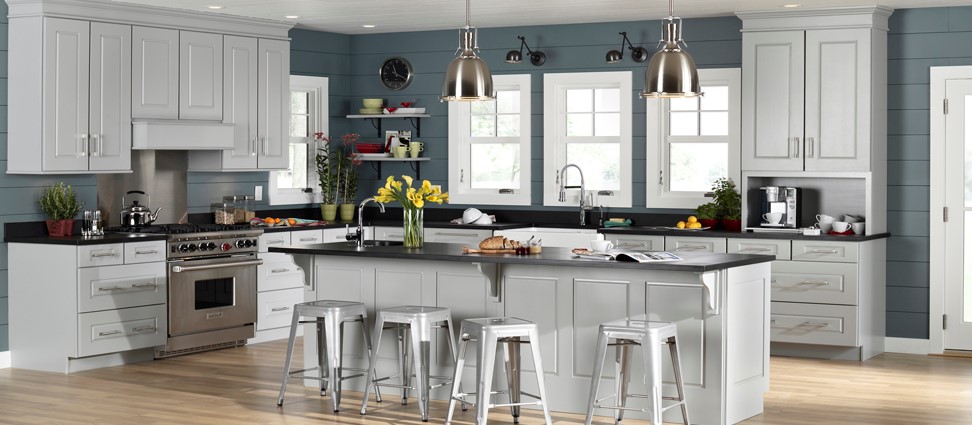
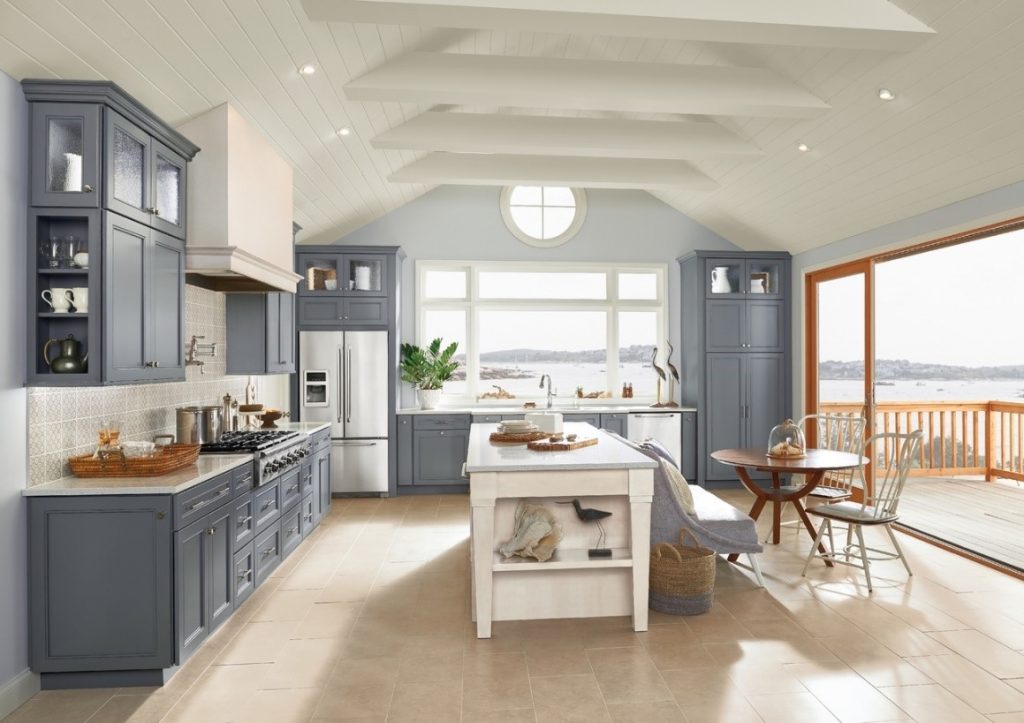
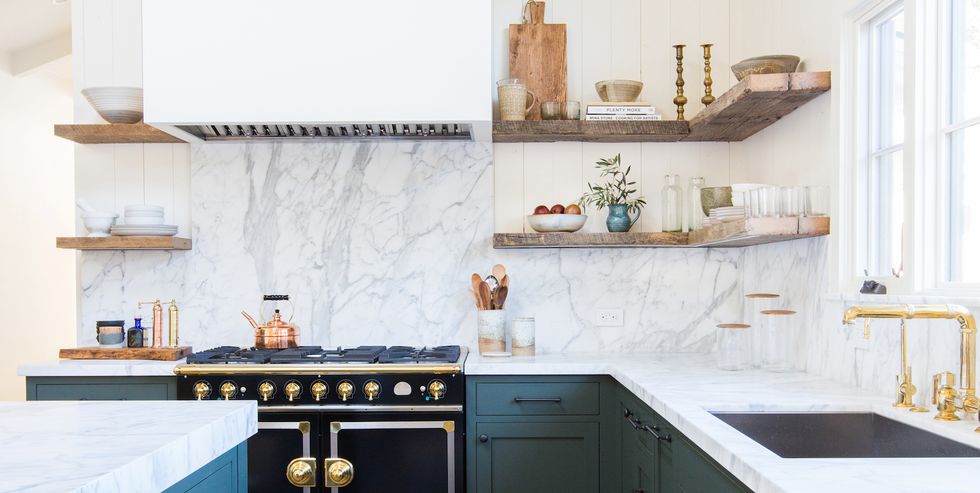
There are several kitchen elements that can be brightened up with a fresh coat of paint, including:

  • The Ceiling
    If the room’s ceiling is painted a dark color, or has dark wooden beams, it’s probably casting a pall over the entire room. Buy a can or two of white paint and give the ceiling a fresh coat! The bright white will reflect light instead of absorbing it, and you’ll be amazed at what a difference it makes. If you don’t want to use white, try a pale yellow or even a mint color.
  • Kitchen Cabinets
    If you like the layout of your kitchen and the style of your cabinets, you can give them a facelift by applying a coat of primer, two coats of paint and a protective top coat.To do this project correctly, you’ll need to remove all the doors, remove the hardware, tape the hinges, paint the base cabinets and use a sprayer to paint and topcoat the doors outside so you don’t see brush marks. The entire project could take over a week. But, you’ll notice a tremendous difference in the final result.
  • The Walls
    While you don’t have to paint your kitchen walls white, it’s generally better to use lighter colors. Sometimes just a coat of white paint on the wall will make a huge difference in your home’s freshness, and can even make the kitchen look bigger!

kitchen-lighting

2. Update Your Lighting

You would be amazed at what a difference it will make to replace your fluorescent lights with incandescent lights.

Florescent lights cast a darker tint around the room, while incandescent lights cast a pure white light.

Updating with bright white lights and adding about 10 can lights in the room will make your kitchen much brighter. Also, don’t neglect dark corners with your lighting design, and add more ceiling lights where it’s possible.


3. Make Full Use of Natural Light

natural-kitchen-light
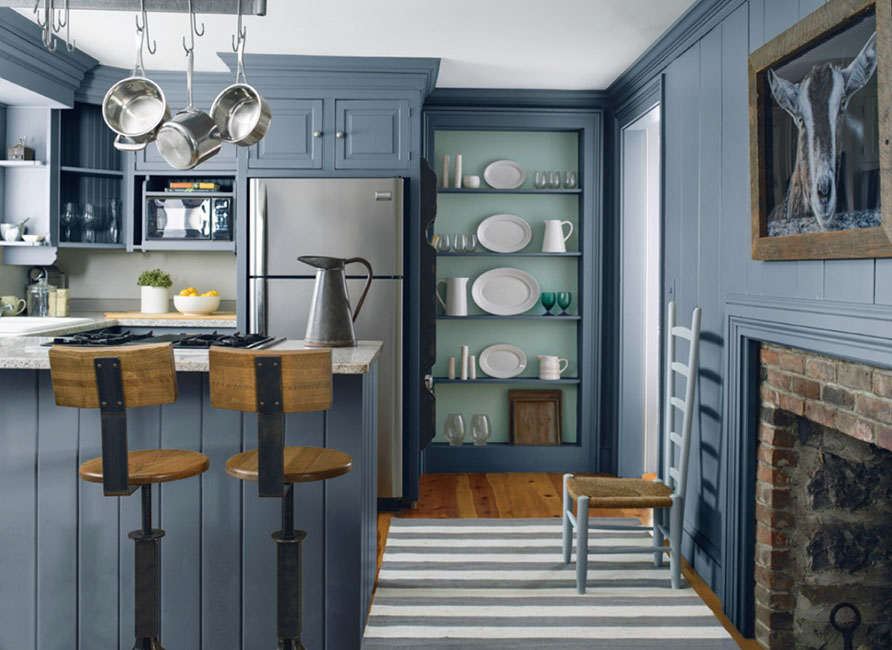
If you’re working with a dark room, chances are you don’t have a lot of natural light coming in, but it’s important to make the most of what you have.

If your windows are covered with dark shades or blinds, you’re blocking out your best chance for brightening up the room.

You can also use these tips to add more natural light to your kitchen:


  • Consider adding a skylight if you have that option
  • Choose light-colored window coverings that don’t completely block out the light.
  • If you prefer blinds, look for cloth blinds in a light fabric. Avoid wooden or plastic blinds that block out all the light.

If you’d like more advice or you have some questions about how to brighten your kitchen, stop on in one of our GNH locations to meet with a professional. It’s a proven fact that humans respond, act and feel better in a home that is bright and open. Brightening up your kitchen is a great start to feeling better and inspired!

Snow Removal Tips

Top 9 Snow Removal Tips for Your Home

Snow Removal Tips

One of the most frustrating parts of winter is the need to shovel snow. You might just want to wait until springtime and just let it all melt. However, the effort must be given.

If you’re tired of wasting time and effort on removing snow every winter, it’s time to use these 9 snow removal tips for your home to get the job done easier, more effectively, and better than ever before.

Top 9 Snow Removal Tips:


1. Use Tall Stakes Around Driveways and Walkways

In Upstate New York, we’re pretty used to the snowfall. So, when we suggest putting large stakes around your driveway and other walkways, you should use that advice. It’s helpful whether you hire a snowplow company, shovel yourself or use a snow blower. While you may think you’ll know exactly where your driveway is, it’s not as easy to locate with a couple of feet of snow.

2. Use a Good Shovel

Shoveling snow during the winter is annoying as it is. If you don’t have a quality shovel to work with, you’re just making it harder on yourself and your back. While it might be tempting to buy a cheap shovel when you’re making your decision, it’s wiser to not be a penny-pincher. Spend more money on a heavy plastic or aluminum blade shovel that will get the job done easier.

Also, be mindful that large shovels aren’t always the best. Large shovels can cause back pain and arm stiffness. If you’re looking to find a shovel for heavy snowfalls, you should buy a s-blade shovel. C-blade shovels are better for lighter snowfalls.

3. Avoid Placing Snow Near the Foundation

This is a mistake that a lot of homeowners simply don’t consider when they’re removing snow. Whether they’re removing snow from a roof, from a deck, or from the driveway, you should avoid piling snow next to the side of your house. This will only lead to issues such as frozen pipes and even potentially cause cracks in your home’s foundation.

4. Be Safe

Shoveling snow can be a grueling activity, especially as you get older. If you don’t plan to hire a snow removal service, then it’s best that you follow these safety tips.

  • Bend your knees and lift with your legs.
  • Keep the blade close to you as you lift the snow.
  • Switch between shoveling left-handed and right-handed to avoid overstraining one side of the body.
  • Periodically switch your grip between overhand and underhand.
  • When the snowfall is heavy, don’t try to clear the entire depth at once; only do half at one time.

5. Shovel Often

Whenever you’re removing snow, the reality is that it needs to be done frequently. The snow doesn’t seem to stop, but if you do you just make your job harder the next day. If you leave removing snow until the next day, the snow will start to stick to ground and might even freeze. This makes your job ten times harder.

6. Invest in a Snow Blower

If you’re just done with shoveling snow in the winter, invest in a snow blower. Snow blowers can take away a lot of the tedious parts of removing snow in the winter, but you’ll still need a shovel for your deck. While it’s a faster method of removing snow, it’s also a more expensive option as snow blowers can cost up to $500.

7. Shovel Flat Roofs

If you have a flat roof that is easily accessible, you can shovel your roof, but it’s important that you don’t damage your roof covering. Also, you should always consider your own personal safety before attempting to shovel your roof.

8. Use Roof Rakes for Sloped Roofs

It may be possible to remove snow and ice from a sloped roof using a roof rake, which is a long-handled tool that is specifically designed for this reason.

9. Consider the Impact of Ice Melt

There are a bunch of different options you can use to eliminate a slippery driveway and even a walkway such as salt (sodium chloride), calcium chloride, calcium magnesium acetate, and urea. Learning about the potential consequences of using each form of ice melt is important because these items can end up damaging plants, damaging flooring in your house, or harm your pets.

Snow Shovel


Snow storms and colder temperatures always seem to be on the horizon, but being prepared and following the guidelines above will make snow removal easier so that you can protect and preserve your home.

Stock up on everything you need to battle the winter weather at at GNH Lumber!

How to Prep Your Deck for Stain - Newly Stained Deck

How to Choose the Right Deck Cleaning Product

How to Prep Your Deck for Stain - Newly Stained Deck

If your wooden deck is faded, grey or stained, a bit of washing with the proper deck cleaner and a fresh coat of stain will completely transform your outdoor space! Plus, it will protect your deck from the elements and help extend its life.

Get your deck or porch project started!

Choosing the right cleaning product beforehand will ensure that your newly stained deck will looks its best and last the longest.

Strip the wood on your deck

Use an exterior wood stripper on all exterior wood that has been previously treated or stained. Wood Strippers will remove stains, paint, mildew, mold, algae, and dirt. Using a wood stripper will prepare your deck for priming, painting or resealing. Use a paint brush or pump-up sprayer to apply the stripper and allow to sit for 15-20 minutes.

Brighten the wood on your deck

After stripping the wood surface, apply a wood brightener which helps neutralize the wood and open wood pores so that the stain can penetrate the surface. Apply with a pump-up sprayer, and allow to sit for 15-20 minutes. Rinse with a garden hose. You should wait a few days for the brightener to dry before staining.

If needed, clean the wood on your deck

Exterior Wood Cleaner is intended for older decks. Wood cleaner is used to remove foreign matter from wood, including oxidized (failed) coatings, dirt, grease, oil, pollen, algae and surface stains caused by mildew. Apply with pump-up sprayer, and allow to sit for 15-20 minutes. Rinse with a garden hose. Use a scrub brush for tough stains and repeat process if necessary.

How to Prep Your Deck for Stain - Rinse Cleaner


How to Design Your Kitchen with Extra Storage

How to Design Your Kitchen with Extra Storage

How to Design Your Kitchen with Extra Storage

If you’re planning a new kitchen, or updating an existing one, it’s a good idea to design your kitchen with extra storage in mind right from the start. It’s almost impossible to have too much storage – but having not enough can result in frustration, wasted time and pervasive clutter.

Did you ever find yourself stacking pots inside the oven when it’s not in use? Or maybe your countertops are doubling as storage spaces for appliances and less frequently used items. In general, lack of storage makes it challenging to organize your space for ease of use. So, why not ramp up your storage from the very beginning?

When in doubt, call on the kitchen design experts at GNH Lumber for storage tips!

If you’re wondering how to design your kitchen with extra storage, here’s how it’s done:

Plan for Functional Work Areas

Plan for Functional Work Areas

Nowadays the kitchen often doubles as a nursery, laundry room or home office. Create ample storage even in the narrowest of spaces by taking advantage of vertical space (think upwards). Try adding high rows of shelves and stacking your appliances.

We recommend easy-to-assemble, fully customizable modular closets to create instant storage anywhere in the house. The best part is, they are very affordable compared to regular closets!


Don’t Forget Wine Storage

Don’t Forget Wine Storage

Have an extra wall in the kitchen that’s not very functional? The dark wine cabinet with built-in storage above is the ideal solution for a kitchen nook or wall that can be designated as a wine bar.

Wine Pantry   Wine Storage for Smaller Space

Or consider a pantry cabinet built with wine storage and a customized refrigeration system. With room to dispense and store, a pantry makes entertaining a delight.

Another alternative for smaller kitchen spaces is a wine storage unit stacked above your sink or in an upper cabinetry unit.

Large or Double Counter Islands

Large Counter Island

Making a big visual impact is easy when the large island is center stage. But, beyond its obvious functionality, counter islands also provide wonderful storage solutions of every variety. Consider open shelving on one corner of the island for easy access to everyday items. And keeping drawers for commonly used utensils and cooking preparation items will make mealtime a breeze.

Need even more storage space? Consider adding two counter islands! This makes a dramatic focal point and doubles the possibilities for customized workstations and storage solutions. You can even dedicate one island to barstool seating:

Double Counter Island

Organize Your Drawers

Organize Your Drawers

Black and white is elegant and contemporary and lends itself to many design options. Don’t forget, you don’t have to go entirely black with your cabinetry – in the KraftMaid kitchen above, the bold pairing of white cabinet doors and drawer fronts with black crown molding creates striking visual interest in this luxurious kitchen.

Or consider customizing your cabinetry in creative ways, like this combined black upper and white base Omega cabinetry combo:

Black and White 2

Finally, don’t forget to plan for organization of your storage spaces themselves.

For example, you can customize your cutlery storage with cutlery dividers and cabinet drawer inserts. And you can do the same for dishware with dish inserts to maximize storage in deeper drawers. Base cabinet pullout shelving is also a great way to layer up your storage to match your family’s needs – plus it’s easy to access items from any side of the cabinet!

Pull Out Cabinets   Appliance Garage

Take advantage of cabinetry solutions that hide your garbage and recycling cans, ironing boards, and more. You can even plan ahead and install “appliance garages” to hide those coffee pots, blenders and toasters that always clutter up the countertops when they’re not in use.


Sources:https://www.omegacabinetry.com/products/cabinet-interiors, https://www.modularclosets.com/blogs/themodule/5-sizzling-strategies-to-improve-your-home-organization-this-summer,/

KITCHEN COLOR COMBINATIONS

Kitchen Color Combinations that POP!

No matter the size of your kitchen, you can create a dynamic, stylish space by using kitchen color combinations that pop. Because the kitchen is quickly becoming the most popular room in the home, you should use the space to celebrate your style and personality!  We not only cook meals in this room, we entertain guests and host family events there, too. It’s the heart of the home, and the epicenter of activity. Which is why it’s a room deserving of a kitchen designer’s magic touch!

Make a statement! Try these bold kitchen color combinations. And, when in doubt, don’t forget to ask the kitchen design experts at GNH Lumber for guidance and tips. Schedule a free consultation.

Here are our favorite kitchen color combinations that POP:

Pale Shades Against Blues

Pale Shades Against Blues

A classic combination that never goes out of style, pale cabinetry against steely blues creates a beautiful contrast and can help evoke a nautical feel. This beachside kitchen by Mid Continent Cabinetry uses smoky grey cabinetry against a dark blue clad wall to make the brightness leap forward.

The reverse is true in the KraftMaid kitchen below, where designers used steel grey cabinetry against white tiles and ceilings and pale blue walls to create dramatic contrast:

Pale Shades Against Blues 2


Warm Wood Tones and Pale Beiges

Warm Wood Tones and Pale Beiges

The inviting warmth of the KraftMaid kitchen above is achieved by using soft beiges to highlight deep, reddish wood tones of the cabinetry. Turned legs, glass doors, and crown molding provide a rich wood texture that contrasts beautifully with the smooth tile and pale stucco-colored walls. Try adding a splash of color with throw pillows and fabrics, or add dazzling, colorful tiles, as in this Omega kitchen:

Warm Wood Tones and Pale Beiges 2

Red and Black

Red and Black

Black cabinetry is made even more impactful when bounded by reddish hardwood floors and cabinetry, and red countertops.   The color combination in the Omega kitchen above creates a sleek, modern space that serves as a backdrop to colorful tile, featured dishware or organic centerpieces.

You can also mix up black cabinetry with red cabinetry, as in the Mid Continent kitchen below. Try adding red accepts with whimsical lighting features, floral displays and dishware to create a stylish flair that’s all your own:

Red and Black 2

Black and White

Black and White

Black and white is elegant and contemporary and lends itself to many design options. Don’t forget, you don’t have to go entirely black with your cabinetry – in the KraftMaid kitchen above, the bold pairing of white cabinet doors and drawer fronts with black crown molding creates striking visual interest in this luxurious kitchen.

Or consider customizing your cabinetry in creative ways, like this combined black upper and white base Omega cabinetry combo:

Black and White 2

Sources: http://www.kraftmaid.com/, https://www.midcontinentcabinetry.com/, https://www.omegacabinetry.com/

How to Harmonize Your Home Exterior’s Color Palette

Outdoor entertaining season is in full swing! Delight your guests with siding that creates eye-pleasing symmetry and utilizes harmonious color combinations. According to LP Siding, there’s no reason your siding can’t be the true focal point of your home’s exterior, with landscaping and other outdoor elements supporting its aesthetic.

The best part? Creating a colorful and dramatic home exterior and backyard doesn’t have to be an expensive endeavor! It’s easy to re-side your home on a budget. Just ask the experts at GNH Lumber for more information.

Here are some tips and tricks from LP Siding to ensure your home’s exterior and outdoor elements complement each other perfectly this summer:

Tip #1: Go for Greens, Browns or Beiges

How to Harmonize Your Home Exterior's Color Palette - Greens
The greens, browns and beiges of nature are colors that are easy to integrate with outdoor focal points like a garden, shed or fencing.


Tip #2: Muted Tones are More Versatile

How to Harmonize Your Home Exterior's Color Palette - Muted Colors

Grays and muted colors are more versatile than pure pastels and bright hues. You don’t have to exactly match plant and paint color with these subtle shades. Fence and shed colors should also be muted.


Tip #3: Keep Undertones Together

How to Harmonize Your Home Exterior's Color Palette - Undertones

Keep color undertones together. A “cool” house color like blue, green or purple works well with cool plant colors and complementary fence and shed colors. Conversely, “warm” house colors like light yellow, pink or apricot harmonize with “warm” outdoor elements.


Tip #4: Use Caution with Complimentary Colors

In some cases, you can match colors that are on opposite ends of the color wheel (like red and green), but they need to be muted shades accented with gray. Otherwise, your home may stand out for all the wrong reasons (and end up looking too much like Christmas).

How to Harmonize Your Home Exterior's Color Palette - Curb Appeal

Source: https://lpcorp.com/blog/4-tips-to-harmonize-your-home-s-exterior-and-outdoor-color-scheme

4 Creative Kitchen Design Ideas to Try

4 Creative Kitchen Design Ideas to Try

4 Creative Kitchen Design Ideas to Try

Want to completely transform the way your home looks and functions this year? Because the kitchen is the most dynamic, gathering-oriented and useful room in the home, a kitchen redesign is an easy way to create a big impact. And did we mention that it increases your home’s resale value?  It’s a win-win!

No matter the budget or style, there’s a great kitchen solution waiting to fit your family’s tastes and needs. Consider these creative kitchen design ideas when planning your kitchen remodel. And, when in doubt, don’t forget to ask the kitchen design experts at GNH Lumber for guidance and tips. Schedule a free consultation.

So, what are some unique ideas for a fresh kitchen design? Here are our top 4 picks:

1. Two Distinct Counter Islands

Creative Kitchen Design Ideas - Two Counter Islands
Two distinct islands featuring Cambria Brittanicca™ and Roxwell™ pair with black cabinetry and gray hardwood floors.  (Image source: Cambriausa.com)

When it comes to kitchen islands, sometimes more is more. According to Cambria, if your kitchen is large enough to accommodate this design, “a double island layout may be the answer to all your prep, entertaining, and family dining needs.”

Double islands are functional and stylish, and a good alternative to one large island. They can help you create distinct zones for food preparation and dining, as well as facilitate traffic flow. Typically, in a double-island kitchen, the outer kitchen island is reserved for seating while the inner kitchen island is optimized for prep with a sink, cooktop, or both. If your friends and family spend a great deal of time in the kitchen, double islands may be for you. Having two distinct stations makes it easier to entertain a large group, create a meal together as a family, or gather for games.

In the image above, the Brittanicca island is used for food preparation, while the Roxwell island is designed for casual dining. Roxwell’s shimmer is accentuated with metallic hardware and lighting. A matching Brittanicca fireplace in the living room carries Cambria’s luxury design throughout the home.


2. Chic Meets Rustic

Creative Kitchen Design Ideas - Chic Meets Rustic

Highlight your kitchen’s focal point, like this stunning gold and black range, by opting for rustic open shelving.  (Image source: AmberInteriorDesign.com)

The black and gold range is a glamourous focal point, which is accented well by rustic, wood open shelves. Their neutral tones and minimalist design ensure that they play a supporting role to the more dramatic features in the kitchen. They also provide an interesting counter-balance to the colorful cabinets below.

When planning your kitchen redesign, think about which appliance, structural feature or other glamourous element of the kitchen you wish to highlight or make a focal point. That way, you can plan accordingly so another aspect of the kitchen design doesn’t steal away its thunder.

When trying to “de-emphasize” a kitchen design element, a good practice is to make use of neutral tones, simple patterns and less flashy textures.


3. Create a Working Style Kitchen

Creative-Kitchen-Design-Ideas---Working-Kitchen-Style

(Image sources: BenjaminMoore.com and Omegacabinetry.com)

As prepping and cooking becomes more and more a part of the entertaining process itself, restaurant-style kitchens are enjoying a rise in popularity. These kitchens often feature vast countertop surfaces, several large, deep-basin sinks, and industrial-style lighting fixtures in metallic finishes.

Get creative and add whimsical elements like rustic chalkboards for making quick recipe notes, large wooden cutting boards on display, exposed kitchen knives attached to accent walls with magnet strips. Then bring the look together with open-shelving that displays potted herbs, jars of seasonings and infused oils to help create a utilitarian feel.

You can go even farther by establishing separate work zones for prep work, sautéing, baking and clean-up.


4. Use Color in Unexpected Places

Creative Kitchen Design Ideas - Color in Unexpected Places

(Image source: BenjaminMoore.com)

The best way to change up your kitchen with a relatively small investment? Consider a well-placed coat of paint! The creative use of paint goes a long way towards redefining a space. Paint the back of your cabinets a fun color, like teal, to help them stand out from the wall, and brighten up your kitchen.

For a long time, white has dominated kitchen design. But, according to Benjamin Moore, “it may have to share the trend spotlight as pale or muted gray, blue and green cabinet colors shake things up a bit.

“If you’re not ready for a complete cabinet overhaul, consider a fresh coat of paint on lower cabinets or highlight an island with a different color. This will add some visual interest and a layer of detail, especially when the primary cabinet color is white and you use a deeper color on an island, desk area or banquette.”

Sources: https://www.benjaminmoore.com/en-us/project-ideas-inspiration/interiors/kitchen-ideas-inspiration/kohler; https://www.benjaminmoore.com/en-us/project-ideas-inspiration/interiors/kitchen-ideas-inspiration; https://refineanddefine.cambriausa.com/5-cambria-combinations-we-love/; https://www.housebeautiful.com/room-decorating/kitchens/g2190/open-shelving-roundup; https://refineanddefine.cambriausa.com/top-5-kitchen-layouts/

Cozy Outdoor Dining Spaces - Rustic Table

Get Inspired by These Cozy Outdoor Dining Spaces!

The deck design you choose will define the way you enjoy your outdoor space for years to come.

With the weather warming up and the days growing longer, your friends and family will likely want to stay outside from breakfast through dinnertime!

So, don’t forget to include a cozy outdoor dining area in your deck planning process.

Looking for deck dining layout inspiration?

Here are some of our favorite dining area layouts from TimberTech AZEK to help spark you imagination:

Get your deck or porch project started!

1) Invisible Walls

Cozy Outdoor Dining Spaces - Invisible Walls

This modern layout treats the back deck like an additional dining room – except with invisible walls. The full, pitched roof and stocky columns reinforce the illusion that this is, indeed, another space inside your home. Skylights in the ceiling and tall potted plants highlight the sense of being inside/outside during your family-style meals.

2) Half-Walls

Cozy Outdoor Dining Spaces - Half Walls

Another way of creating the sense of an “inside room outside” is with half-walls that designate your deck’s dining area. This adds a cozy feel for late morning brunches or early evening cocktails. Utilize large planters against one of the walls of the dining space to create a truly garden-like atmosphere. And add soft accent lighting to the tops of the walls for a romantic glow after dark.

3) Rustic Table & Benches

Cozy Outdoor Dining Spaces - Rustic Table

When it comes to creating a country-style breakfast party on your deck or back porch, set out a rustic woodgrain dining table in a corner of your space and – voila! Instant country-breakfast charm! Using a combination of chairs and rustic benches for seating adds whimsy and contrast. Don’t forget to include farm-themed table settings for that down-home, country feel.

4) Grilling Station with Barstools

Cozy Outdoor Dining Spaces - Grilling Station

If grilling and chilling with friends is more your speed, consider a custom grilling station compete with built-in burners, warming drawers, ice-coolers, and sinks for added convenience. Entertaining? The sit-down bar is the perfect place to survey the grilling action and sip a brew while taking in the savory scents of summertime.
Still not sure about your deck design? Get a glimpse of your finished project by using the TimberTech AZEK Deck Designer tool! Build and customize your dream deck right from the comfort of your home using a desktop, laptop, or tablet.

And don’t forget! The helpful staff at GNH Lumber is ready to help you create the perfect cozy outdoor dining space to match your dreams and stay within your budget! Visit us in Greenville or Windham to discuss your decking project.

Is it time for a brand-new deck? Get your deck project started today by requesting a project quote or scheduling an appointment to discuss your project. Get your deck or porch project started!

Sources: https://www.timbertech.com/imagine/gallery; https://deckdesigner.timbertech.com/

Spring is here! That means it’s time to start your gardening projects in time to have delicious, fresh veggies and herbs, or a bountiful flower garden all summer long! Not enough space in your backyard for a big vegetable or flower garden? Raised garden beds are the perfect solution for gardeners with limited space! In this blog, we’ll run through a step-by-step guide on how to create a raised garden bed for vegetables or flowers. 1. Choose Your Materials Select your bed frame materials. This can be as simple as regular 2x4’s or even patio retaining wall blocks. The size is up to you! The height of the bed should be at least 6 inches high, which gives the plants’ roots plenty of room to grow. Check out some great YouTube videos on how to build wood raised garden beds.   2. Mark the Perimeter Once you’re done putting together your raised garden bed, it’s time to select a sunny spot ideal for growing and relocate the frame. Remember, if you’re growing vegetables, you need to find an extra sunny spot with plenty of late date sunlight. Using an edger or spade, mark the ground around the perimeter of the frame.   3. Prepare the Soil Now that you’ve created the frame and marked the perimeter, set it aside so you can start preparing the soil. Use a sod cutter or grub hoe to skim away the grass layer, if one exists.   4. Anchor the Raised Garden Bed Once you’ve leveled it out, dig a 5- to 6-inch deep hole for each of the corner posts. Then sink each post into the ground, using a 4-foot level to level it out.   5. Add a Layer of Hardware Cloth to Keep Out Pests Gophers and moles can sometimes be an issue with garden beds. To keep them out of your garden, add a layer of hardware cloth before you pour in your planting soil. Rake an existing soil at the bottom of the bed to level it out. Then smooth it out. Line the bed bottom with hardware cloth, making sure the cloth is flat against the bottom of the bed and touching each side. Secure the cloth by stapling it to the sides of the bed.   6. Add Your Soil Fill the bed with a 50/50 mixture of planting soil and compost. Once the bed is full, rake the soil smooth and moisten it with a slight spray from the hose.   7. Plant! Now it’s time to plant your vegetable, flowers and herbs! Plant anything you like that works in your area.   7. Water Regularly Don’t forget to water your plants often! After all, you’ve spent a long time putting together your garden bed, so you want to make sure you are taking good care of your vegetables and flowers.   Now get started on your spring garden bed project and start enjoying fresh fruits and vegetables and gorgeous flowers and plants!     Click Here to find everything you need to create your beautiful garden with help from GNH Lumber. And contact us if you have any questions about your garden or landscaping project!

DIY: Painting or Staining Outdoor Wood Furniture

DIY Painting Outdoor Furniture

With smart planning, painting and staining your outdoor furniture can take place in less than a weekend.

There are many different types of outdoor furniture types—wicker, wrought iron, aluminum and plastic—but wood is by far the most popular. Whether you go with an opacity that allows your wood furniture’s natural grain to show through or opt for an opaque solid in your choice of 3,500+ colors, a fresh stain on outdoor furniture will yield a great new look.

Staining and painting outdoor furniture is a lot easier with expert advice from Benjamin Moore to guide you. Follow these steps to achieve the best results. And, when in doubt, don’t forget to ask the paint and stain experts at GNH Lumber for guidance and tips!

Get your painting project started!

Step #1: Prepare the Surface

The first step in staining or painting outdoor furniture is to make certain that the wood is absolutely dry and free of mold and mildew. Be sure to check the undersides, too.

If the old surface has stains from mold or mildew, you can properly prepare the surface by using a premium cleaner like Benjamin Moore® Clean (318). For mild cases, you can mix up your own solution using one part of household bleach to three parts water (it’s best to do this outdoors or in a well-ventilated area.) Be sure to rinse the furniture and allow it to completely dry before applying the stain.

If the weather is cold, move the furniture indoors to dry; in milder weather, it’s enough to place the furniture in a garage, carport, or other shelter from the rain. Don’t cover the furniture with plastic or a tarp, as that will not allow enough air circulation for thorough drying.


Step #2: Sand

The next step is to sand the surfaces to be stained. If the old finish is in fairly good condition, it’s enough to just roughen the surface. Start with coarse-grade sandpaper, working with the grain. An orbital hand sander is the perfect tool for this job, if you have one. If the old finish is in bad condition, you may choose to remove all the old finish down to the bare wood. This can be accomplished with a quality wood stain remover such as Benjamin Moore® REMOVE (315).


Step #3: Prime

If the old painted or stained surface is still intact after sanding, you can skip priming. However, if you’re going to apply a lighter color over a dark one, if the wood is exposed, if there are knotty sections, or if any stains remain, you should use a high-quality primer formulated for outdoor use, such as Benjamin Moore’s Fresh Start® High-Hiding All Purpose Primer (046) or Arborcoat Oil Primer (366).

For all priming, brush on the primer working with the grain using a high-quality Benjamin Moore Nylon/Polyester brush.


Step #4: Stain

If you are staining outdoor wood furniture, consider a product that’s strong enough to protect decks: ARBORCOAT® Exterior Stain. Formulated to protect against the harshest weather conditions as well as UV rays, ARBORCOAT offers a range of colors and opacities, including:

If you’ve primed the surface, one coat of stain will be enough. If you skipped the primer, you may want to apply a second coat. Let the furniture dry in a clean, dust-free, well-ventilated area. Don’t leave it outside to dry, as wind and air may deposit dust and particles onto the wet surface.

Once the furniture is dry, you’re good to go. Situate your furniture where it won’t be under a drip line from a roof or tree limb. An occasional light wash with dish detergent and warm water will help you enjoy your outdoor furniture for years to come!


Source: https://www.benjaminmoore.com/en-us/interior-exterior-paints-stains/how-to-advice/exteriors/painting-outdoor-wood-furniture