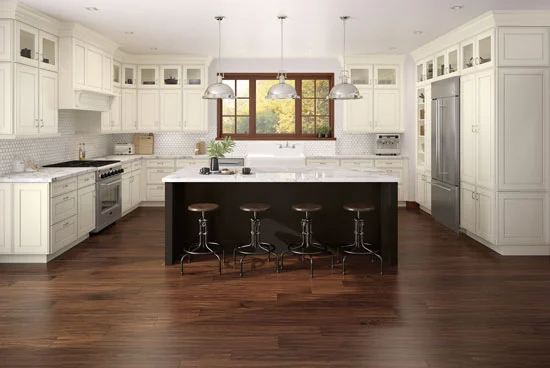
Measuring for Kitchen Cabinets

How to Measure for Kitchen Cabinets

Measuring for Kitchen Cabinets

Measured Decisions

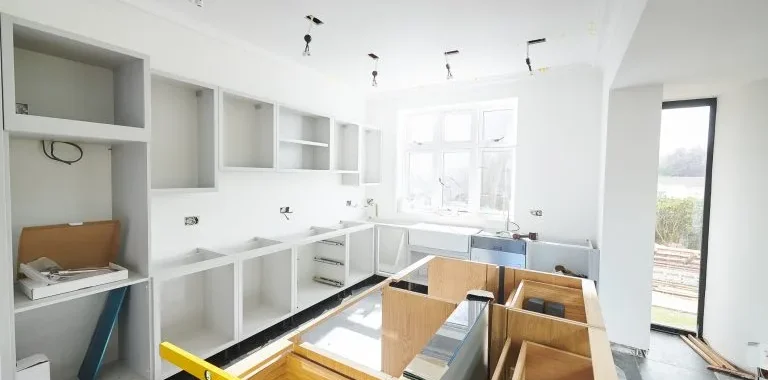
If you’re installing kitchen cabinets, one of the most important steps is taking measurements. Since your cabinets are one of the main features of the kitchen, it helps to take your measurements right. Having the proper measurements beforehand means you won’t buy cabinets that don’t fit. Also, with accurate measurements, ordering and installing your cabinets is a breeze. So, before you start looking at brands, you should know how to measure for kitchen cabinets.

Tools and Preparation

Before starting your measurements, you’ll need the right supplies on hand. For this, we recommend using the following tools:

  • Tape measure
  • Pencil
  • Planning grid/scratch paper
  • Calculator
  • Step stool or ladder
  • Level ruler (to help determine if additional work is needed)
  • Laser measuring tool (optional, but useful to double-checking measurements)

This is also a good time to draw out your rough sketch of the kitchen. Every appliance, window, door, electrical line, plumbing line, and vent should be included. This sketch doesn’t need to be perfect, but it should be easy to understand.

Taking Horizontal Measurements

Now you can begin taking horizontal measurements. Measure the current cabinets to start, and if you’re overhauling an entire space, measure the whole wall. This will let you know how you can reconfigure the cabinets within the space. Be sure to go from wall edge to wall edge to get the total space. For openings like doors or windows, your measurements should be from one underside of the trim to the other underside. Remember to write your numbers clearly, and round to the nearest 1/16th of an inch.

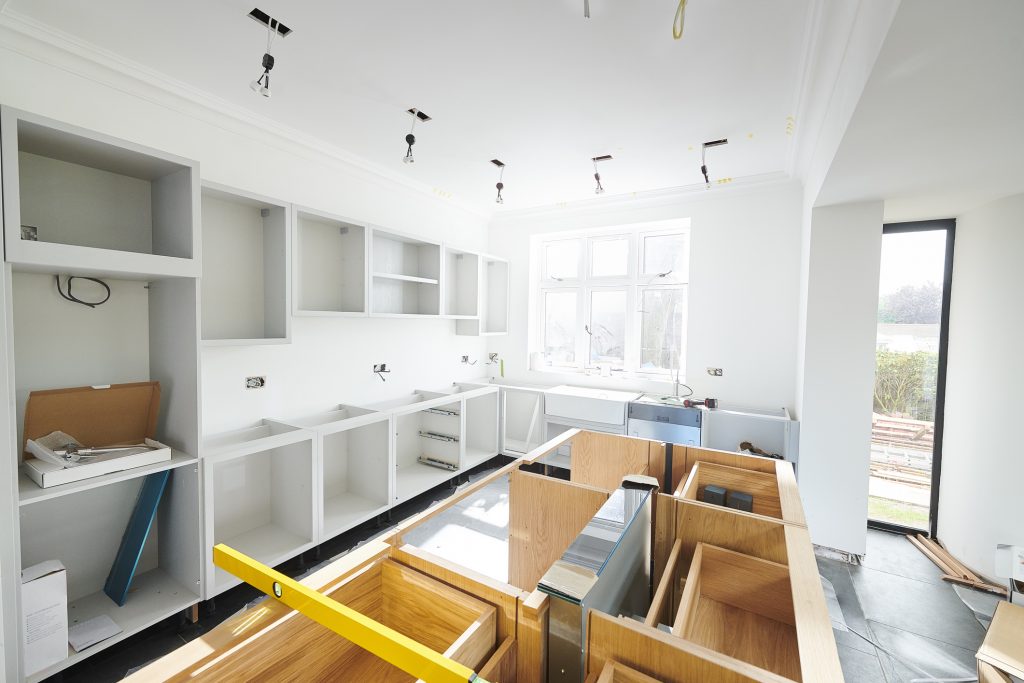
Taking Vertical Measurements

Start by measuring the distance from the floor to the ceiling in each corner and at the middle of every wall. This ceiling height will determine the preferred height of your upper kitchen cabinets. If your kitchen has soffits (a little wall that hangs down from the ceiling above doors), they must be measured as well. You can measure these by going from the floor to the bottom of the soffit. For reference, most older homes have ceiling heights of 8 feet, and 9 feet in newer homes. But accurate measurements are still encouraged – you want those upper cabinets to fit.

Measuring Existing Fixtures and Cabinets

Unless you’re changing the entire kitchen layout, you should measure the existing fixtures and cabinets. Everything from the oven to the sink must be considered. You’ll need to find their center point to get the best measurements. This can be done by starting at the end of the appliance closest to the wall. You then measure back until you come to the middle of the appliance. If it’s located in an island, start your measurements at the end of that island. For any electrical, gas, or plumbing lines, measure from the wall to the center of the line/pipe.

You’ll need to measure the height, width, and depth of your existing cabinets as well. This will give you an idea of what size will work for your project. Depending on the cabinet’s design, it might have extra features that add extra space. These include toe kicks, oversized countertops, or frameless doors. If you’re only replacing your cabinets, this will determine if your new cabinets fit or not.

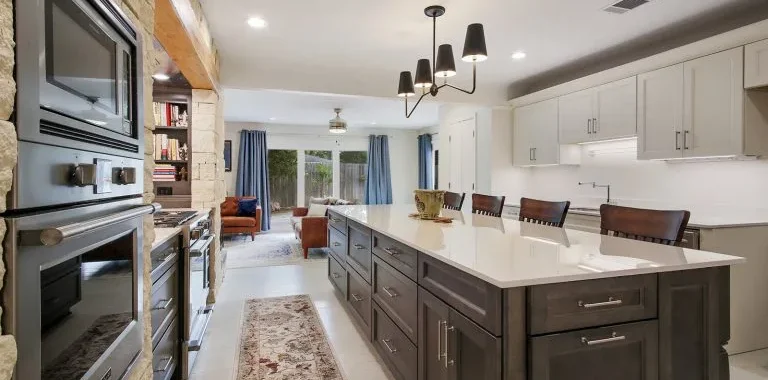
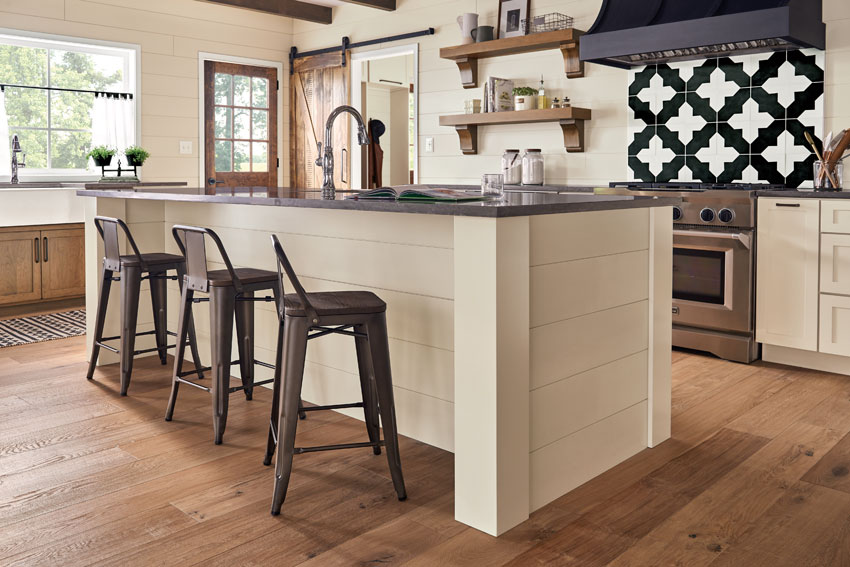
Standard Cabinet Measurements

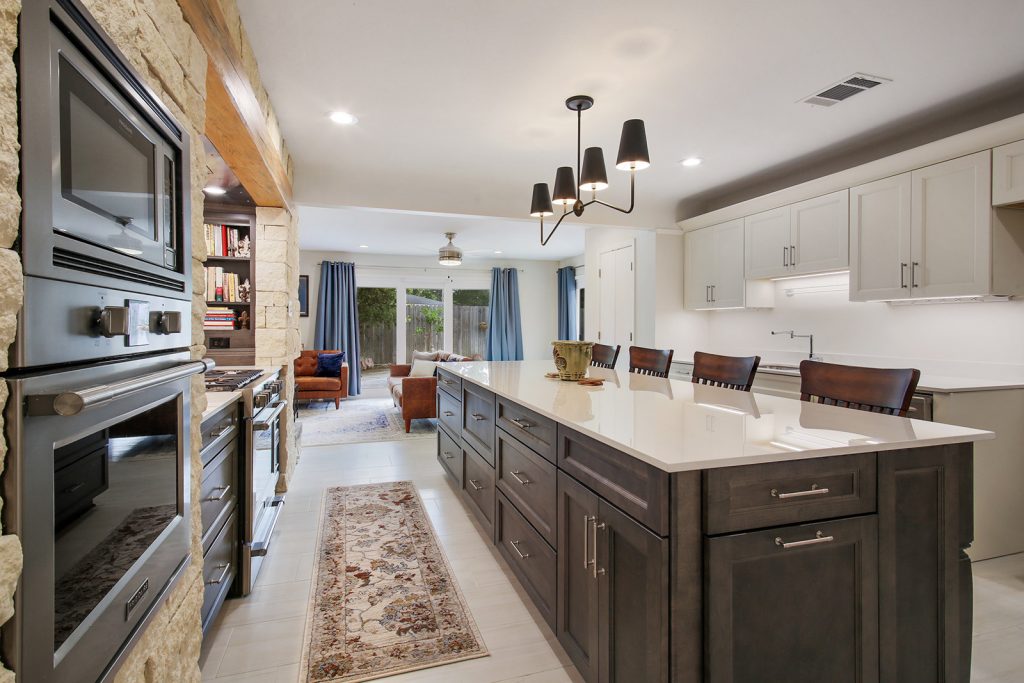
With your measurements in hand, it helps to know some standard ready-to-assemble cabinet sizes. Base, or lower, cabinets are usually 24” deep from the wall and 34 ½” high.  They often have a 3” inset for the toe kick at the bottom.  Upper cabinets are usually 12” deep and are available in 30”, 36”, or 42” heights. These choices account for different ceiling heights, and whether you want space above them.  Pantry cabinets come in 84”, 90”, or 96” heights and are 24” deep.  The width of cabinets varies so getting the most accurate measurements is crucial.

With the right measurements, your DIY kitchen cabinet installation is sure to go off without a hitch! Get in touch with us today for help designing your kitchen or selecting the best cabinet!

Kitchen Cabinet Styles

Best Kitchen Cabinet Styles for Your Remodel

Kitchen Cabinet Styles

Cabinets Keep Your Kitchen Together

When it comes to remodeling your kitchen, it’s always a great idea to start with your kitchen cabinets! Even the oldest kitchen can look brand new with a new set of cabinets. But the trick is in picking out the right cabinet style for your kitchen. With so many options out there, you need to ensure the style fits your budget and preferred final look. If you’re feeling lost or overwhelmed – don’t worry! We’ve selected five kitchen cabinet styles that are affordable and versatile.

Shaker-Style Cabinets

These are one of the most popular cabinet designs, and for good reason. Shaker-style cabinets have a simple, timeless look that complement many different kitchen designs. Shaker-style cabinets have clean lines and a flat surface with a recessed panel in the center. They are available in all kinds of tones and materials, and from many manufacturers. They also blend in seamlessly with many different kitchen styles. One of the best things about shaker-style cabinets is their customizability. Shaker-style doors are compatible with most cabinet pulls and knobs, so get creative!

Flat-Panel or Slab Cabinets

For a more modern look, your best choice is flat-panel (AKA slab) kitchen cabinets. These consist of one flat piece of wood and look fantastic in a minimalist kitchen. You can opt for no pulls or knobs, or choose sleek hardware on your cabinet doors. This creates a stylish look that matches your appliances perfectly. Flat-panel cabinets are easy to clean and install. Plus, they are usually less expensive than other cabinet styles.

Beadboard Cabinets

Beadboard cabinets are a great way to add a textured look to your kitchen! This style of cabinet is defined by its vertical slats of wood pieced together. This is one of the most versatile styles of cabinet available and works with countless kitchen styles. Rustic, beach-inspired, contemporary, and traditional styles all work with beadboard. While beadboard cabinets can help your kitchen feel warmer and more vibrant, they are harder to clean. Dirt can build up in the ridges, so just be vigilant if you add these to your home.

Raised Panel Cabinets

Like the name says, raised-panel cabinet doors have a slightly raised center panel. This gives them an amazing three-dimensional look. These are perfect for kitchen remodels, as they offer a classic look. Raised-panel cabinets can even be ordered with an arched center panel or with decorative moulding to give it that special touch. If you’re looking to get creative with your kitchen remodel, raised-panel cabinets are the way to go!

Glass-Front Cabinets

Glass-front cabinets are the perfect choice for displaying any of your eye-catching collections. These can include glasses, plates, or other items in the kitchen. The glass on these cabinets can be plain or etched with a unique design. Glass-front cabinets can also be used as an accent cabinet with other solid cabinet doors. You can even include an in-cabinet light to showcase your pieces!

Ready to start picking out your dream cabinet? Get in touch with us today – we can help you find the perfect cabinets for your kitchen!

7 Kitchen Remodel Tips from the Pros

Kitchen Remodel Tips From the Pros

7 Kitchen Remodel Tips from the ProsLooking for kitchen remodel tips from the pros?

Get a jump-start on planning and designing the perfect kitchen for your family! It’s easy to create a gorgeous new kitchen with help from the pros. They’ve been doing it for years and are often on top of the newest trends. To help you get started, check out these 7 kitchen remodel tips and trends from GNH Kitchen Designer, Michele Gregg.

Things to Consider as You Plan a New Kitchen

1) Budget Wisely & Plan Appropriately

When you’re planning a kitchen remodel, making a budget and plan and sticking to it is key. The National Kitchen & Bath Association (NKBA) recommends spending 15-20% of your home’s value on your kitchen remodel. This guideline ensures that your new kitchen is a wonderful investment towards the value of your home. Planning your kitchen remodel should take more time than the actual construction. By planning well, you can reduce the amount of time you’re inconvenienced by construction mayhem. Plus, you’re much more likely to stay on budget!

2) Consult a Pro

Don’t forget: a kitchen remodel involves more than just replacing cabinetry. Working with an experienced designer will help you navigate all aspects of your kitchen remodel. From cabinets and countertops, to lighting and fixtures, and more! Designers stay up to date on trends & new materials. They are familiar with their local building codes and working with contractors. Their experience will translate to avoiding delays and will save money in the long run.

3) Have patience!

Each space is unique, and your perfect kitchen will take time to design, plan and create. Take time to enjoy the process of designing, planning, and product selection. It will be worth it in the long run! The more challenges you can anticipate and solve in advance, the faster your remodel will go, and the more money you will save.

7 Kitchen Remodel Tips from the Pros - Smart Kitchens

Popular Kitchen Design Trends

4) Add More Functions

Today’s kitchens are designed to accommodate more than just cooking. Kitchen designers now create spaces where people can gather, play games, and even work on their laptops or mobile devices. Of course, the modern kitchen is still a place for cooking, baking, cleanup and prepping meals. But, in addition to these basic functions, our kitchens have evolved. We’re now using this all-important room to entertain our family & friends, help our kids finish their homework, balance household budgets or plan parties–and much more!

5) Break it Open

Open concepts are very popular. Even the smallest kitchens will feel bigger and brighter in an open concept layout. This also floods the space with daylight coming from windows in other rooms and can facilitate airflow. But larger kitchen spaces are also trending towards the open concept layout. By opening up this all-important room to the living room, you make it easier to interact with your family or guests from the kitchen as they relax on the couch. You can add space needed to create “entertaining zones” like coffee nooks, breakfast bars, and more.

6) Storage, Not Space

More storage will never go out of style. Even if you’re working within the footprint of your existing kitchen space, you can still add tons of storage! Try installing cabinets that reach your ceiling. This adds more shelving space and gives you a spot to display that beautiful dishware up top. You can also install shelving units, racks, and hooks in unused spaces. These could be empty sections of wall, inside cabinet doors, or even your ceiling.

7) Go Bold

Design with color and texture in mind. White Shaker style cabinetry has been popular for years now. While it still remains popular, we are now finding ways to introduce color and texture. A dark navy-blue island stands out against the white perimeter cabinets. Wood stained floating shelves that coordinate with the hardwood floors. A honed or “leathered finish” countertop that creates warmth.

7 Kitchen Remodel Tips from the Pros - Design Trends

Have fun designing your gorgeous new kitchen!

What are Some Advantages to Choosing Double Hung Windows?

What are Some Advantages to Choosing Double Hung Windows?

What are Some Advantages to Choosing Double Hung Windows?

Have you considered updating or adding double hung windows? Fall is here, soon to be followed by winter. Now’s the time to prepare your home from bitter cold temperatures.

Your windows may appear operational, but if they whistle, rattle or leak, then you’re likely losing money in heating costs. The same is true of your brittle or cracked weather-stripping. Small leaks, cracks and rattles add up to a big difference in your monthly utility bills.

If it’s time to update your windows, consider double hung replacements. There are many advantages to the design of the window, including easy cleaning and care. In addition, double hung windows can improve energy-efficiency and curb appeal, too.


Click here to get started now.

Here are some of the major advantages of double hung windows:

  • Superior Ventilation. They provide great ventilation capabilities and the ability to control airflow. For maximum ventilation, you simply open both top and bottom sashes – the bottom sash will let in cool, fresh air, while the top sash will allow warm indoor air to be expelled through it.
  • Aesthetically Adaptable. Its traditional look can match any home style. In fact, double hung windows are known for their classic appeal, which makes them suitable for any home or room. They also come in a variety of styles, sizes, colors, and finishes.
  • Easy to Maintain. These windows often come with tilt-out sashes that make cleaning easier, as you can clean both the interior and exterior from inside your home. Some even have removable sashes.
  • Addition Friendly. They are ideal for the easy fitting of air conditioners and screens. Because most units are designed to slide up and down instead of cranking out or sliding to the side, they can safely hold AC units, and allow for their easy removal, as needed.
  • Energy-Efficient. Aside from the superior ventilation mentioned earlier, this type of window brings in a generous amount of natural light. By choosing Low-E glass with gas fill you can further enhance savings on your energy costs.

For all these reasons and more, you should seriously consider double hung windows as an option when choosing replacement windows for your home.


Get Your New Windows Today!

The experts at GNH Lumber are here to answer your questions, provide product suggestions and tips for each step of your window replacement project! Click here to get started.

Replacement Windows

5 Signs That You Need Replacement Windows

Keep Your Windows Up to Date

Replacement Windows

Your windows should help keep your home feeling comfortable and looking its best. As time goes on, your windows’ performance gradually begins to fade. Weather stripping is damaged, the seals begin to fail, and the various parts of your windows get brittle and break. So, how exactly do you know when it’s time to finally replace your windows? While some of the signs are obvious, others are harder to catch before it’s too late. Thankfully, there are 5 telltale signs that let you know that it’s time to invest in replacement windows for your home. 

The Pets Always Know 

We’ll start with one of the most obvious signs you need new windows: How comfortable the climate in your home is. If one or more rooms in your home are overly hot in the summer or frigid in the winter, it’s likely that your windows are one of the largest factors. Aside from yourself, pay attention to your pets as well! If even Fido needs a blanket every time the temperature drops outside, it’s time to start looking into replacement windows. New windows, especially versatile and resilient vinyl windows, are made of stronger materials than older windows, and can help keep your home feeling comfy and cozy – no matter the season. 

Appearances Aren’t Always Deceiving 

Minor aesthetic damages usually aren’t anything to be concerned about in terms of the state of your windows. However, significant physical damages usually point to failing windows. For example, if your windows constantly have foggy panes, that’s a sign that gas is escaping from between the panes and condensation has formed inside. Over time, that heat and water can loosen the seals on your windows. Similarly, chipping paint and an inability to hold a new coat of paint can mean water damage has set in. This water damage can also lead to moldy smells, another sure sign that your windows need replacing! 

Bills, Bills, Bills 

If your windows aren’t performing at their best, doesn’t it make sense that your energy bills would go up?  It’s true – leaking or inferior windows lead to your heat and air conditioning filtering outside, reducing their efficacy inside and wasting your energy. Even if you can afford the extra money, heating and cooling the outdoors is wasteful and consumes more natural resources than is necessary. If you’re not sure what your fuel and electricity bills should be, ask your neighbors what they pay. If their house is built like yours and their family is a similar size, their bills should be roughly the same. 

Open Sesame 

Even though it may seem obvious, if your windows are either too hard or too easy to get open/through, they’re probably at the end of their shelf life. And replacement windows aren’t just there for quality-of-life improvements, they can keep you safer as well. Windows that are too hard to open are a safety hazard, especially in the event of a natural disaster or other emergency. On the other hand, windows with weak seals, gaps in the caulking, holes, etc. allow bugs and other pests easier entry into your home – it’s one of the many reasons why new windows are so helpful! 

Tune Out the Noise 

There’s a lot more people in the world now, and a lot more noise to be heard, especially in crowded neighborhoods. Another sign of failing windows is more of that noise creeping into your home. Windows that are improperly sealed or are older can let in much more outside noise, and that means more difficulty sleeping or holding a conversation indoors. Thankfully, modern windows can be fitted with three panes of glass and special laminations – so you don’t have to shout to be heard anymore. 

Even if you’re just looking to upgrade your windows and give your home a new look, we encourage you to get out and do it! Let us help you find the best choice so you can increase your home’s curb value and save on your energy bills. 

Outdoor Siding with Ladder

Design Smarter with LP SmartSide Exterior Home Siding!

Experience High Performance Siding with Less Maintenance!

Outdoor Siding with Ladder
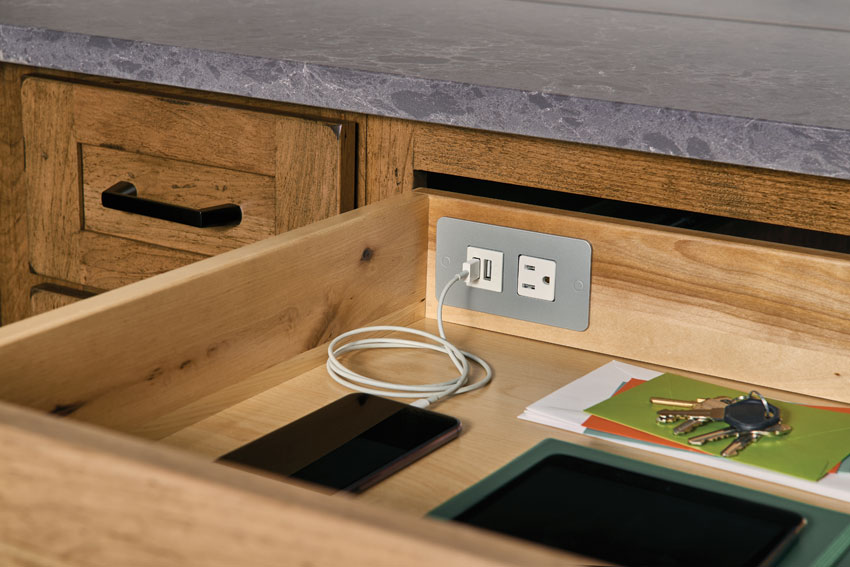
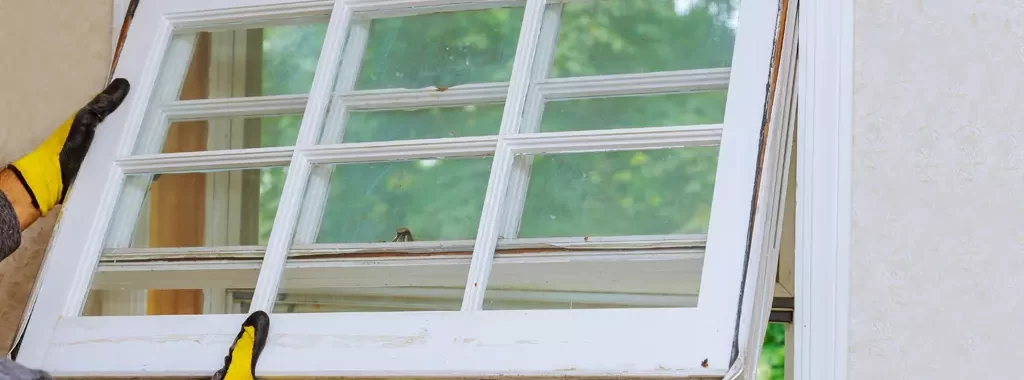
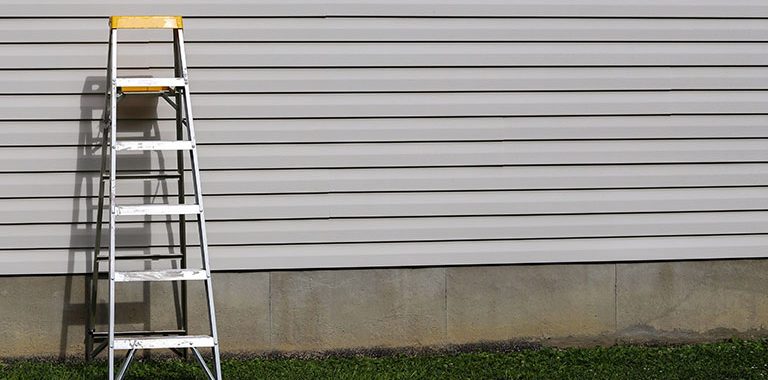
It’s always important to keep a close eye on your home’s exterior siding! If you’ve noticed any leaks, cracks, chips, or any other visible problems that have developed over the years – it may be time to replace or restore your siding! But not all siding is created equal, and some siding is more difficult to keep looking beautiful without extensive maintenance on your part. Thankfully, there is a siding option that is not only high-performance, but also requires only basic upkeep! LP SmartSide Siding is the perfect engineered wood siding to improve your home’s curb appeal while requiring little maintenance!

Let It Shine with Basic Cleaning Techniques

Taking care of your home, siding included, should be a year-long effort. Even taking the time to do an annual visual home inspection can pay dividends for you in the long-term. We recommend taking a yearly inventory of your home’s exterior and siding to check for any stains, mildew, or mold that may have cropped up over the last year. You can keep your home’s exterior and LP SmartSide Siding looking beautiful by performing some basic periodic care and maintenance. Follow these tips to keep your home free from mildew, dust, dew, and other environmental damages:

  • Dust and dirt can build up on your home’s exterior siding, no matter where you live. If you want to keep your home looking its best, we advise using a soft cloth, sponge, or light brush along with a mixture of mild soap and water to wash and clean the surface of your siding. You can then lightly rinse off with water from a garden hose – be sure not to pressure wash, as this can damage your siding and increase your risk of damaging or discoloring the paint on your home.
  • For mold, we recommend using a lighter solution of three-parts water to one-part white vinegar to safely remove any intrusive mold or mildew stains. This can help remove pesky discolorations without risking any damage to your paint or wood stains!

Simple Monthly Maintenance

In addition to basic maintenance to keep your home siding free from stains and mildew, you should also take note of any chips, wears, or tears within your siding. Thankfully, small imperfections like these are easily fixed – especially with LP SmartSide Siding! For any small chips or cracks in the paint finish your home’s exterior siding, you can simply touch them up with matching paint. We recommend that you don’t paint over existing paint or try to blend the paint out into existing paint – and that you allow at least 24 hours for the paint you use to dry. When checking your siding, it’s also key to check on your gutters and sprinklers. Make sure your gutters are draining properly and your sprinklers aren’t exposing your siding to water spray – issues with either of these can lead to irreparable damage to your exterior siding.

If you notice any damage to your siding’s caulking, it’s best to contact a professional contractor to help repair it. They’ll know how to replace caulking around LP SmartSide siding that has cracked, hardened or lost its seal.

Responsibly Made, Environmentally Committed

Choosing LP SmartSide Siding not only improves the curb appeal of your home, it’s also great for the environment! All LP SmartSide Siding products are made with renewable wood, grown and gathered under strict Sustainable Forestry Initiative (SFI) standards. These standards include responsible forestry practices that protect water quality, biodiversity and wildlife habitats. All wood used by companies participating in the SFI program must come from legal and responsible sources, whether the forests are SFI-certified or not. These standards ensure forest products remain a sustainable resource now and for generations to come.

By adhering to these standards, all LP SmartSide Siding products benefit your health by using:

  • Low-emitting binding agents and resin – Volatile Organic Compounds (VOCs) are chemicals found in many products we use to build and maintain our homes, including siding. The binding agents and resins in LP SmartSide products release low levels of VOCs, which may decrease some people’s risk of health problems.
  • No added formaldehyde – Formaldehyde is a common chemical used to make building materials. It irritates the airways and is known to cause cancer. No urea-formaldehyde is added during the manufacture of LP SmartSide products.

Your home’s siding should do more than improve its looks – it should also protect it against the elements and keep your energy costs down! If you’re looking to replace or restore your home’s siding, be sure to reach out to the talented team at GNH Lumber. We can help you find the best siding for your home and ensure it’s installed successfully!

Calming Paint Colors from Benjamin Moore

Create Harmony with Ben Moore's 2021 Color of the Year!
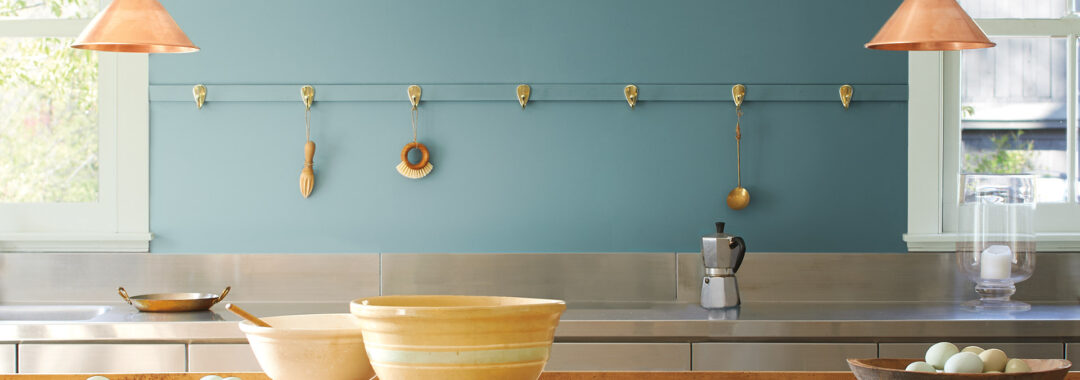
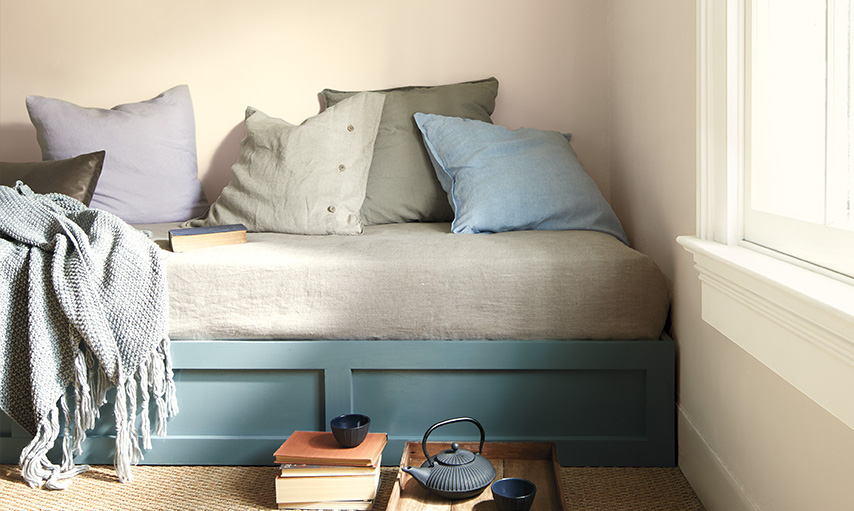
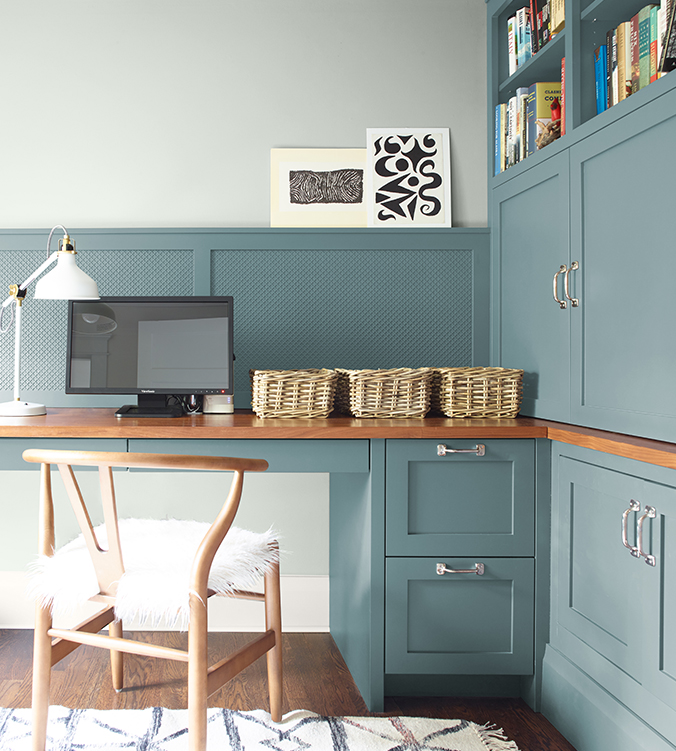
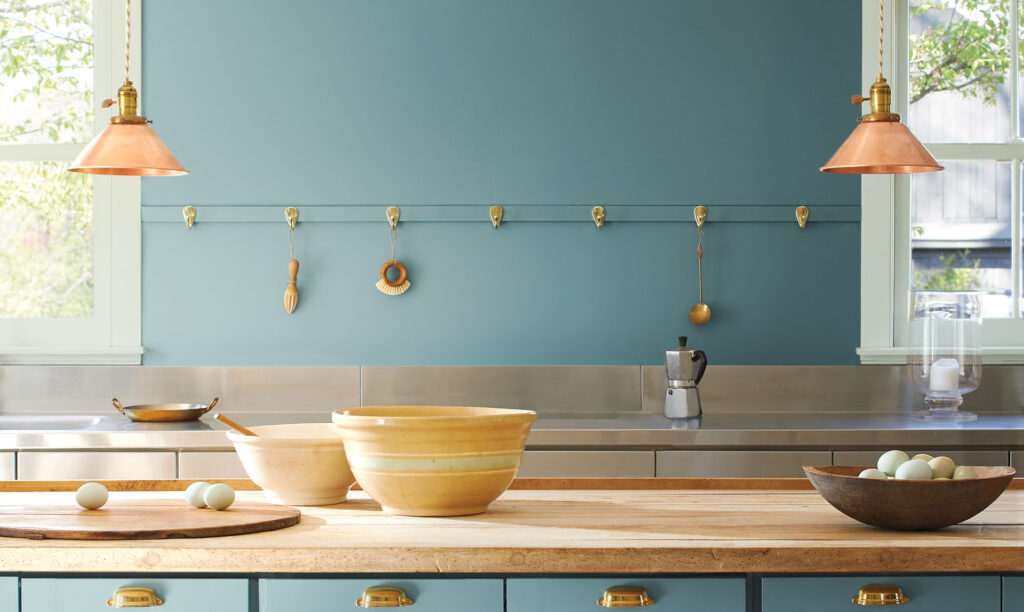
Are you looking to cover your walls with calming paint colors? Benjamin Moore has color choices that will make you feel even more at home.

“Soft power, silence, pause.” These are some of the words that Benjamin Moore uses to describe the blend of blue-green and gray that is Aegean Teal 2136-40. This intriguing mid-tone creates natural harmony and looks just as amazing in the kitchen as it does in the bedroom, den or home office.

Want calming paint colors? The entire Ben Moore “Color Trends Collection” is designed to nourish the spirit with the comforting, sun-baked hues. It also helps us celebrate the simple pleasures in life—like “the faded rumple of linen sheets in the morning and perfectly ripened fruits on the windowsill. The twelve hues in the palette radiate warmth and well-being. These are colors that make your home feel even more like home. Settle in.”

Get your painting project started!

2021 color of the year

So, go on… Take a moment to reflect and reset. Intriguing, balanced, and deeply soothing, the Benjamin Moore Color, Aegean Teal 2136-40, creates natural harmony. Check out the full video introduction to this calming blue-green and gray combination:

This isn’t your ordinary mid-tone teal. The slight hint of bluish-green evokes calm and harmony, while making yellows, whites and beige tones POP!

Reclaim Your Ease
color of the year: Aegean Teal 2136-40

Pair Aegean Teal 2136-40 with Muslin OC-12 to beautiful effect, like in the cozy bedroom above. Muslin OC-12 is part of the Off-White Color collection. Inherently sophisticated and endlessly versatile, the Off-White collection offers subtle nuances of whites that suit tranquil, serene environments as well as creates color-enhancing accents for dynamic spaces.

Tip: Less is more when working with this subtle teal. Surround Aegean Teal with whites and off-whites to allow its soft colors to really sing.

Work in Harmonyaegean teal cabinets

Create a home office that truly inspires productivity! These soft Aegean Teal 2136-40 cabinets create a sense of balance to help you work better and feel less distracted. It pairs well light gray walls like Benjamin Moore’s Foggy Morning, or Gray Cashmere.

Tip: Wicker baskets, metallic hardware and lighting fixtures complete this cozy and homey look.


Get Your Interior Painting Project Done!

Painting the rooms of your home can have tremendous impact, and it’s a great family project with a modest price tag. Strive for a balance of linear elements and colors, and don’t be afraid to ask the experts at GNH Lumber for guidance and tips along the way. Get your painting project started!

Sources: https://www.benjaminmoore.com/en-us/color-overview/color-palettes/color-of-the-year-2021

How to Choose Replacement Windows

How to Choose Replacement Windows

How to Choose Replacement Windows

The autumn season is the perfect time to swap out drafty old windows with new energy efficient ones. Investing in replacement windows now will equal savings on heating costs all winter long—and beyond. But how do you choose replacement windows in the first place?

One shortcut is to visit your local GNH Lumber to discuss your window replacement project with our seasoned experts.

Click here to get started now.

To help you choose just the right windows for your home and budget, we recommend considering some common cost-saving options and answering a few common questions beforehand:

1) PLANNING

Start by considering which windows you want to replace. Do you want to replace all of them, one floor at a time, or just individual units that will save energy and add convenience to a particular room in your home?

2) BUDGET

Prepare a preliminary budget. This will help you determine how many windows you can replace with the styles, features, and materials you want. Pay particular attention to the window’s thermal performance since this will factor into the cost. Windows that qualify for tax rebates may cost more initially but these costs are offset by rebates and greater energy savings over time!

3) APPLICATION 

What do you want your new windows to do? Are they architectural design features or will they provide specific functionality? Do you want the windows to open and close? How they should operate? Vinyl windows like Smarter Windows from GNH Lumber will provide lower maintenance, greater convenience, and higher energy performance than most wood windows.

4) ENERGY EFFICIENCY 

Finally, discuss energy-efficient window options (like standard insulated glass and low-e glass) with the knowledgeable staff at GNH Lumber. Don’t forget to work the additional cost of these features into the context of estimated savings on your heating and cooling bills. Do the expected savings justify the extra cost? Vinyl window frames are less expensive and do provide more insulation qualities.

Sources: http://www.smarterwindows.com/Page/How_to_Buy_Replacement_Windows

How to Grow Grass in Shaded Areas

How to Grow Grass in Shaded Areas

How to Grow Grass in Shaded Areas
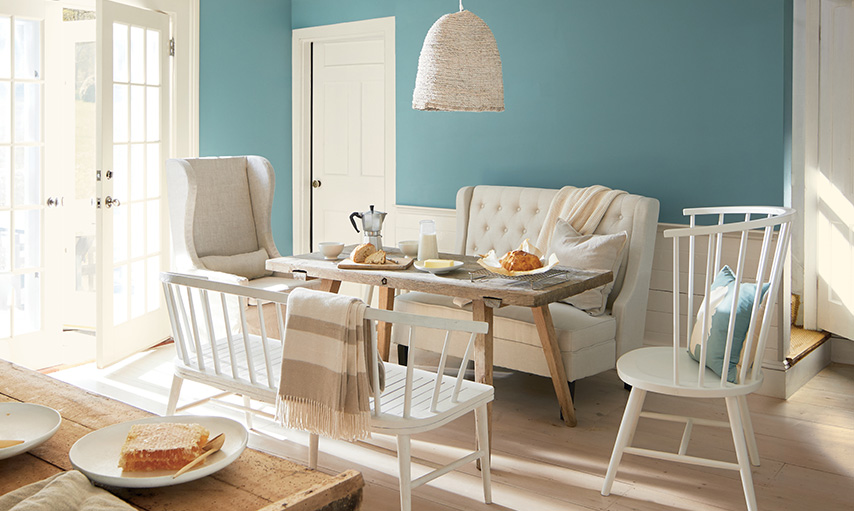
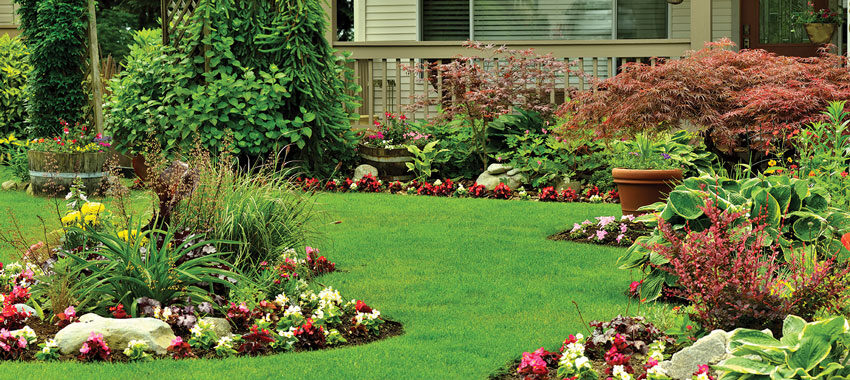
Have you tried to grow grass in shaded areas of your lawn without success? Many lawns have shady spots where grass seed just doesn’t want to sprout and grow. Maybe pet or insect damage has complicated the process, making new grass growth that much harder. So, how do you successfully grow and maintain healthy grass even in the darkest spots of your lawn?

Here are 3 easy tips from Scotts to help turn shady spots into havens of thick turf!

1) Evaluate the Amount of Sunlight – According to Scott’s, “The rule of thumb for even shade-tolerant grasses is that they need at least three to four hours of direct sun, or four to six hours of dappled sunlight, per day.” If the spot on your lawn gets less sunlight than this, try pruning back nearby trees or shrubs to allow for more light.

2) Find a Grass Seed Specifically for Shade – There are certain grass types that are designed to thrive in shade. For those of us living in the Northeast, a hearty fescue blend, like Scotts® Turf Builder® Dense Shade Mix will work well.

3) Plant, Water and Watch – First, prep the area with a rake to loosen the soil then spread your grass seed at the proper rate and cover with quality soil to help your grass seedlings get off to a great start. After that, you water, watch and wait. Keep your new shaded grass moist by watering once or twice daily, until you see it grow tall enough to mow. Then cut back to a normal watering schedule.

*Remember: when you plant grass seed around trees, the trees are hungry and thirsty, and will compete with grass for available water and nutrients. Be sure to regularly feed the grass around trees and water generously.

Sources: https://www.scotts.com/en-us/library/grass-grass-seed/how-grow-grass-shaded-areas

3 Summer Lawn Care Tips from Scotts

3 Summer Lawn Care Tips from Scotts

3 Summer Lawn Care Tips from Scotts
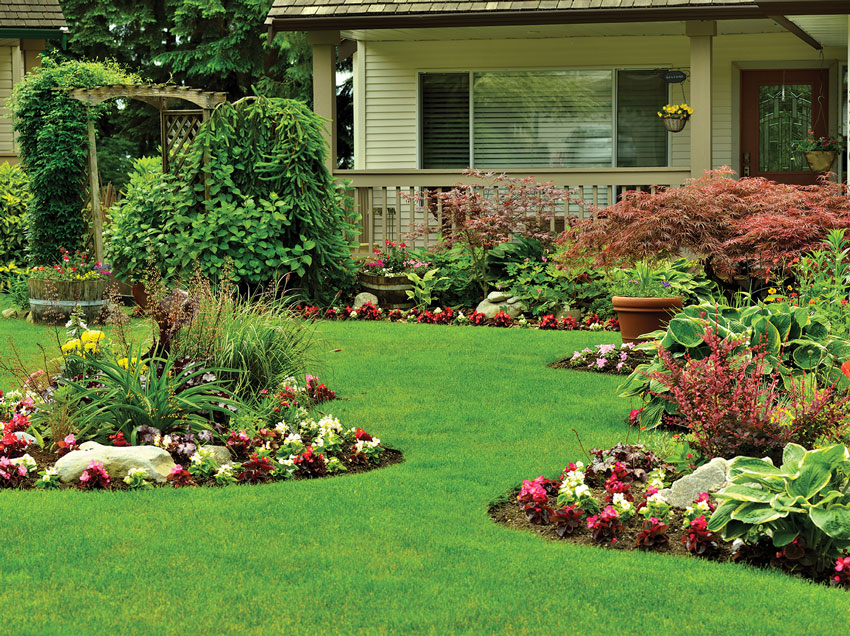
One of the best parts about summer, is spending time on the lawn barefoot! There’s nothing quite like the feel of healthy green grass between your toes, especially when it’s cool and lush. So, how do you protect that gorgeous green carpet from the ravages of heat, drought, mowing and malnourishment? The key is in proper lawn and garden care, and that’s more than just using the right tools! Here are 3 quick summer lawn care tips from Scotts to help you keep your lawn looking and feeling its best!

Summer Lawn Care Tip #1: Mow High

According to Scott’s, “Gorgeous summer lawns start with long, deep, healthy roots that snake through soil to find moisture.” Encourage deep roots by mowing as high as you can for your grass type. Also, sharpen mower blades at least once a season to ensure a clean cut on individual blades of grass, which helps reduce moisture loss. Not only will this keep your lawn looking uniform in terms of length, it’ll ensure that your grass can grow back properly and stay healthy.

Summer Lawn Care Tip #2: Water

To keep grass green, healthy, and growing, provide at least 1 inch of water per week, either through irrigation or rainfall. Time irrigation for early morning (between 6 and 10 a.m.) to minimize water loss to evaporation. Be sure to avoid overwatering when irrigating, as this is an easy way to damage your grass and decrease its aesthetic value. To avoid damage from heavy rains, we recommend adding a rain garden to your lawn! A rain garden is a specially designed garden that features plants that need and can handle absorbing more water. You can also use special soil mixes that feature a high concentration of sand to better absorb excess water. This allows more of the heavy rainfall to be absorbed into your rain garden and keeps your lawn looking and feeling better!

Summer Lawn Care Tip #3: Feed

All grass types benefit from summer feeding. Grasses grow most actively during summer heat, so feeding helps fuel and sustain the intense growth. We recommend Scotts STEP 3 Lawn Food With 2% Iron for a great green-up. It also strengthens the lawn against heat and drought. Simply apply with a spreader to a wet or dry lawn! If temperatures are consistently exceeding 90 degrees F, water immediately to reduce stress on your lawn. The final result should be a lovely, lush lawn that not only looks gorgeous, but feels delightful to walk on!

If you’re looking to work that green thumb this season but aren’t sure where to start – we can help! Our knowledgeable team will answer your questions and help you find the right supplies to beautify your entire lawn and garden.

Sources: Scotts Step 3 Lawn Food 2% Iron; Scotts Seasonal Guide for Lush Lawn