How to Replace a Kitchen Sink

If you want to learn how to replace a kitchen sink with a new one, watch the video to see the process from start to finish!

Step-by-Step Guide to removing and replacing your sink.

Remove old sink:

  • Begin by removing the drain and detaching the garbage disposal (if you have one) from the bottom of the sink. Next, turn off the water supply and remove the clips that hold the sink in place. You can now lift your old sink out of the cabinet.

Prepare the new sink:

  • Start by putting a coil of plumber’s putty on the drain basket and press it firmly in place.
  • If you have a garbage disposal, install the garbage disposal mounting bracket on the underside of the sink.
  • Next, install the fixture base plate to the top of the sink.
  • Drop the faucet through the center opening and tighten the retaining nut at the bottom.
  • Pass one end of the sprayer hose through the faucet and attach the end to the mixing valve at the bottom. Screw the rinsing wand on the other end of the hose.
  • Finally, attach the water supply lines to the fixture.

Install the new sink into the counter:

  • Apply a bead of silicone adhesive around the edge of the sink opening and set the sink in place. Then, wet your finger with some soapy water and smooth out the silicone.
  • Lastly, reattach water supply lines and reattach the garbage disposal.

Remember, if you have any questions about replacing a new sink, ask one of our GNH Experts.

How to change a toilet video

How to Replace a Toilet

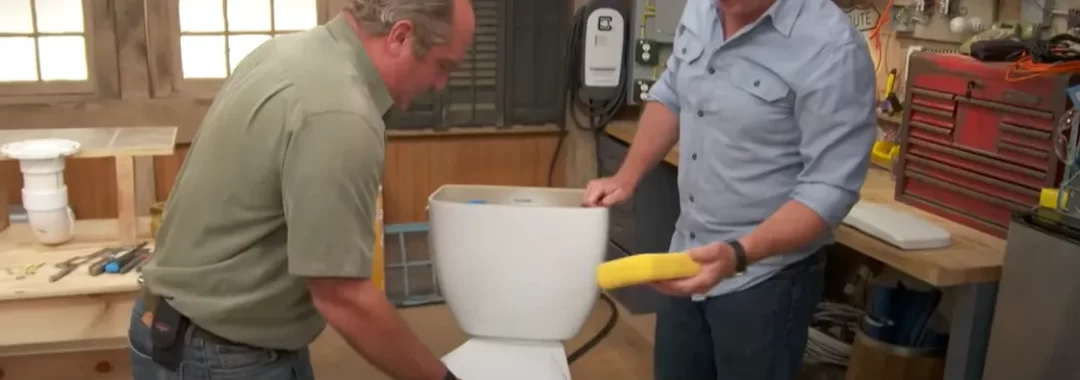
This 6 minute video walks you through how to replacing your toilet yourself. It’s not as hard as you think and  GNH can help you get started by making sure you have all the supplies you need!

First, turn off the water supply and flush the toilet to remove all of the water. To remove any remaining water, you can soak it up with a sponge or siphon it out with a rubber tube or turkey baster.

Next, disconnect the supply line to the toilet tank with an adjustable wrench.

Remove the caps from the bolts on either side of the toilet base and remove them with a wrench. Lift out the old toilet and get it out of the way. Scrape away residue from the old wax ring with a putty knife. You can use a utility knife if needed to cut away caulk to make the toilet easier to remove.

Apply new wax ring and place new toilet over the bolts and tighten. Reconnect water supply line and turn on water supply. Flush toilet to check for leaks. Lastly, apply caulk to the base of bowl to protect floor and provide additional stability.

Remember, if you have any questions about installations, just call our specialists at GNH Lumber.

Tips for Hanging Wallpaper

The trick to hanging wallpaper correctly is to establish a good plumb line at the start. Most walls are not straight and plumb, so snap a chalk line to get a good reference point. Cut the paper longer than needed for the wall. How much excess will depend on how much is needed to match up the paper’s pattern.

Prep the walls prior to applying wallpaper by repairing holes and cracks with spackle and washing the walls with soap and water. A typical wallpaper roll is 36 feet long, but when calculating how many rolls are needed, only count on getting 30 feet out of each roll.

Soak Pre-pasted Paper – Some wallpapers require that you apply paste while others come pre-pasted and just need to be soaked in a pan of water. Pre-pasted wallpaper should be soaked for at least 15 seconds.

Fold the Paper Into Position – Fold the paper onto itself so that the ends meet in the middle with the glue side in. Folding both ends of the pasted wallpaper into the middle is called booking. When booking make sure all of the pasted areas are covered so it doesn’t dry out as you paste other wallpaper strips.

Once the paper is in position, smooth it out with a brush. Roll the seams of the paper until smooth, but don’t roll so hard that the adhesive seeps out.

Remove Air Bubbles and Trim the Paper – When brushing or sponging the air bubbles from wallpaper, start at the top by the ceiling and brush down and out toward the sides. Stubborn air bubbles can be popped with a pin. You should overlap two strips of paper slightly for corners and trim both layers with a razor blade. Switch to new razor blades often so you don’t tear the paper.

Using a straightedge and a sharp utility knife, trim the top and bottom of the wallpaper even with the ceiling and baseboard. If your wallpaper has a repeating pattern, look on the package to find the length of the repeat and add that to the length of each subsequent piece of wallpaper you cut.

Faux Finishing for Walls

Faux finishing is a great and easy way to add the illusion of Tuscan-style texture to your walls. With a few simple steps, it is something that any do-it-yourselfer can tackle – and GNH can help you with everything you need to prepare. First, start out with painting your walls with eggshell finish paint.

Vertical Line Effect: When you are ready to start to create your texture, mask all of your trim with tape. Next, take a small area of the wall and mist with water from a squirt bottle. Then, with a damp towel, wipe the area to make sure that it evenly wet.

Use an angled brush to apply glaze extender to wall evenly with vertical strokes. Then, use a chip brush to pull the glaze vertical to create lines. After each stroke, wipe the brush so that there is no extra glaze left on it. Use a wallpaper smoothing brush to comb fine lines into the glaze. Let the paint dry for at least 24 hours.

Old Wall Texture: Mist wall evenly, and then take tiny amounts of glaze and lightly scrub onto wall with angled brush in a random fashion, lighter in some areas and then heavier in others. Next, take the floor staining brush to evenly brush the glaze out. This will help crate an ‘aged’ look which you will get by glossing over the earlier brush strokes. Be sure to let it dry completely before moving the furniture back.

Wood Grain Finishing Technique

Paint an X on the back of the panel to keep it from warping. Prime your panel with eggshell finish paint. Next coat the panel with a clear glossy acrylic mixed with some burnt umber tint and paint the background to make the wood grain color. You will have to play around with how much tint you need. Choose a background color and wood grain tint depending on what wood you are trying to match. Get the acrylic on the panel nice and even, roller marks and lines can take on a wood effect, with darker and lighter spots. The coat of acrylic allows the rocker graining tool to slide nicely.

When you are using the wood grain rocker, make sure to pull it in various ways to create multiple effects, you start with rocking and then hold off on the rocking and just do a little bit of back and forth. Each pass should be a little bit different than the previous pass (watch the video). Take the wisk broom and pull it back and forth through the grain to add organic wood effect. Let the grain dry a bit then add toner. Using the same tinted material that you used for the grainer, roll a coat over the wood texture and create a layer of darkness. Then brush it with a regular brush to hide any roller textures. You can always add another layer if you want a darker color of wood.

Create a Faux Marble Bathroom Countertop

Does your bathroom sink countertop need a new look? A faux marble countertop is a fun project and looks great! Clean the surface of the sink very well. Tape around the edge and place a protective cover over the sink. Begin with primer you can use white as a primer or use the color of the walls of the bathroom. Wait for 2 hours to let the primer dry. Then paint background with an assortment of complimentary muted colors. Use a muted color first then dab on a spicier color, then finish with a darker color diluted with water keep your paint moist and dab on the paint with a wet rag or sponge to bring out shadows and interesting texture. The veins of the marble in this video are created with a feather as a brush. You can create an effect that looks like authentic marble. The way to get marble finish is to do a light layer, a dark layer then a light layer.

Determine How Much Paint you Really Need

Are you always wondering how much paint to buy for your next painting project? GNH can help you determine exactly how much you need.

For your first wall, measure how many feet from floor to ceiling as well as the width of the wall. Multiply the height by the width to determine the wall’s square footage. If the wall opposite is the same size as the wall you just measured, then there is no need to measure it, simply double the square footage from the first wall. Measure the remaining walls by measuring the height and width and add up the square footage from each wall to determine the total for the room.

When measuring walls that have doors and windows, don’t include them in your measurements – this will give you a little extra paint for touchups. On average, one gallon of paint is enough for 350 square feet.

Click below to browse GNH’s selection of Benjamin Moore paint. Remember, if you have any questions about installations, just call our specialists at GNH Lumber.

How to Install a Tile Backsplash

Create an elegant look in any kitchen with a tile backsplash. Installing a tile backsplash is an easy do-it-yourself project that creates a very satisfying result. This video shows you how to add this decorative and protective element to your kitchen. It’s an investment in the beauty and resilience of your home that will last for years to come.

Refinishing Kitchen Cabinets

Refinishing Kitchen Cabinets with A new coat of paint can make worn, tired kitchen cabinets look new again. This is much cheaper than purchasing new cabinets. Thorough preparation is the key to a successful repainting project: Remove the doors and hinges from the cabinets, clean the cabinets with a cleanser, sand the surfaces, “scuff it” to make the new paint adhere. After sanding, vacuum the dust.

Prime the cabinets with tint to match the color you are going to finish with. Apply the paint in thin light coats. When the primer is dry, after about 4 hours, sand the cabinet door and remove the dust with a tack cloth. Make sure you have a smooth surface for you final coat of paint. Primer plus 2 coats of paint should complete the job.

How to Put Up a Backsplash

Adding a new backsplash is a great way to jazz up an otherwise dull room. With many different types of tile to choose from, whether it’s stone, glass, ceramic or porcelain tiles, the styling options are literally endless. A DIY backsplash is the perfect solution!

Starting off with working on a small area first like a backsplash is a great way to get experience before tackling a bigger area.

The more things you can take into consideration in your planning and laying out, the better the finished product will look!

  • Pick a tile that will lay out nicely with your space so that you will have fewer cuts
  • Make sure you get the right spacers for your tile, ask your sales representative to help you pick out the right spacer when you purchase your tile.
  • Make sure you are starting with a level surface. More often than not, counter tops and cabinets may not be perfectly level.