Exterior Painting Project

How to Paint the Exterior of your Home

Exterior Painting Project

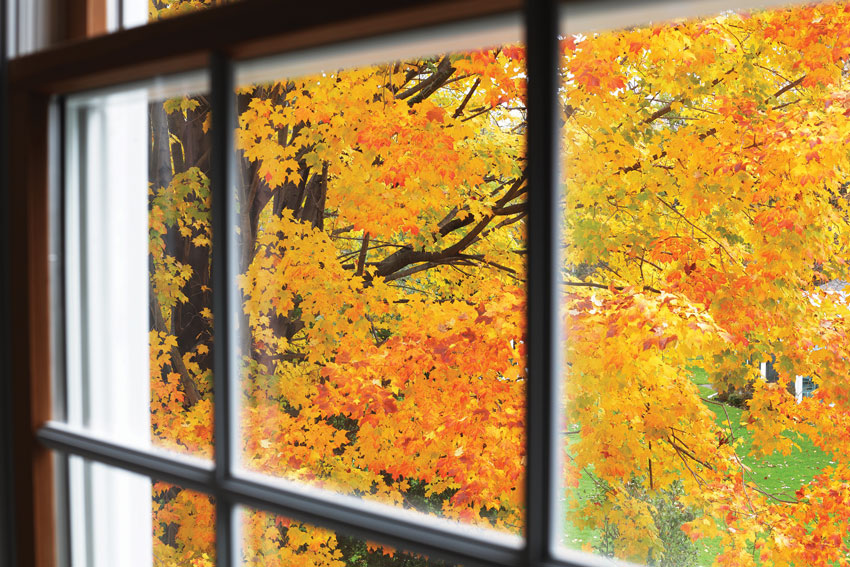
Early autumn is a great time of year to tackle your home exterior painting project. The temperature is warm during the day and the humidity is low. This means quicker drying times. If you’re not sure how to paint the exterior of your home, you will want to:

  • plan ahead
  • buy enough paint in the same color
  • tackle the job one section at a time

With a little planning, your home exterior painting project will be fun and satisfying!

Step 1: Envision the Final Product

Select a color palette for your home’s exterior walls, trim, shutters, and doors. There are some tried and true color combinations that are beautiful, taking the guesswork out of choosing colors.

Use Benjamin Moore’s Personal Color Viewer tool. It will help you visualize the end result. Plus it will list compatible paint colors by name and product number for easy reference. Tip: Basic whites, light blues, light beiges, and yellows work best for resale curb appeal.

Step 2: Prepare the Exterior Surfaces

A clean and debris-free exterior is best for holding paint. Before you apply paint, spend a day preparing your home’s exterior. The first step is sanding or scraping old and peeling paint. Then, check for gaps between the siding and windows. Caulk where needed, or replace lengths of siding or shingles. Finally, use a power sprayer to thoroughly wash your home’s exterior. Don’t forget to allow a couple of days to dry completely before applying paint.

Step 3: Planning & Prep

Watch your weather forecast. Then choose a stretch of warm, dry days to start painting. Plan on having a couple of days (a weekend) to work.

Make sure you buy more than enough paint to cover your home’s exterior. It’s helpful to get a little bit more than you think you will need for touch-ups.

Before you paint, place plastic tarps or drop cloths over walkways, shrubs, and grasses. This helps protect against spilled paint. Also, move or cover up any outdoor furniture, hoses, or grills, that are close to the house.

Step 4: Use Paint that includes Primer

Look for a paint that has combined primer and paint into one product. This will cut down on the number of coats you will have to apply.

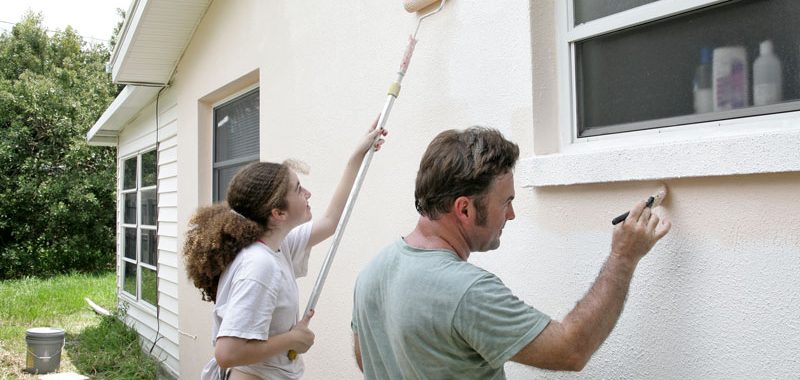
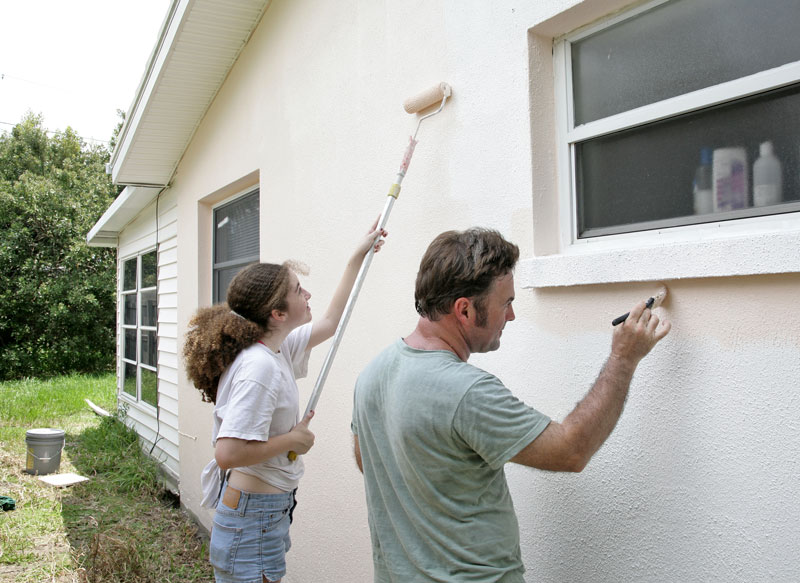
Step 5: Start at the Top and Paint Down

Start at the top and paint down to control streaks and drips. This method will allow you to feather out mishaps in the direction you are working.

Why Should I Stain My Wooden Deck?

How to Choose and Apply Deck Stain

Why Should I Stain My Wooden Deck?

Why Should I Stain My Wooden Deck?

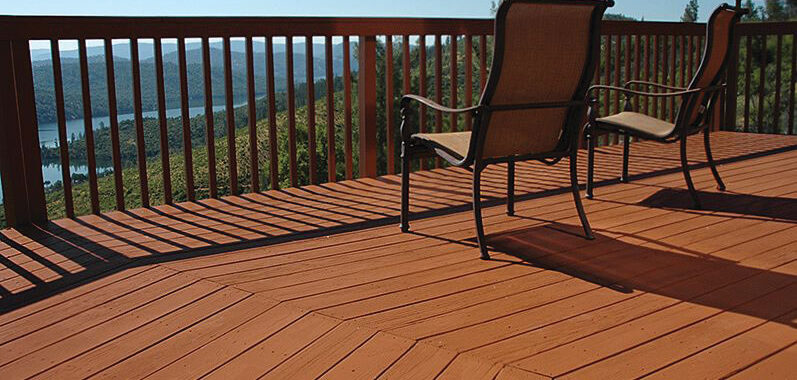
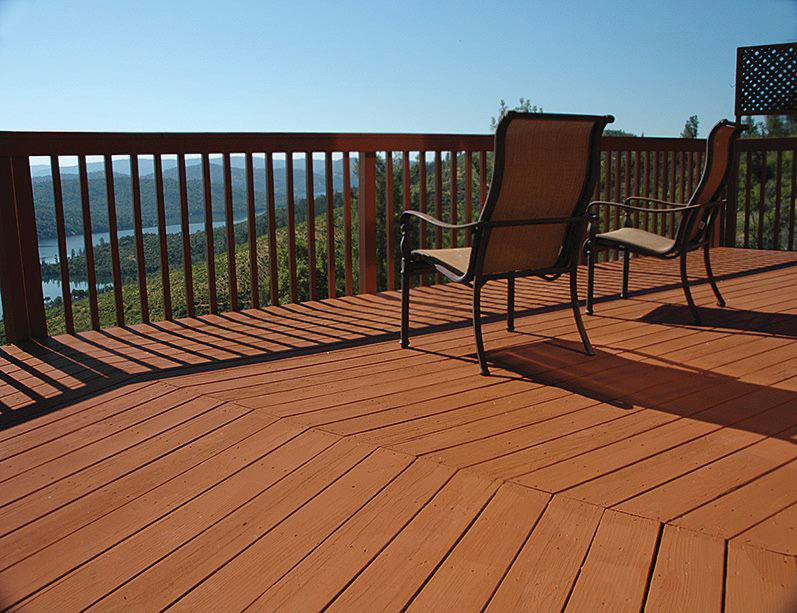
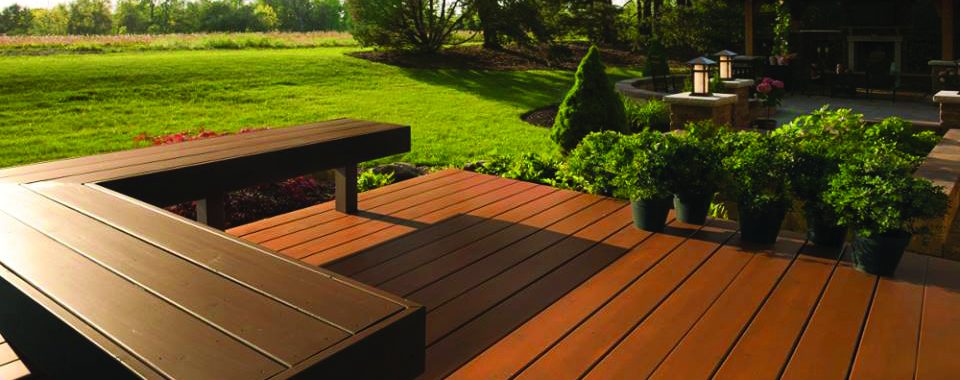
Your outdoor space is where you and your family share meals and memories. You’ll want it to be welcoming all year round. So, if your wooden deck is fading or peeling, a new coat of stain goes a long way to restoring it to beautiful condition!

Gather Your Gear

Before you can begin the staining process, you are going to want to have all the right tools and gear on hand! The quality of your tools means professional-level results. Before you start prepping your deck for staining, we recommend gathering the following equipment:

  • Gloves
  • Safety glasses
  • Broom
  • Garden hose
  • Drop cloth
  • Sanding sponge
  • Stiff synthetic-bristle brush (make sure it’s specific to oil, water-based formulations)
  • Pump sprayer (optional)
  • Roller covers
  • Extension pole
  • 4″ brushes (make sure they’re specific to oil, water-based formulations)

How to Choose the Right Deck Stain

From clear to solid colors, there are so many choices in opacity and color to choose from. Following these simple tips on choosing the right deck stain for your wood deck will help you get your project started.  Staining your deck is one of the easiest ways to update the exterior of your home and make it the perfect space for years to come.

Prepping Your Deck For Staining

Prepping Your Deck for Staining - Rinse Cleaner

Before you apply the stain to your deck there is some prep work that needs to be done. Follow these steps to prepare for applying stains. Make sure the surface is clean (no dust, dirt, wood fibers or grease), dry and free from mildew. If a surface is not cleaned and prepared properly, the stain may not adhere well.

  • Sweep the deck to remove debris.
  • Apply cleaner using a roller or pump sprayer (remember to wear protective equipment to avoid contact with skin and eyes).
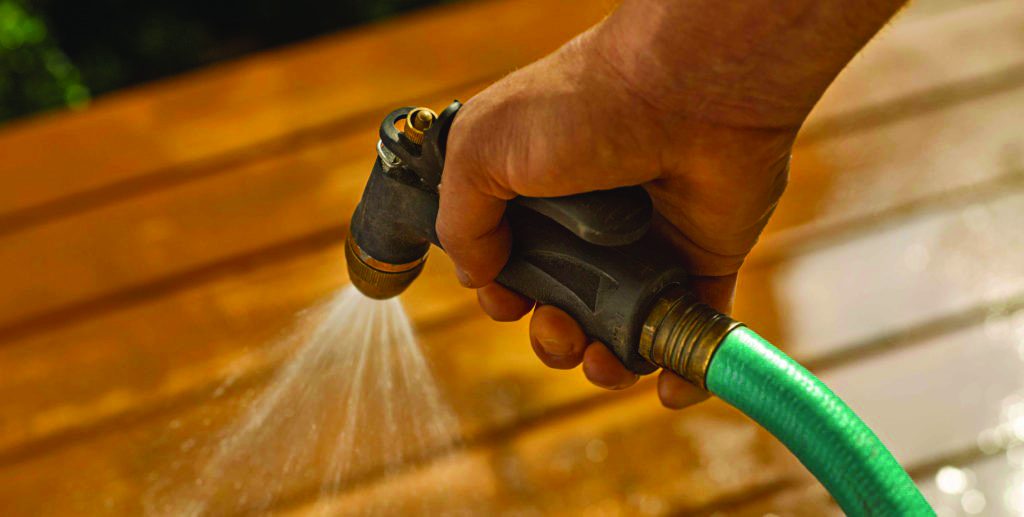
  • Allow the cleaner to set for 15 minutes. Mist your work area with a garden hose to keep it wet while the cleaner soaks into the wood.
  • After 15 minutes, work the cleaner into the surface using a stiff synthetic-bristle brush. Scrub to remove residue thoroughly.
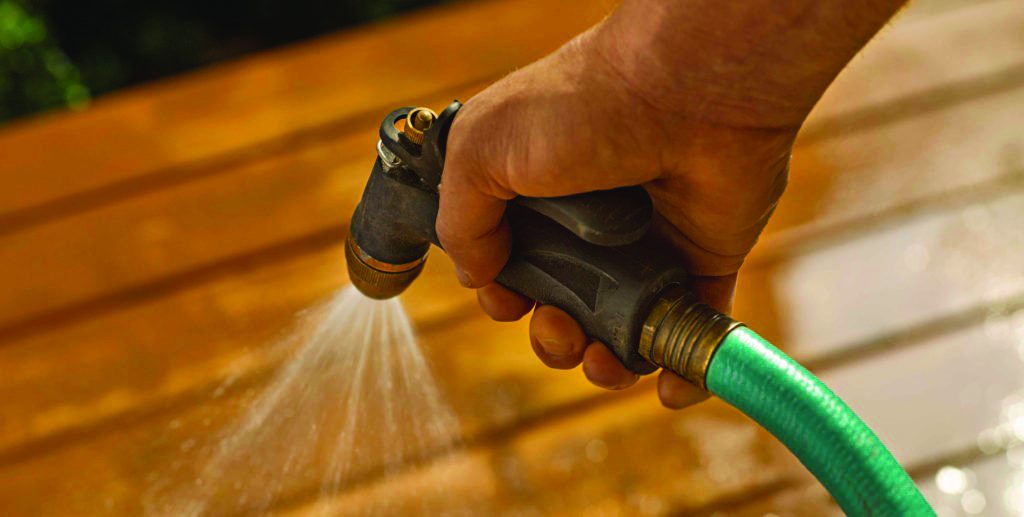
  • Completely rinse the cleaner from the wood with a garden hose.
  • Once the surface is clean, dull, and dry, you may apply stain or coating,

How to Apply Deck Stain

Work with the wood grain and apply an even coat of stain using a 4-inch brush. You may also use a roller to first apply the stain, and then work into the wood with your brush. Remember to always read the products’ details and instructions. There may be additional steps that are recommended.

For the best results, you will want to avoid staining midday or in direct sunlight. And avoid using your deck for 24 – 48 hours so it can dry thoroughly.


Benefits of Metal Roofing

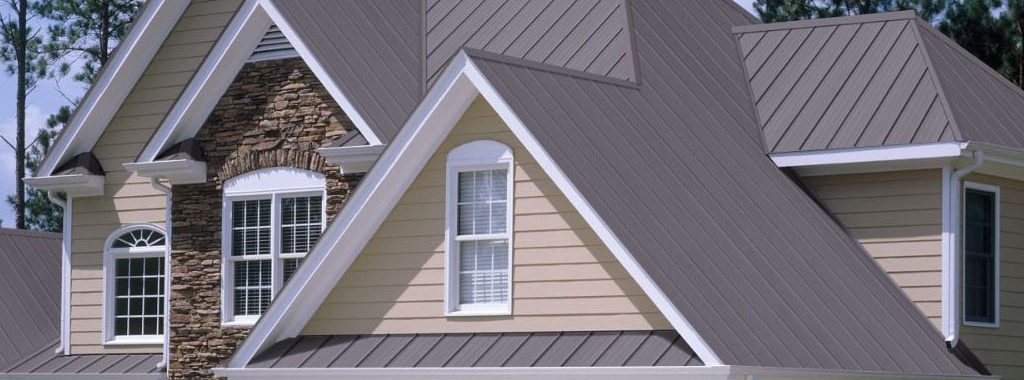
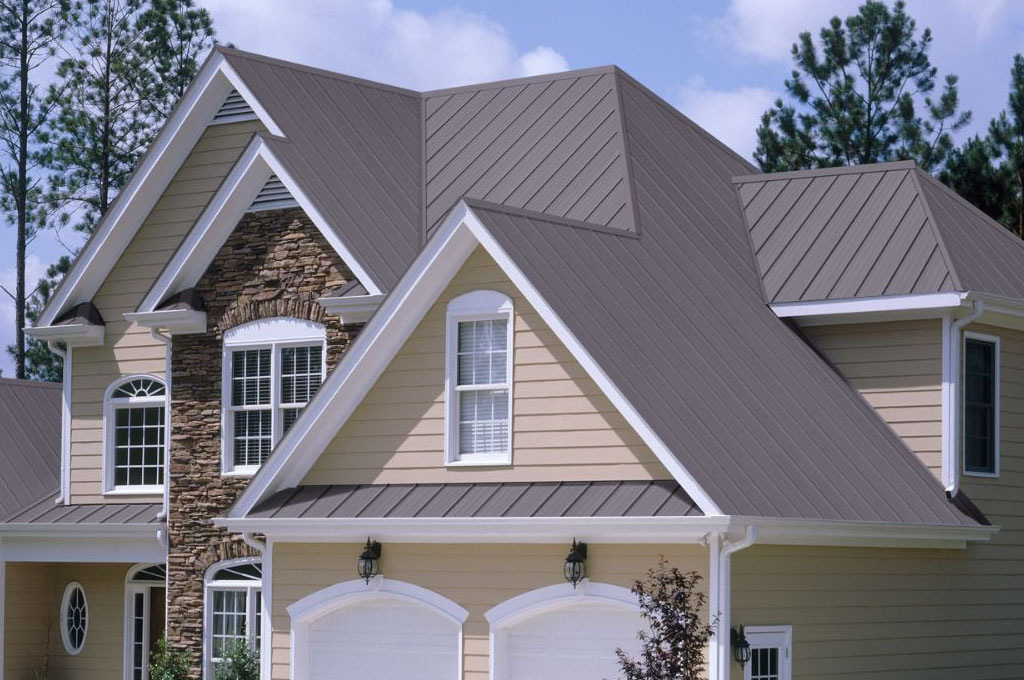
House with Metal Roof

Metal Roofing is a Homeowner’s Dream

When most people think of metal roofing, they usually picture large commercial buildings. But metal roofing has been surging in popularity with residential homeowners lately. It’s a viable alternative to traditional asphalt roofing, but what are the benefits of metal roofing? Well, whether you’re building a new home from scratch or updating your existing roof, there are a few distinct advantages that you can enjoy!

Better Cost-Effectiveness

One of the key benefits of metal roofing is that a metal roof will last about 40 to 70 years, whereas traditional asphalt roofs last about 12 to 20 years. Live in your house long enough and you could end up replacing an asphalt roof anywhere from two to five times in the length of time a metal roof would remain in good condition. As a matter of fact, for many homeowners, the first metal roof they install on their home is the last roof they install!

Better Energy Efficiency

If you’re looking to save some money on your home’s monthly bills, installing a metal roof might be helpful. Homes that have metal roofs can help reduce your annual energy spending due to a couple of factors:

  • Reflectivity: Reflectivity means how well the roof reflects the sun’s rays, which metal roofs are great at. When your roof reflects the sun, it decreases the amount of heat transferred into the attic. The less heat in the attic, the lower your electricity bill will be!
  • Emissivity: Emissivity means how quickly your roof cools off after the heat is removed. Your roof is exposed to extreme heat in summer, and no matter what, it will soak the radiant heat and transfer it to the attic, essentially trapping it and making your AC unit fight to get it out. With energy-efficient metal roofs, your roof will be cool to the touch after the sun goes down, allowing your AC unit to take a much-needed breather, and resulting in lower cooling costs.

Better Weather Resistance

Metal Roofing Choices

In our neck of the woods, heavy snowfall and rain are a common concern. Thankfully, adding metal roofing to your home makes dealing with inclement weather a snap! Metal roofing is hard and slippery by nature which makes it hard for snow and water to make a grip. On top of that, if you install dark tones of metal roofing or metal roofing with a PVDF coating it doubles up the benefits of metal roofing. Dark tones of metal roofing quickly warm to the sun, encouraging snowmelt and the resin polyvinylidene fluoride (PVDF) coating that’s common on both Union Corrugating or McElroy Metal Roofing helps to reflect back more sunlight, further increasing your roof’s resistance to snow or rain buildup.

Better Curb Appeal

Every homeowner is going to have an opinion about what looks best on their home. But even for those who only prefer the look of shingles on a home, there are specialty metal roofing options available that look just like them! In fact, there’s a ton of metal roofing options available in a wide variety of both styles, colors, and finishes. Shingles, on the other hand, typically only come in a limited number of colors. With a metal roof, you get the benefit of using the most energy efficient materials that save you money for several decades – on top of making your home look even more fabulous.

Add Innovation & Durability with Metal Roofing

Metal roofing has truly come full circle over the years! More and more homeowners are discovering the benefits of metal roofing and are adding it to their homes with great results. Get in touch with the GNH Lumber team today to learn how it can improve your home!

Clean Siding

How to Clean and Maintain Your Home’s Exterior Siding

Clean SidingKeeping your home’s exterior siding in good shape is not only a great way to improve your home’s appearance, it also helps you avoid repairs and costly services down the road. With a bit of preventative maintenance, you’ll be able to extend the life of your home’s exterior siding for 50+ years!

In this blog, we’ll discuss how to clean and maintain your home’s exterior siding so you won’t have to worry about costs adding up for a few decades.

How Do You Maintain Your Home’s Exterior Siding?

No matter the materials, it’s important to clean your home’s siding every six months or more to keep it in optimal condition for many years to come. You should also inspect your home’s exterior for any damages at least every six months, or after violent storms and high winds. Here’s a quick guide on how to maintain the siding of your home based on the material:

Vinyl Siding Maintenance

Vinyl siding is low maintenance and is designed to be left alone, which is great! However, this doesn’t mean that it doesn’t have to be maintained. The good news is that you can easily clean vinyl siding yourself.

Vinyl siding requires a good power washing about twice a year. Check a few times a year to make sure no boards have come loose or are cracked. If they are, they will need to be fixed as soon as possible. High winds can cause damage and cracks to vinyl easily, so if you had a windy season, be sure to do a walk-around your home after the storm. Remember to give it a good pressure-washing twice a year to reduce damage and renew bright colors.

Tip: Making repairs early will save you money on more costly repairs further on down the road!

Wood Siding Maintenance

Wood siding will need to be treated every 4 to 6 years. In New York, sun and snow are particularly abundant so you may have to treat it more often than that. Because wood is porous and vulnerable to the elements, it also requires paint, stain or sealant to prevent it from moisture, rot and decay.

Like vinyl siding, you need to check the wood siding for cracks and breaks. Most repairs are easy to fix, so do it as soon as you notice the damage. If the color of your wood siding has been lost due to fading and old age, or if it’s spotted with mildew or rest, don’t worry! You can recover your wood’s natural beauty by using a stain remover, wood cleaner or brightener.

Stucco Maintenance

Often times, woodpeckers will attack your stucco siding. They tend to leave holes which will need to be replaced immediately or else they will live in your walls. Since stucco is a very porous material, if a tree leaks its sap on your siding, it can take over and cause huge problems. It can stain rather quickly so go around once or twice a year to remove any stains that are starting to form with a degreaser and bleach.

Cedar Shake Maintenance

If you want your cedar shake siding to live for a long time, you want to make sure it’s treated or stained properly and checked often. Left untreated, cedar shakes can discolor and start to soften, causing it to rot. In order to maintain healthy cedar shakes, you want to make sure to paint or stain the cedar every 5 years. Stain is a more effective protectant for cedar than paint so opt for stain when you can. Hiring a professional to paint or stain your cedar shakes could cost upwards of $2,500 depending on your home’s size.

How Often Should You Clean Your Home’s Siding?

The exterior of your home needs a good cleaning about twice a year. Overtime, cobwebs, dirt and mildew can build up and shorten the life of your siding. A clean house will protect your siding as well as your investment.

How Do You Clean All Types of Siding?

Cleaning the siding of your home can be a bit treacherous, but luckily you only need to do it once or twice a year!

All types of siding benefit from a good cleaning to remove residue. Here’s how to do it correctly:

1. Check for Cracks and Damages in the Siding

Do a quick walk around your home and check for cracks, chipped paint, cracked boards, or other damages before you start the process of cleaning your siding. If you have cracks, water from cleaning could seep into the home, causing serious damage and trouble over time.

2. Invest in a Power Washer

A power washer is key to getting up in the peaks of your house by the roof, blasting away grit and grime, and takes far less time that washing the home’s siding by hand. This is especially true for homes with vinyl and wood siding.

3. Scrub the Siding with TSP
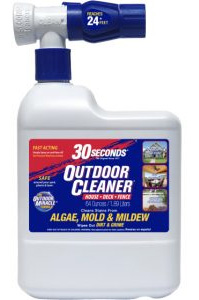
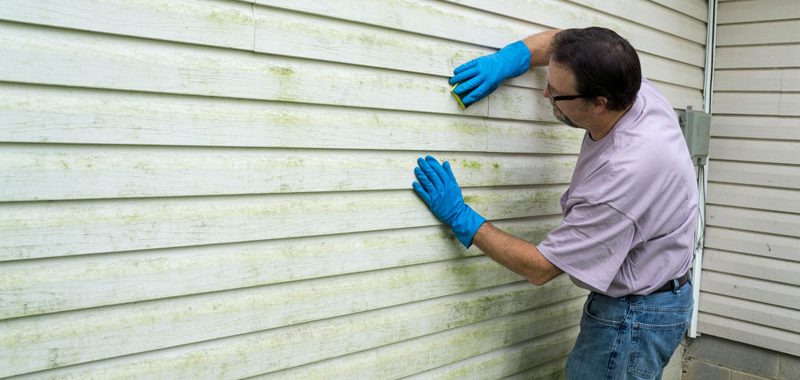
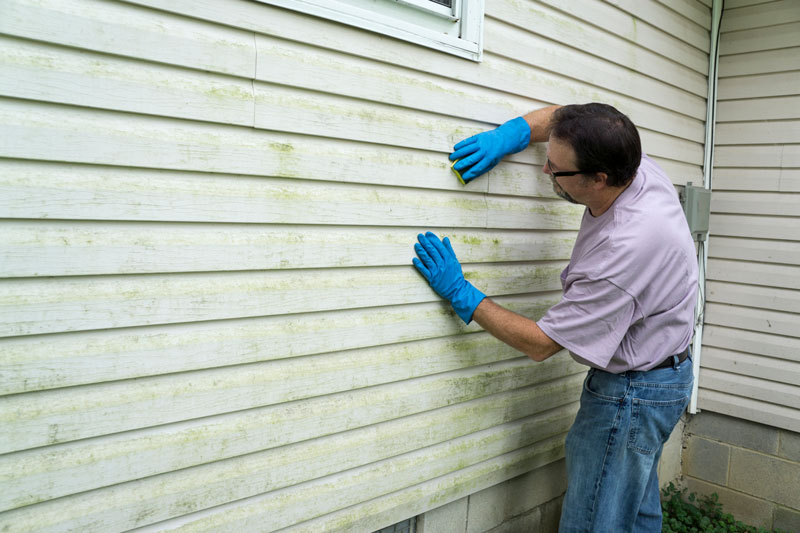
30 Second Outdoor CleanerNext time you’re at GNH Lumber, pick up some TSP (trisodium phosphate). The TSP that GNH Lumber carries is phosphate-free. Mix ½ cup with 1 gallon of water and apply to a sponge, washcloth or soft-bristled brush. Start scrubbing those stubborn areas where birds or spiders have left their droppings. These are usually the toughest things to get out of your siding! Work from the bottom to top to avoid streaking and then rinse.

Don’t want to mix your own solution? GNH recommends 30 Seconds Cleaner for Algae, Mold and Mildew. This powerful formula is safe to use around landscaping, plants and your lawn. Simply attached to a garden hose, spray on and hose off. It is proudly made in America and has been around since 1977 so it is a tried an true product. Stop into our Greenville or Windham locations and ask for it by name.

Keeping your home clean and maintained properly can save you tons of money in the long run!

For all your outside cleaning and maintenance needs, visit our Windham or Greenville location
What are Some Advantages to Choosing Double Hung Windows?

What are Some Advantages to Choosing Double Hung Windows?

What are Some Advantages to Choosing Double Hung Windows?

Have you considered updating or adding double hung windows? Fall is here, soon to be followed by winter. Now’s the time to prepare your home from bitter cold temperatures.

Your windows may appear operational, but if they whistle, rattle or leak, then you’re likely losing money in heating costs. The same is true of your brittle or cracked weather-stripping. Small leaks, cracks and rattles add up to a big difference in your monthly utility bills.

If it’s time to update your windows, consider double hung replacements. There are many advantages to the design of the window, including easy cleaning and care. In addition, double hung windows can improve energy-efficiency and curb appeal, too.


Click here to get started now.

Here are some of the major advantages of double hung windows:

  • Superior Ventilation. They provide great ventilation capabilities and the ability to control airflow. For maximum ventilation, you simply open both top and bottom sashes – the bottom sash will let in cool, fresh air, while the top sash will allow warm indoor air to be expelled through it.
  • Aesthetically Adaptable. Its traditional look can match any home style. In fact, double hung windows are known for their classic appeal, which makes them suitable for any home or room. They also come in a variety of styles, sizes, colors, and finishes.
  • Easy to Maintain. These windows often come with tilt-out sashes that make cleaning easier, as you can clean both the interior and exterior from inside your home. Some even have removable sashes.
  • Addition Friendly. They are ideal for the easy fitting of air conditioners and screens. Because most units are designed to slide up and down instead of cranking out or sliding to the side, they can safely hold AC units, and allow for their easy removal, as needed.
  • Energy-Efficient. Aside from the superior ventilation mentioned earlier, this type of window brings in a generous amount of natural light. By choosing Low-E glass with gas fill you can further enhance savings on your energy costs.

For all these reasons and more, you should seriously consider double hung windows as an option when choosing replacement windows for your home.


Get Your New Windows Today!

The experts at GNH Lumber are here to answer your questions, provide product suggestions and tips for each step of your window replacement project! Click here to get started.

How to Choose Replacement Windows

How to Choose Replacement Windows

How to Choose Replacement Windows

The autumn season is the perfect time to swap out drafty old windows with new energy efficient ones. Investing in replacement windows now will equal savings on heating costs all winter long—and beyond. But how do you choose replacement windows in the first place?

One shortcut is to visit your local GNH Lumber to discuss your window replacement project with our seasoned experts.

Click here to get started now.

To help you choose just the right windows for your home and budget, we recommend considering some common cost-saving options and answering a few common questions beforehand:

1) PLANNING

Start by considering which windows you want to replace. Do you want to replace all of them, one floor at a time, or just individual units that will save energy and add convenience to a particular room in your home?

2) BUDGET

Prepare a preliminary budget. This will help you determine how many windows you can replace with the styles, features, and materials you want. Pay particular attention to the window’s thermal performance since this will factor into the cost. Windows that qualify for tax rebates may cost more initially but these costs are offset by rebates and greater energy savings over time!

3) APPLICATION 

What do you want your new windows to do? Are they architectural design features or will they provide specific functionality? Do you want the windows to open and close? How they should operate? Vinyl windows like Smarter Windows from GNH Lumber will provide lower maintenance, greater convenience, and higher energy performance than most wood windows.

4) ENERGY EFFICIENCY 

Finally, discuss energy-efficient window options (like standard insulated glass and low-e glass) with the knowledgeable staff at GNH Lumber. Don’t forget to work the additional cost of these features into the context of estimated savings on your heating and cooling bills. Do the expected savings justify the extra cost? Vinyl window frames are less expensive and do provide more insulation qualities.

Sources: http://www.smarterwindows.com/Page/How_to_Buy_Replacement_Windows

How to Grow Grass in Shaded Areas

How to Grow Grass in Shaded Areas

How to Grow Grass in Shaded AreasHave you tried to grow grass in shaded areas of your lawn without success? Many lawns have shady spots where grass seed just doesn’t want to sprout and grow. Maybe pet or insect damage has complicated the process, making new grass growth that much harder. So, how do you successfully grow and maintain healthy grass even in the darkest spots of your lawn?

Here are 3 easy tips from Scotts to help turn shady spots into havens of thick turf!

1) Evaluate the Amount of Sunlight – According to Scott’s, “The rule of thumb for even shade-tolerant grasses is that they need at least three to four hours of direct sun, or four to six hours of dappled sunlight, per day.” If the spot on your lawn gets less sunlight than this, try pruning back nearby trees or shrubs to allow for more light.

2) Find a Grass Seed Specifically for Shade – There are certain grass types that are designed to thrive in shade. For those of us living in the Northeast, a hearty fescue blend, like Scotts® Turf Builder® Dense Shade Mix will work well.

3) Plant, Water and Watch – First, prep the area with a rake to loosen the soil then spread your grass seed at the proper rate and cover with quality soil to help your grass seedlings get off to a great start. After that, you water, watch and wait. Keep your new shaded grass moist by watering once or twice daily, until you see it grow tall enough to mow. Then cut back to a normal watering schedule.

*Remember: when you plant grass seed around trees, the trees are hungry and thirsty, and will compete with grass for available water and nutrients. Be sure to regularly feed the grass around trees and water generously.

Sources: https://www.scotts.com/en-us/library/grass-grass-seed/how-grow-grass-shaded-areas

3 Summer Lawn Care Tips from Scotts

3 Summer Lawn Care Tips from Scotts

3 Summer Lawn Care Tips from ScottsOne of the best parts about summer, is spending time on the lawn barefoot! There’s nothing quite like the feel of healthy green grass between your toes, especially when it’s cool and lush. So, how do you protect that gorgeous green carpet from the ravages of heat, drought, mowing and malnourishment? The key is in proper lawn and garden care, and that’s more than just using the right tools! Here are 3 quick summer lawn care tips from Scotts to help you keep your lawn looking and feeling its best!
Summer Lawn Care Tip #1: Mow High

According to Scott’s, “Gorgeous summer lawns start with long, deep, healthy roots that snake through soil to find moisture.” Encourage deep roots by mowing as high as you can for your grass type. Also, sharpen mower blades at least once a season to ensure a clean cut on individual blades of grass, which helps reduce moisture loss. Not only will this keep your lawn looking uniform in terms of length, it’ll ensure that your grass can grow back properly and stay healthy.

Summer Lawn Care Tip #2: Water

To keep grass green, healthy, and growing, provide at least 1 inch of water per week, either through irrigation or rainfall. Time irrigation for early morning (between 6 and 10 a.m.) to minimize water loss to evaporation. Be sure to avoid overwatering when irrigating, as this is an easy way to damage your grass and decrease its aesthetic value. To avoid damage from heavy rains, we recommend adding a rain garden to your lawn! A rain garden is a specially designed garden that features plants that need and can handle absorbing more water. You can also use special soil mixes that feature a high concentration of sand to better absorb excess water. This allows more of the heavy rainfall to be absorbed into your rain garden and keeps your lawn looking and feeling better!

Summer Lawn Care Tip #3: Feed

All grass types benefit from summer feeding. Grasses grow most actively during summer heat, so feeding helps fuel and sustain the intense growth. We recommend Scotts STEP 3 Lawn Food With 2% Iron for a great green-up. It also strengthens the lawn against heat and drought. Simply apply with a spreader to a wet or dry lawn! If temperatures are consistently exceeding 90 degrees F, water immediately to reduce stress on your lawn. The final result should be a lovely, lush lawn that not only looks gorgeous, but feels delightful to walk on!

If you’re looking to work that green thumb this season but aren’t sure where to start – we can help! Our knowledgeable team will answer your questions and help you find the right supplies to beautify your entire lawn and garden.

Sources: Scotts Step 3 Lawn Food 2% Iron; Scotts Seasonal Guide for Lush Lawn

Snow Removal Tips

Top 9 Snow Removal Tips for Your Home

Snow Removal Tips

One of the most frustrating parts of winter is the need to shovel snow. You might just want to wait until springtime and just let it all melt. However, the effort must be given.

If you’re tired of wasting time and effort on removing snow every winter, it’s time to use these 9 snow removal tips for your home to get the job done easier, more effectively, and better than ever before.

Top 9 Snow Removal Tips:


1. Use Tall Stakes Around Driveways and Walkways

In Upstate New York, we’re pretty used to the snowfall. So, when we suggest putting large stakes around your driveway and other walkways, you should use that advice. It’s helpful whether you hire a snowplow company, shovel yourself or use a snow blower. While you may think you’ll know exactly where your driveway is, it’s not as easy to locate with a couple of feet of snow.

2. Use a Good Shovel

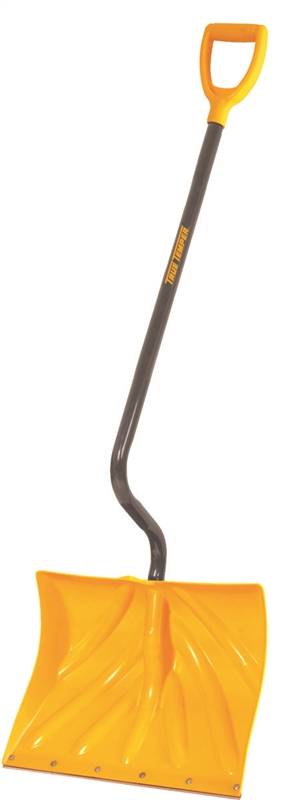
Shoveling snow during the winter is annoying as it is. If you don’t have a quality shovel to work with, you’re just making it harder on yourself and your back. While it might be tempting to buy a cheap shovel when you’re making your decision, it’s wiser to not be a penny-pincher. Spend more money on a heavy plastic or aluminum blade shovel that will get the job done easier.

Also, be mindful that large shovels aren’t always the best. Large shovels can cause back pain and arm stiffness. If you’re looking to find a shovel for heavy snowfalls, you should buy a s-blade shovel. C-blade shovels are better for lighter snowfalls.

3. Avoid Placing Snow Near the Foundation

This is a mistake that a lot of homeowners simply don’t consider when they’re removing snow. Whether they’re removing snow from a roof, from a deck, or from the driveway, you should avoid piling snow next to the side of your house. This will only lead to issues such as frozen pipes and even potentially cause cracks in your home’s foundation.

4. Be Safe

Shoveling snow can be a grueling activity, especially as you get older. If you don’t plan to hire a snow removal service, then it’s best that you follow these safety tips.

  • Bend your knees and lift with your legs.
  • Keep the blade close to you as you lift the snow.
  • Switch between shoveling left-handed and right-handed to avoid overstraining one side of the body.
  • Periodically switch your grip between overhand and underhand.
  • When the snowfall is heavy, don’t try to clear the entire depth at once; only do half at one time.

5. Shovel Often

Whenever you’re removing snow, the reality is that it needs to be done frequently. The snow doesn’t seem to stop, but if you do you just make your job harder the next day. If you leave removing snow until the next day, the snow will start to stick to ground and might even freeze. This makes your job ten times harder.

6. Invest in a Snow Blower

If you’re just done with shoveling snow in the winter, invest in a snow blower. Snow blowers can take away a lot of the tedious parts of removing snow in the winter, but you’ll still need a shovel for your deck. While it’s a faster method of removing snow, it’s also a more expensive option as snow blowers can cost up to $500.

7. Shovel Flat Roofs

If you have a flat roof that is easily accessible, you can shovel your roof, but it’s important that you don’t damage your roof covering. Also, you should always consider your own personal safety before attempting to shovel your roof.

8. Use Roof Rakes for Sloped Roofs

It may be possible to remove snow and ice from a sloped roof using a roof rake, which is a long-handled tool that is specifically designed for this reason.

9. Consider the Impact of Ice Melt

There are a bunch of different options you can use to eliminate a slippery driveway and even a walkway such as salt (sodium chloride), calcium chloride, calcium magnesium acetate, and urea. Learning about the potential consequences of using each form of ice melt is important because these items can end up damaging plants, damaging flooring in your house, or harm your pets.

Snow Shovel


Snow storms and colder temperatures always seem to be on the horizon, but being prepared and following the guidelines above will make snow removal easier so that you can protect and preserve your home.

Stock up on everything you need to battle the winter weather at at GNH Lumber!

How to Prep Your Deck for Stain - Newly Stained Deck

How to Choose the Right Deck Cleaning Product

How to Prep Your Deck for Stain - Newly Stained Deck

If your wooden deck is faded, grey or stained, a bit of washing with the proper deck cleaner and a fresh coat of stain will completely transform your outdoor space! Plus, it will protect your deck from the elements and help extend its life.

Get your deck or porch project started!

Choosing the right cleaning product beforehand will ensure that your newly stained deck will looks its best and last the longest.

Strip the wood on your deck

Use an exterior wood stripper on all exterior wood that has been previously treated or stained. Wood Strippers will remove stains, paint, mildew, mold, algae, and dirt. Using a wood stripper will prepare your deck for priming, painting or resealing. Use a paint brush or pump-up sprayer to apply the stripper and allow to sit for 15-20 minutes.

Brighten the wood on your deck

After stripping the wood surface, apply a wood brightener which helps neutralize the wood and open wood pores so that the stain can penetrate the surface. Apply with a pump-up sprayer, and allow to sit for 15-20 minutes. Rinse with a garden hose. You should wait a few days for the brightener to dry before staining.

If needed, clean the wood on your deck

Exterior Wood Cleaner is intended for older decks. Wood cleaner is used to remove foreign matter from wood, including oxidized (failed) coatings, dirt, grease, oil, pollen, algae and surface stains caused by mildew. Apply with pump-up sprayer, and allow to sit for 15-20 minutes. Rinse with a garden hose. Use a scrub brush for tough stains and repeat process if necessary.

How to Prep Your Deck for Stain - Rinse Cleaner