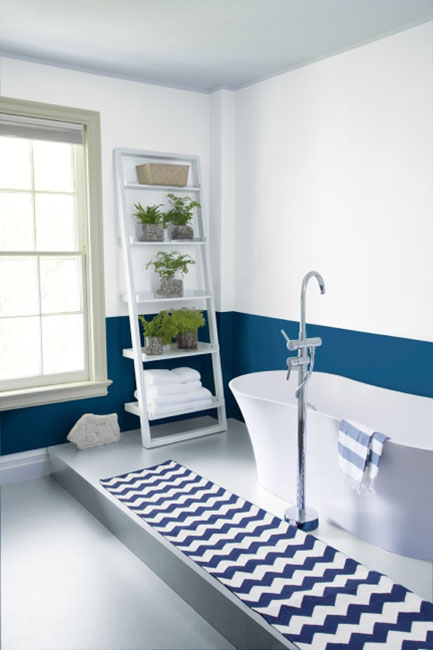
One of the easiest ways to transform the look and feel of your bedroom is with a fresh coat of paint! Creating signature style in your master bedroom starts with you. What colors, textures and elements make you feel most relaxed and cozy?
Don’t forget that inspiration can come from anywhere! Think about fabric, wood, stone, or artwork. Whatever gives you restful comfort at the end of the day and helps you wake up energized in the morning is all that is required.
Finding sanctuary at the end of the day is something we all crave. Creating a personal retreat in your bedroom is easier than you think! Strive for a balance of textures and colors, and don’t be afraid to ask the experts at GNH Lumber for guidance and tips along the way.
Get your painting project started!
Here are 5 creative ways to paint your bedroom and inspire a new color pallet!
1) Modern:
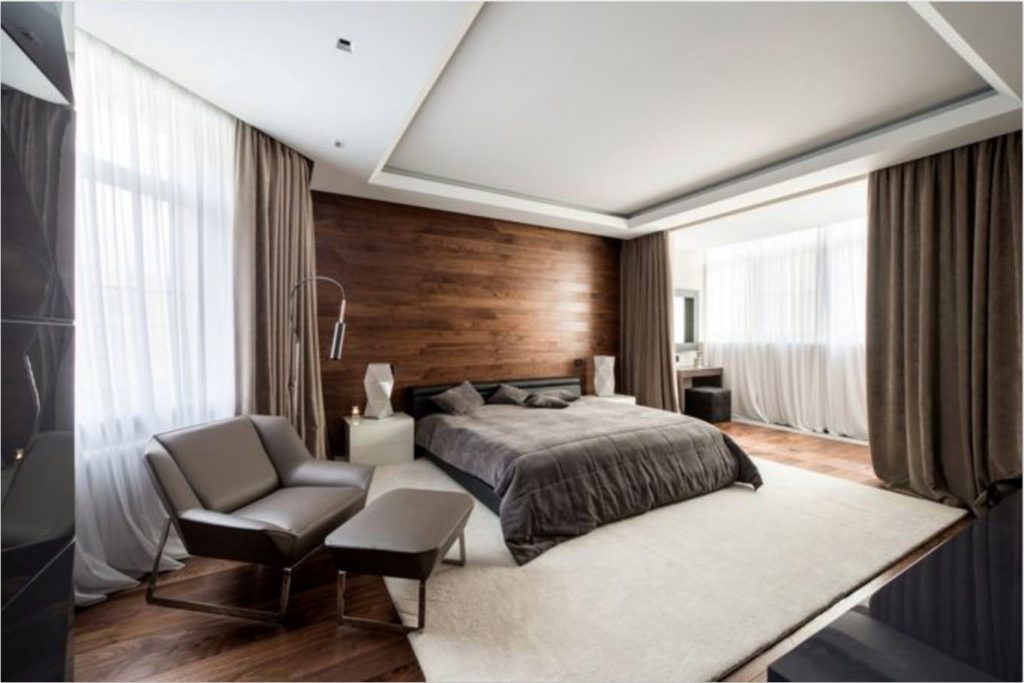
Photo Source: Houzz, https://www.houzz.com/photo/47521799-dominion-contemporary-bedroom-moscow
Contemporary design is less ornate but bold in color and design.
Create some drama with dark tones, natural elements and cream accents. This earthy sanctuary incorporates natural oak floors and a wood accent wall behind the bed. The color pallet is derived from the tones found in the wood. Smokey neutral hues provide the foundation for the subtle drama of dark and light tones in the fabric and the ceiling.
If you have a tray ceiling layer, use light, medium and dark tones to add interest and depth to the architecture. This color pallet uses Benjamin Moore Barren Plain in the center. Keep the ceiling and the tray edges white and tape off a shadow line with Scotch Blue painter’s tape to create a darker border about 1.5-2” wide in Wildwood Crest. This will create that dark inner edge that adds depth to the ceiling tray.
Benjamin Moore Colors used in fabrics, furnishings and walls:
Walls: Barren Plain 2111-60; Bedding, Drapery: Mink 2112-10; Furniture: Black 2132-10; Chair/Shadow Line: Wildwood Crest 1538.
2) Vivid
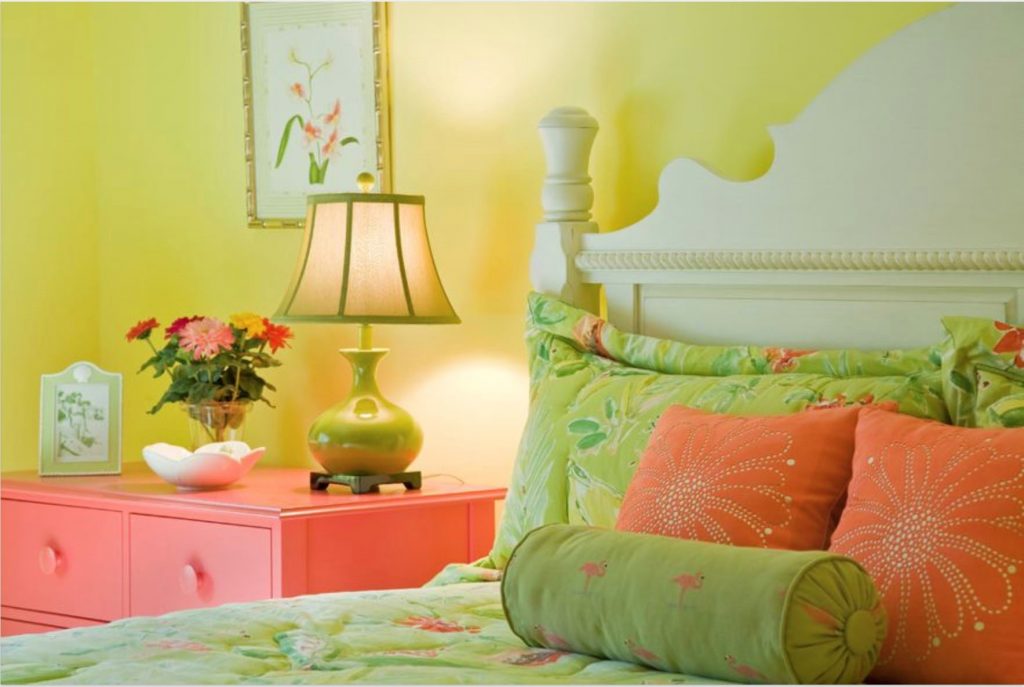
Photo Source: https://www.houzz.com/photo/238678-casa-paralea-eclectic-bedroom-miami
Bold color stories create a vibrant environment that makes even the darkest winter day feel like springtime!
This bedroom achieves its sunny, tropical vibe by using a vibrant green fabric to create the color story. Pulling greens and yellows from the inspiration fabric dictates a lively color palette. Try painting three yellow or pale yellow-green accent walls to add vibrancy. Get clean painting lines by taping off the corners and edges with Scotch Blue painter’s tape.
If you’re feeling adventurous, you could do a Strié finish using the contrasting color over the three yellow walls, or just the bed wall. Strié is a popular form of faux painting using glaze and paint brushes to create a soft natural striped texture. Here’s how to do it:
- Tape off the corners, ceiling line and the baseboards with Scotch Blue painter’s tape.
- Add some glaze at a 2:1 ratio to the paint and apply it in 2’ wide sections.
- Drag a wall paper brush or a long bristle Strié brush through it from ceiling to floor to create subtle stripes.
Practice this technique first, you may need to go over it multiple times to achieve the effect you are after. It works best done over eggshell paint to extend the working time.
You may need to use a smaller soft brush at the ceiling and baseboard to smooth it out. And don’t limit yourself to just painting the walls: a brightly-painted side table pulls this scheme together nicely!
Benjamin Moore Colors used in fabrics, furnishings and walls:
Walls: Hibiscus 2027-50, Flower Power 398; Table: Orange Nectar 2013-20.
3) Textured:
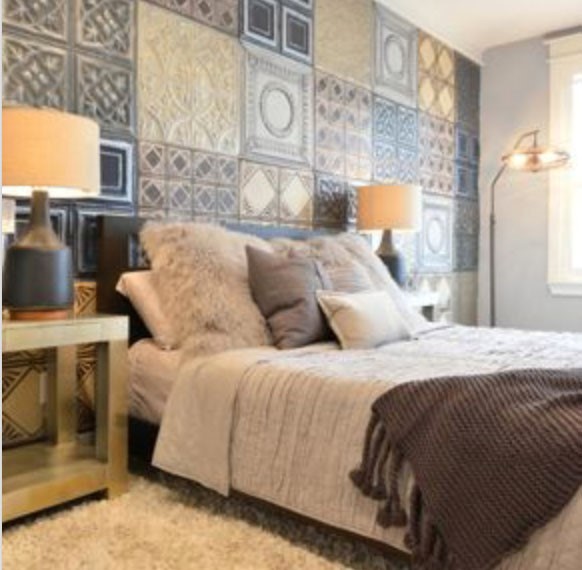
Photo Source: https://www.houzz.com/photo/90957482-woodside-eclectic-bedroom-london
Paint is a medium that can take on many forms.
The use of unique materials can be transformed by paint. It redefined the tin or textured wallpaper panels on this wall.
This look was achieved by painting these wall panels alternately with a base coat of Summer Harvest and Blue Heron, then employing additional colors to help accent and contrast the textures. The other neutral walls allow the bed wall to make a huge statement.
Don’t forget to be creative! Instead of covering the entire wall, you can frame out an oversized headboard area to fit 9 of these tiles for a scaled down effect. Frame the area out with wide mitre corner boards painted Hearthstone Brown.
Benjamin Moore Colors used in fabrics, furnishings and walls:
Ceiling & Walls: Seapearl 961; Tin/Textured Tiles: Gingersnaps 1063, Hearthstone Brown 2109-20, Summer Harvest 2016, Blue Heron 832.
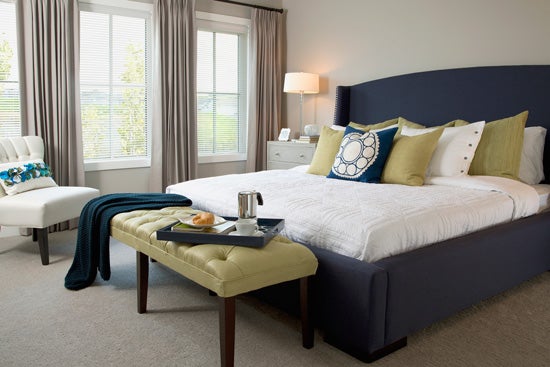
4) Deep
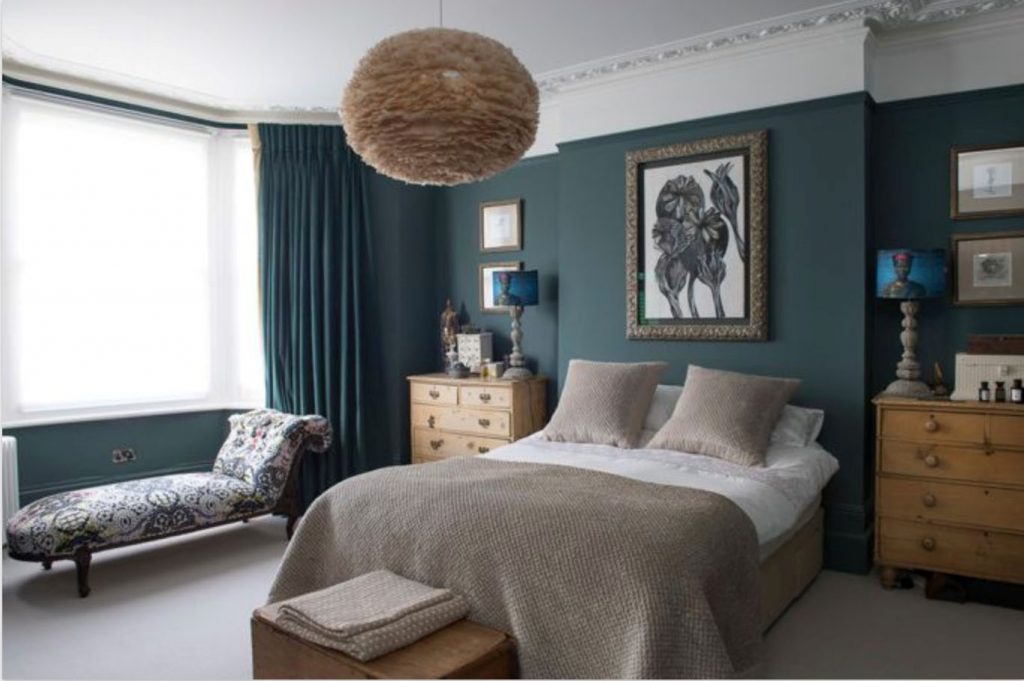
Photo Source: https://www.houzz.com/photo/90957482-woodside-eclectic-bedroom-london
Dark tones are very tranquil and relaxing in a bedroom.
Darker colors absorb light, creating a womb effect to induce deep relaxation. Creating contrast with soft neutrals makes this space feel comfortable and welcoming.
Painting the wall behind the bed a slightly lighter shade of Bella Blue will provide subtle contrast to the remaining darker walls defined by Salamander. The trim is a shade of gray with the ceiling a lighter tone of gray. To keep the lines clean, tape off the trim with Scotch Blue painter’s tape.
This room has a very sophisticated use of color with simple clean lines, which gives the moldings and artwork center stage.
Benjamin Moore Colors used in fabrics, furnishings and walls:
Bed Wall: Bella Blue 720; Rest of Walls: Salamander 2050-10; Trim: Timber Wolf 1600; Ceiling: Heaven 2118-70.
4) Graphic
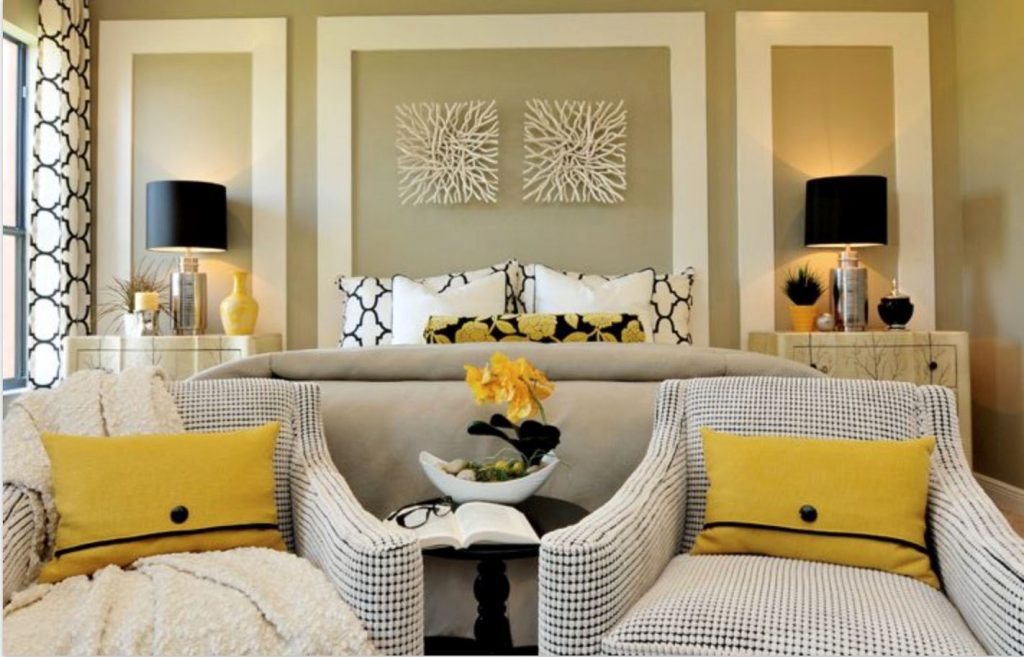
Photo Source: https://www.houzz.com/photo/841470-masterpiece-design-group-contemporary-bedroom-orlando
Creating architecture with color and simple moldings gives this room a modern feel.
The walls are painted a Natural Linen tone. Tape off the simple rectangles with Scotch Blue painter’s tape to approximately 6” wide, or use mitered wood painted Alabaster. Paint the inside color (above the lamps) with the darker shade of Aged Bronze to provide some contrast and interest against the dark lamp shades. Black is a strong modern component in the fabric design, lamps, accent tables and upholstery.
Providing a neutral backdrop gives the design elements a chance to be seen. It has been said that every room should have black to ground the design. That is very true of this room.
Benjamin Moore Colors used in fabrics, furnishings and walls:
Walls: Natural Linen 966; Wall Molding/Blocks: Alabaster 876; Inside of Wall Molding/Blocks Above Lamps: Aged Bronze 231; Side Table: Black 2132-10.


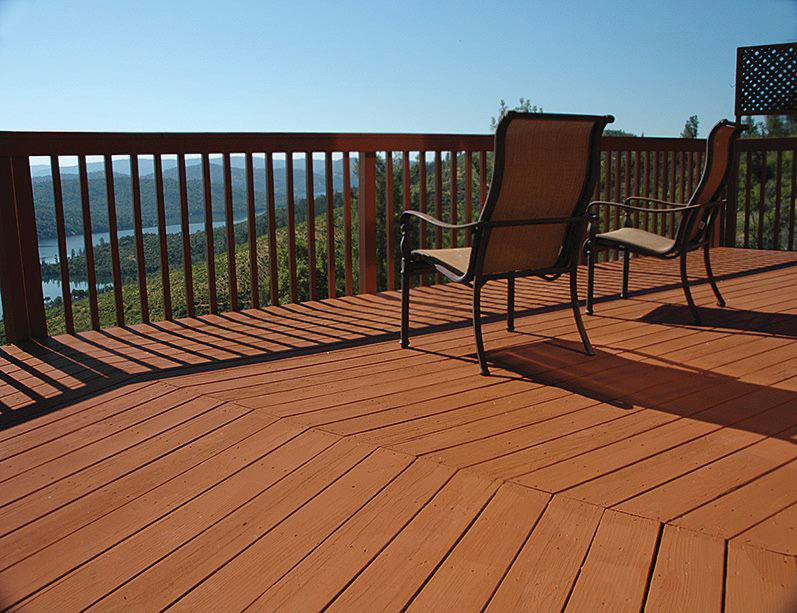
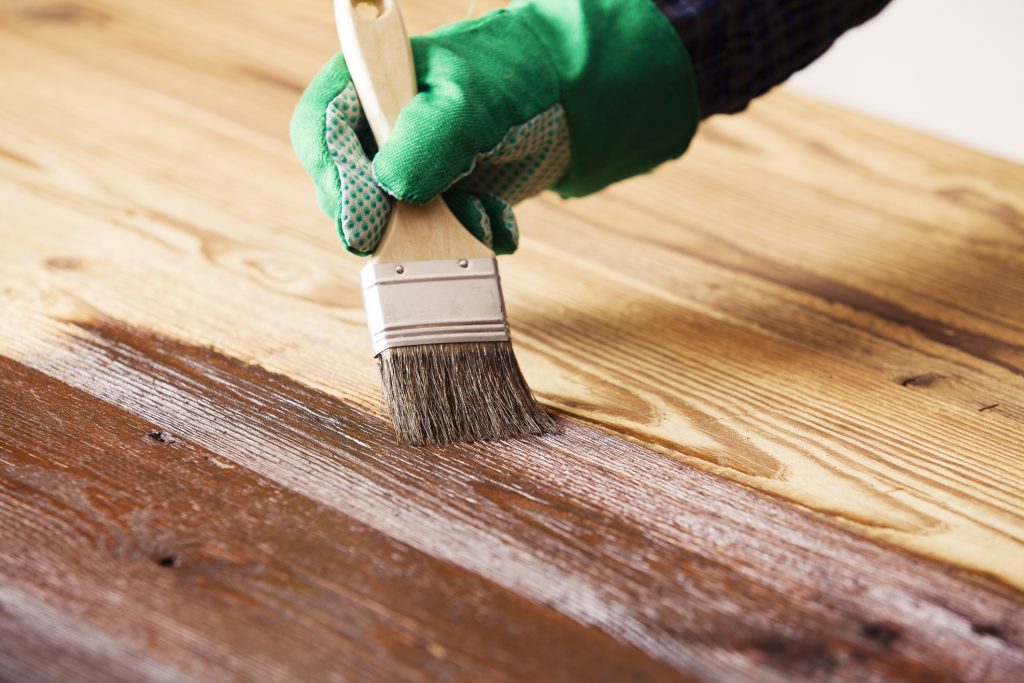
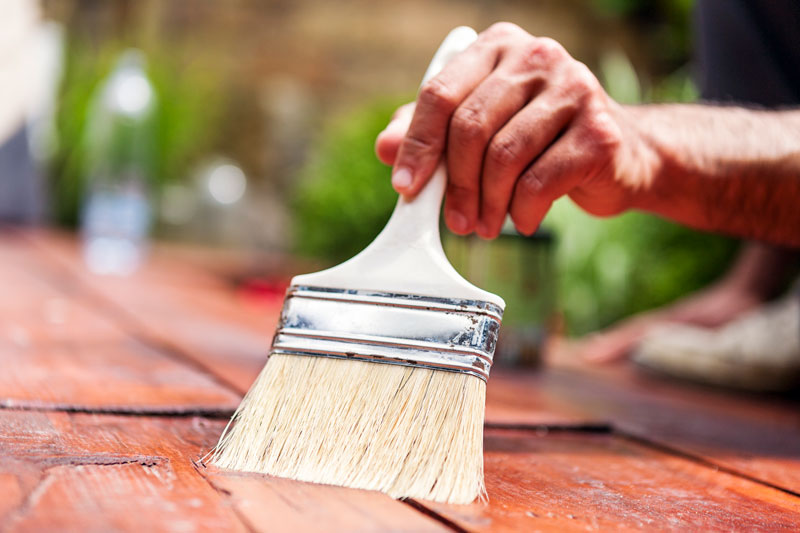 It’s the age-old question for deck care: staining versus painting? So, which is better for your deck, staining or painting? Simply put: it’s a matter of personal preference.


 Satin
Satin


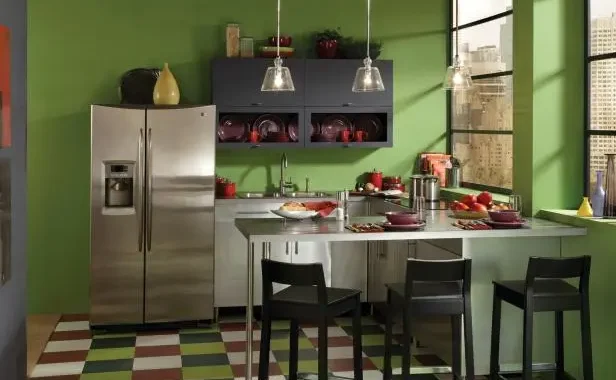
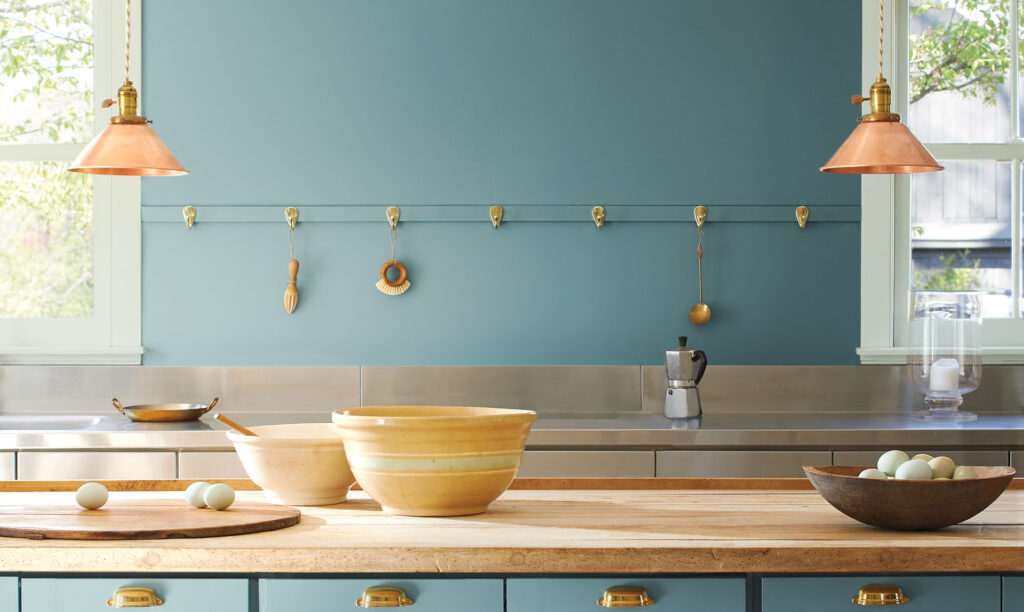
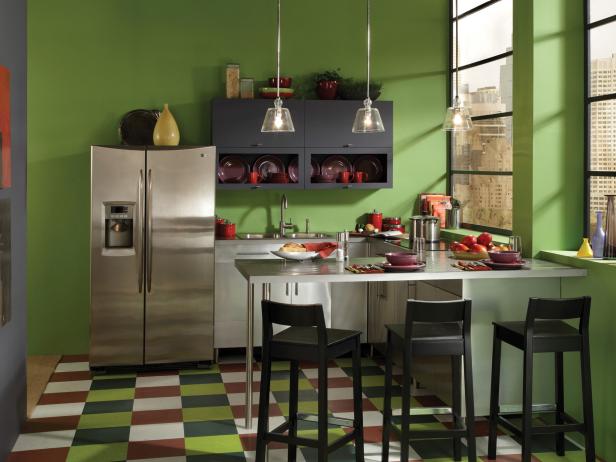 For a quick and easy way to update the look of your kitchen, there’s no better solution than a
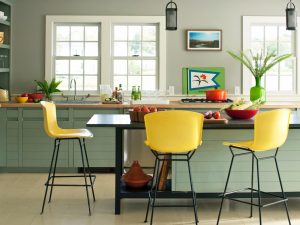
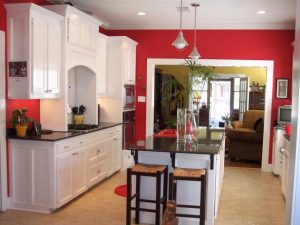 will dictate the design of the room. Neutral walls work better with very colorful cabinets. So, if you want to go crazy with your kitchen paint colors, try opting for white cabinets instead.
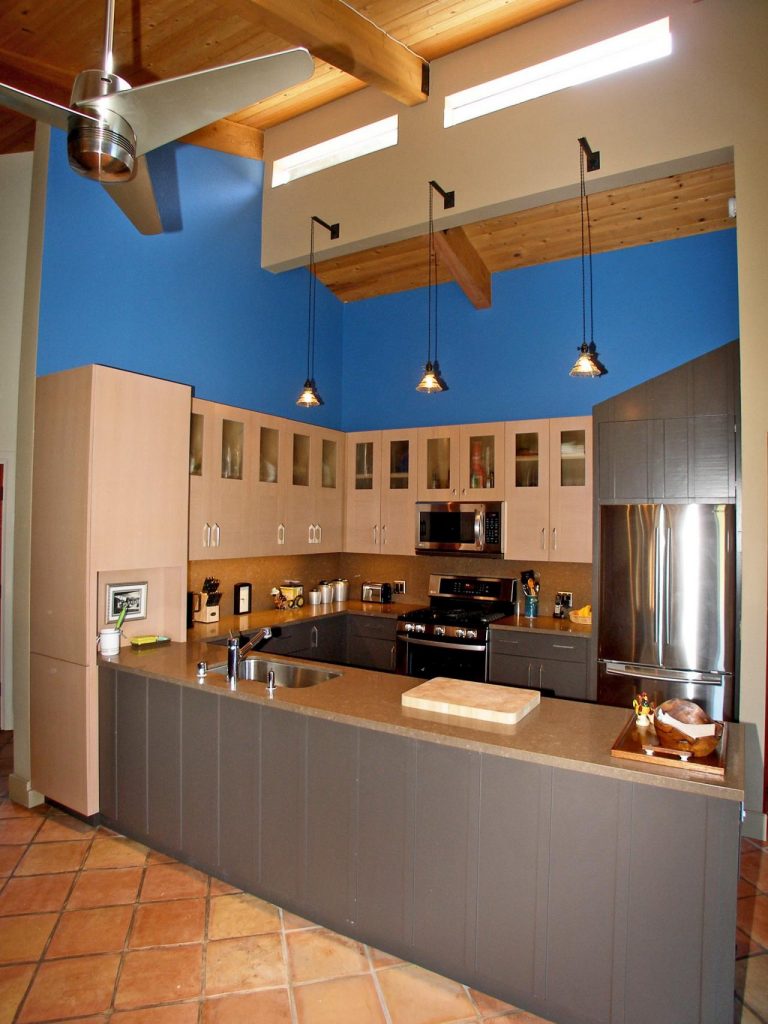


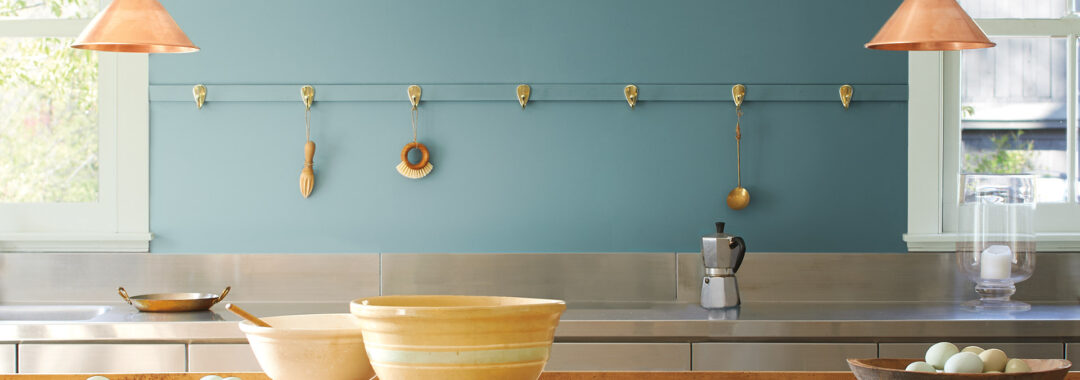
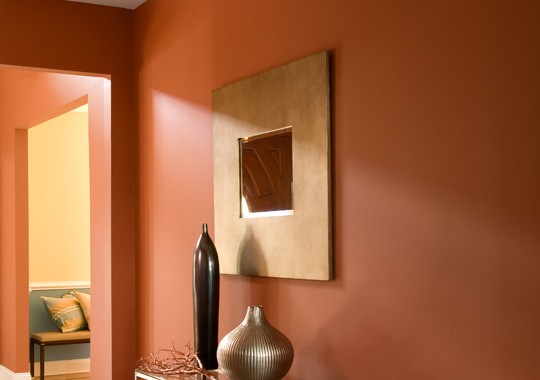
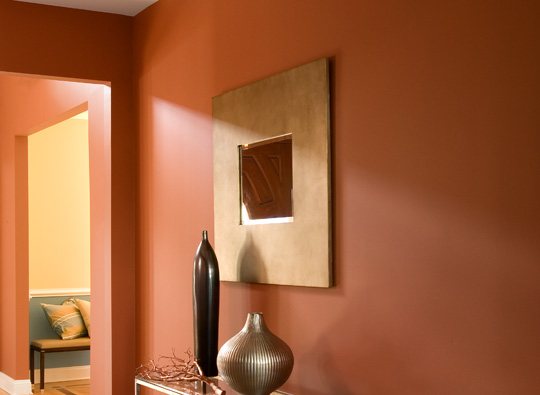
 Are you looking to cover your walls with calming paint colors? Benjamin Moore has color choices that will make you feel even more at home.