A Restroom Retreat
Your bathroom is one of the most private, secluded spaces in your home. It should be a space that invites relaxation and solitude. If you’ve been looking to improve your bathroom, now’s the perfect time. But before starting any sort of home remodel project, you need to have a set style in mind. Your preferred style will influence your entire bathroom remodel. Everything from the tools you use to the brands and hardware you select. Don’t worry if you’re feeling stuck on style ideas either. We’ve prepared a list of some of the most popular bathroom styles in use throughout the country to inspire you!
Modern Farmhouse Style Bathrooms
Farmhouse style bathrooms are one of the most popular styles in the housing market. The key to this look is blending both rustic and modern vibes. We recommend focusing on wood trim and furnishings to best accomplish this. Focusing on the details is important to creating the aesthetic. For the best complementary look, try to use matte hardware or natural wood. We also recommend searching antique shops or auctions for barn doors or soaking tubs to really complete the rustic look. The lighting you choose will also play a large role. Look into larger windows that supply natural light, or industrial hanging lights, as these suit the theme best.
Beach Style Bathrooms
Beach style bathrooms can take on many different looks, depending on your preference. Whether you want to create a calming, ocean atmosphere, or a more exciting animal, aquatic theme; blues, greens, cremes, and browns should be your colors of choice. White tile flooring is also a good option if you want to blend all your calming colors with the entire theme of the room. For a more retro beach style, be sure to incorporate wood flooring to give your bathroom a touch of tiki. Don’t forget the small touches either! Small-scale accents, like patterns on a mirror or cabinet, can make all the difference.
Minimalist Style Bathrooms
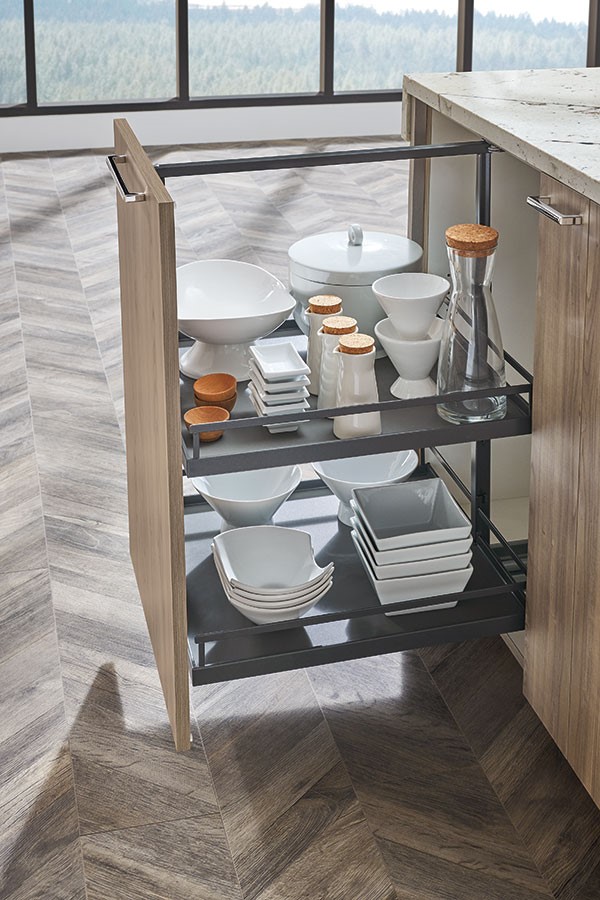
If your focus is on transforming your bathroom into a space for peace and quiet, the minimalist style is just for you. To make this style work, you should focus on muted colors, reflective surfaces, and glass hardware or appliances. A floating vanity or sink, for example, provides a sleek and understated look with plenty of functionality. Monochromatic designs can make your entire bathroom remodel project simpler, while also complementing the colors you chose for your bathroom. You can also focus on hidden storage features to make the most of your space, such as toe-kick drawers or hidden double drawers.
Botanical Style Bathrooms
To really add some life and vibrancy to your bathroom, consider a botanical style theme! When choosing your colors, we recommend focusing on luscious greens, dark browns, matte black, and maybe a few pops of floral color. One of the best things about this style is that you can go with either a light or dark theme. For either theme, you should use either wood flooring. or white or grey tile with a nature themed rug or shower curtain. Again, the little details will bring the entire theme together. Wicker adornments, nature themed shower curtains or rugs, and even real houseplants are the perfect finishing touches.
The Next Steps
Once you’ve decided on a style for your bathroom remodel, you can move on to the next exciting phase! You should now begin to think of the costs and supplies needed and set a preliminary budget. At this point, consulting with a bathroom designer can help you make sure your dream design comes to life. At GNH Lumber, our talented team is ready to help you with every step of the way.
Ready to begin your bathroom remodel? Get in touch with us today – we’re ready to help you craft your own personal bathroom oasis!
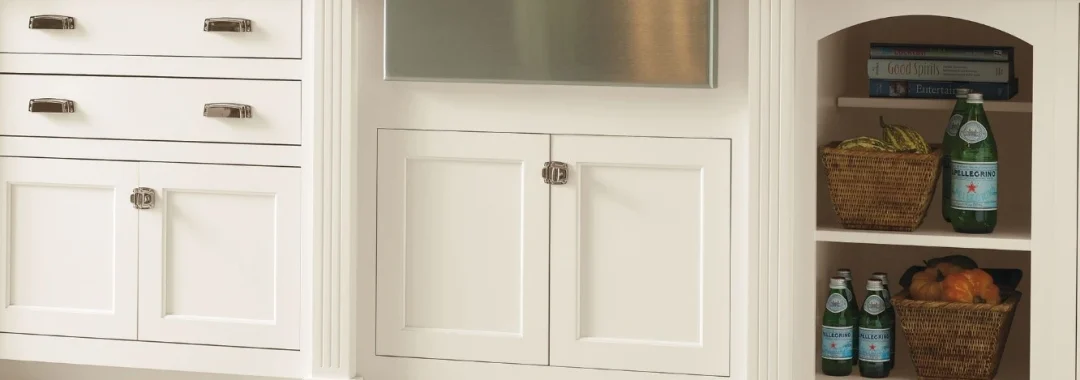
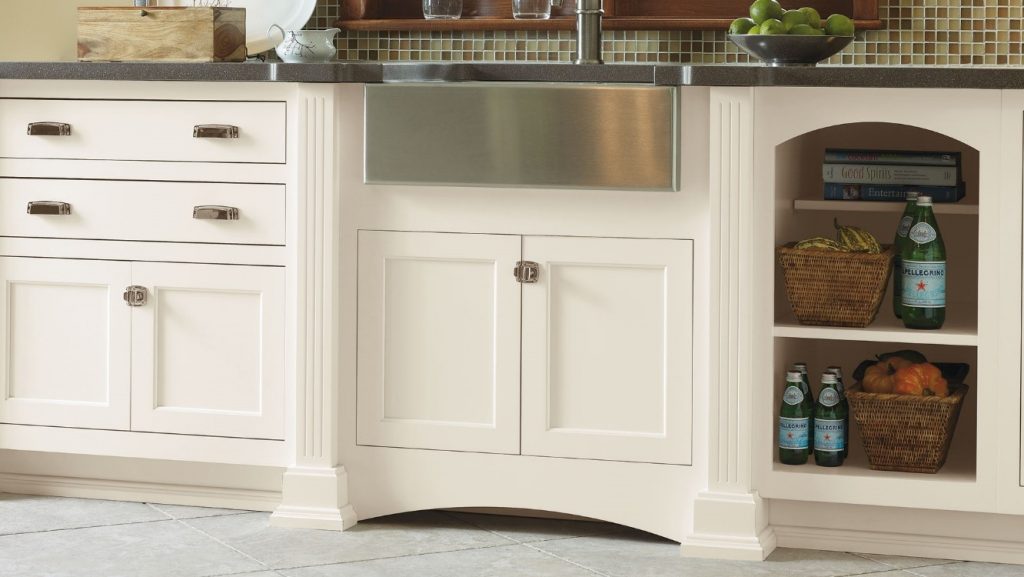
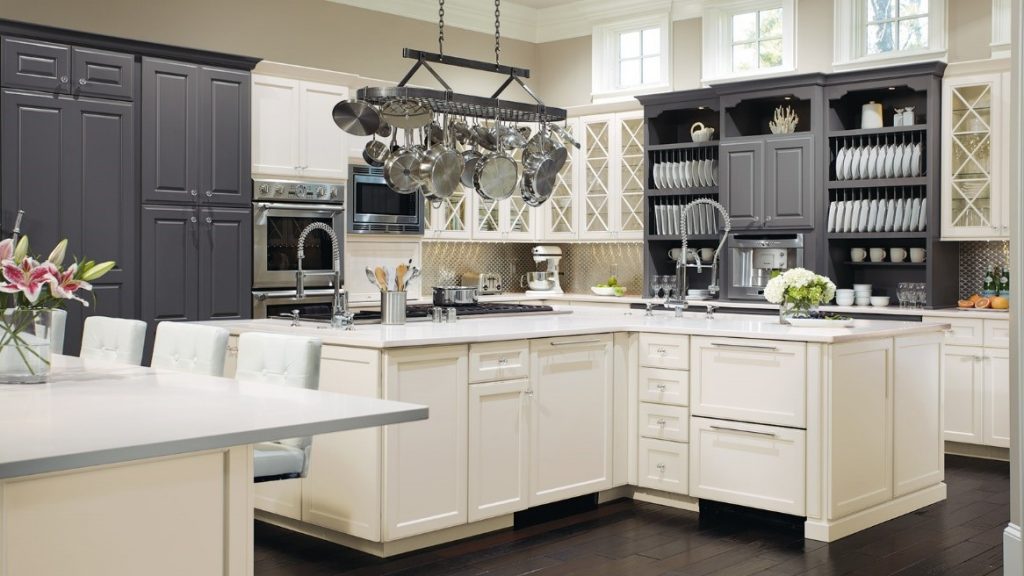
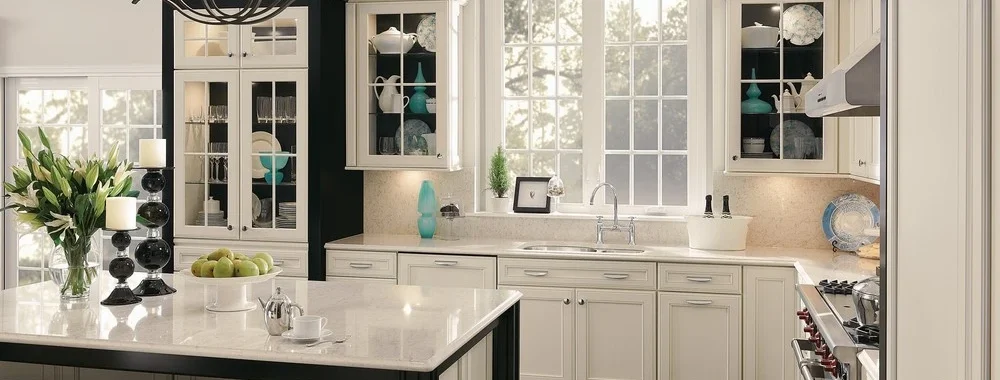
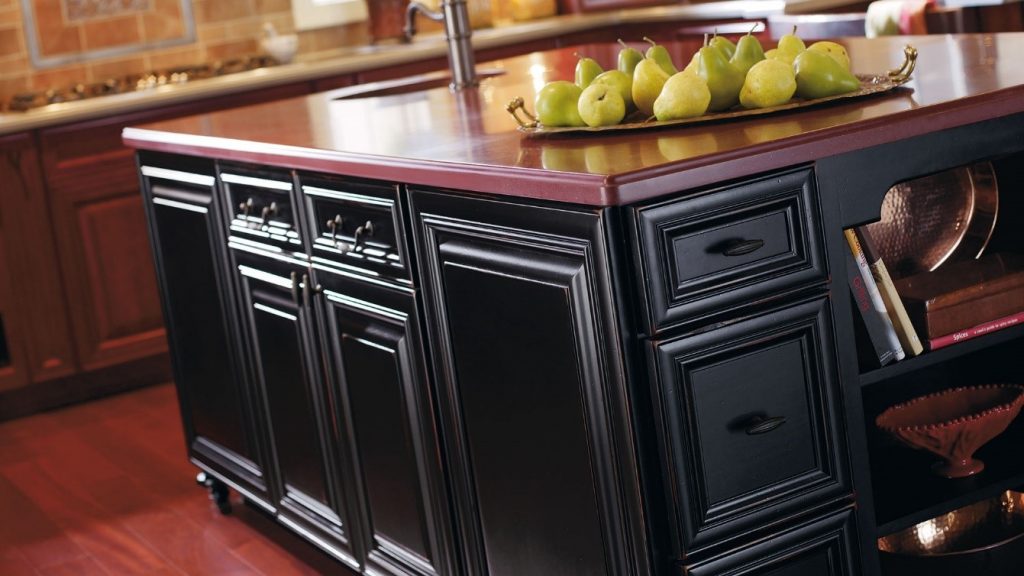
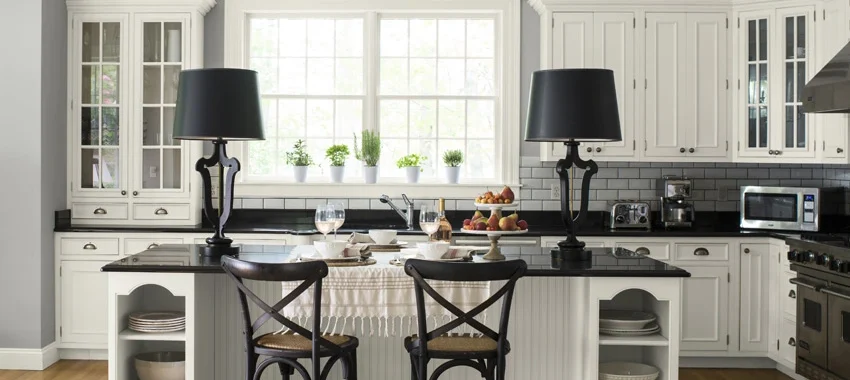
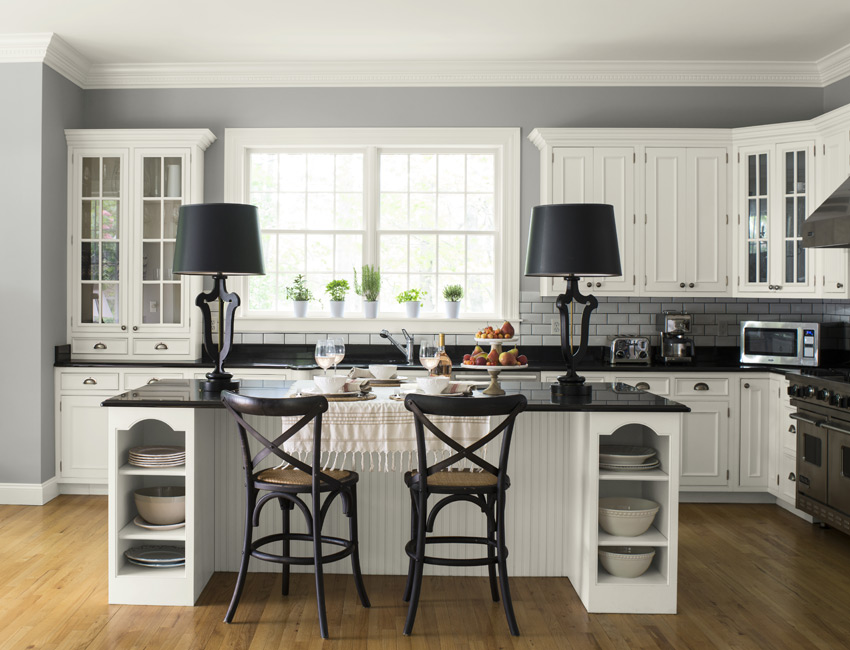
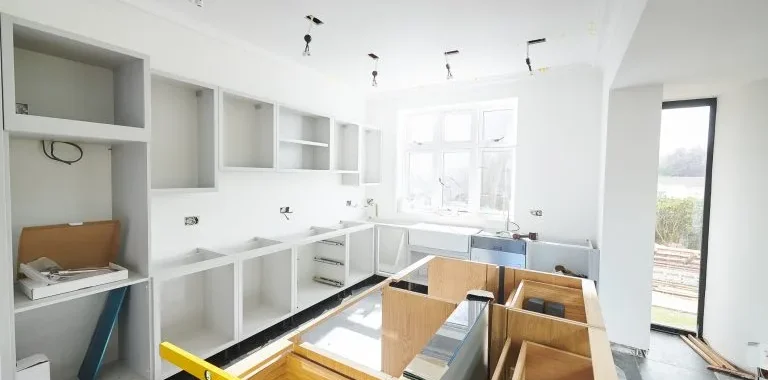
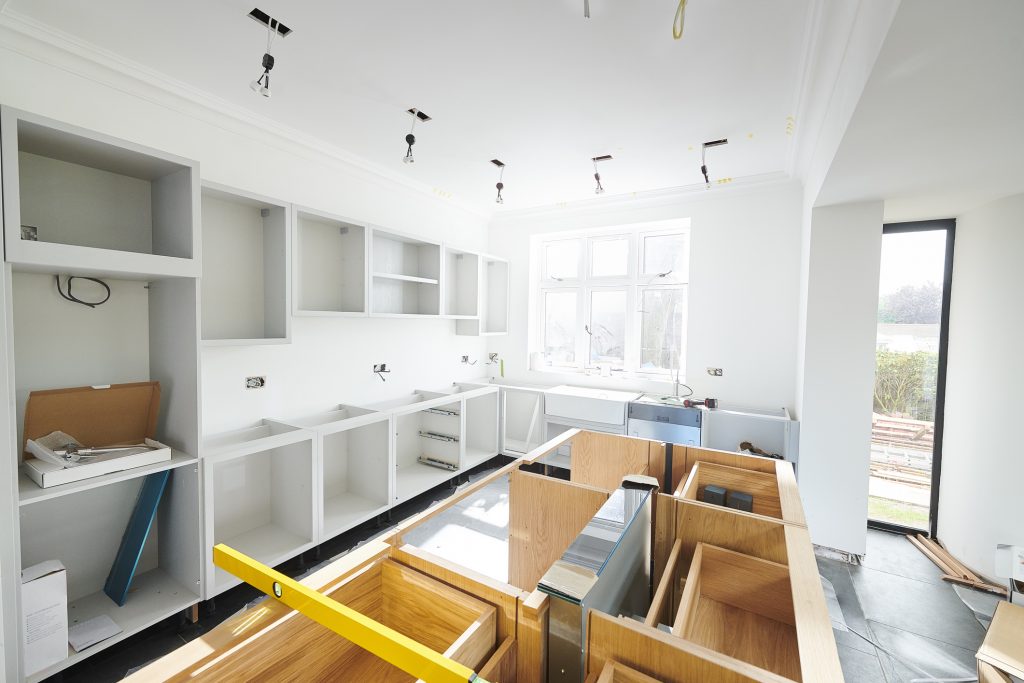
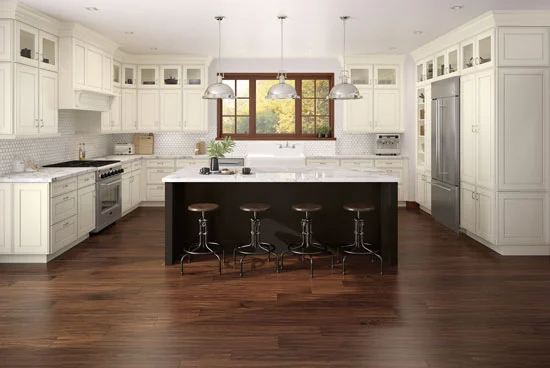
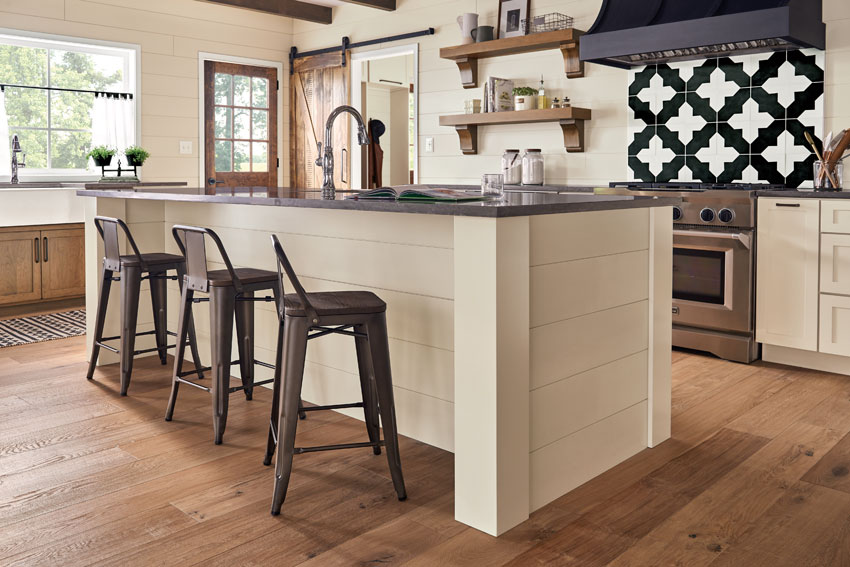
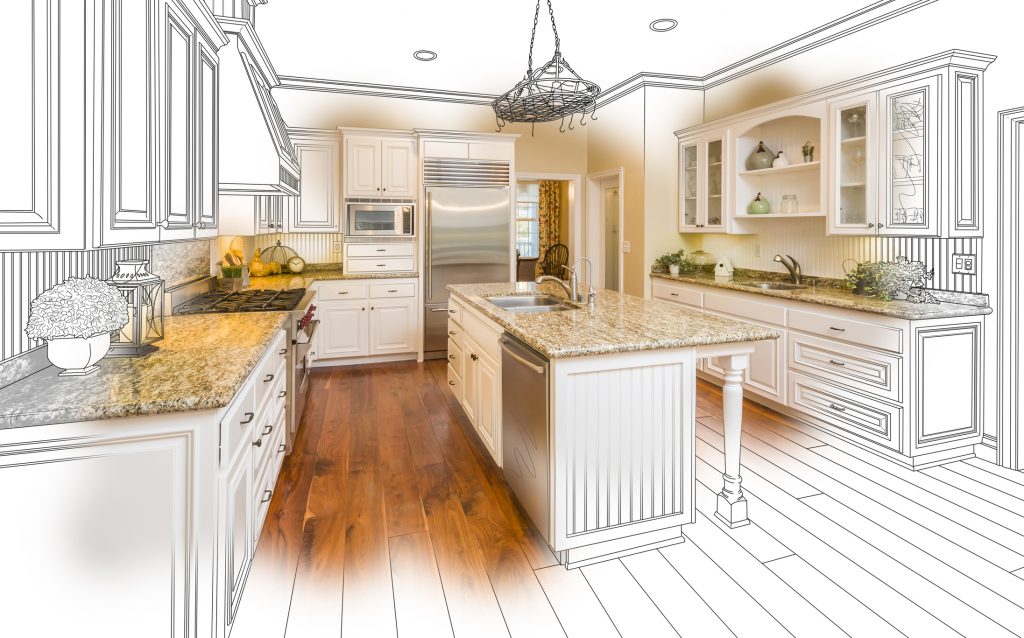
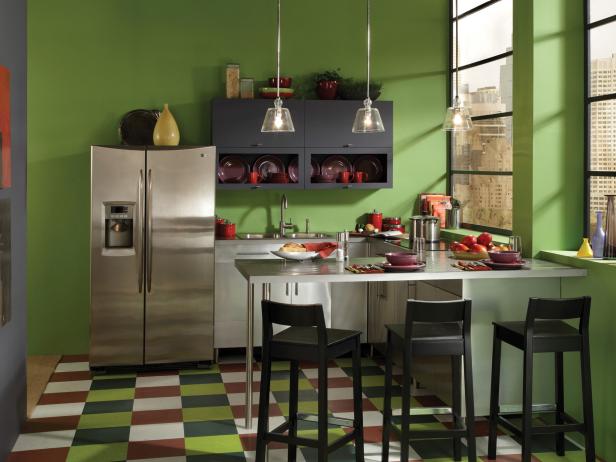 For a quick and easy way to update the look of your kitchen, there’s no better solution than a
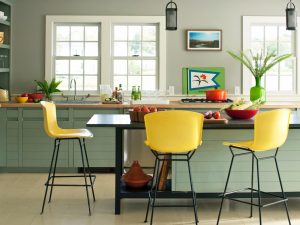
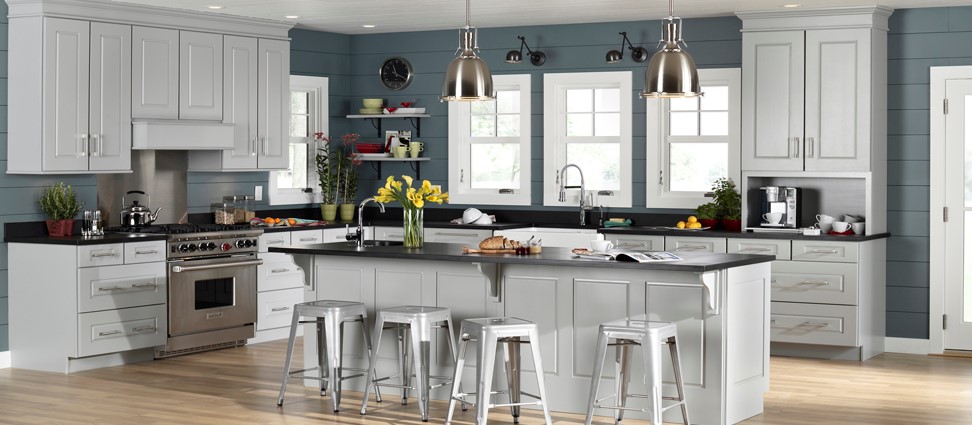
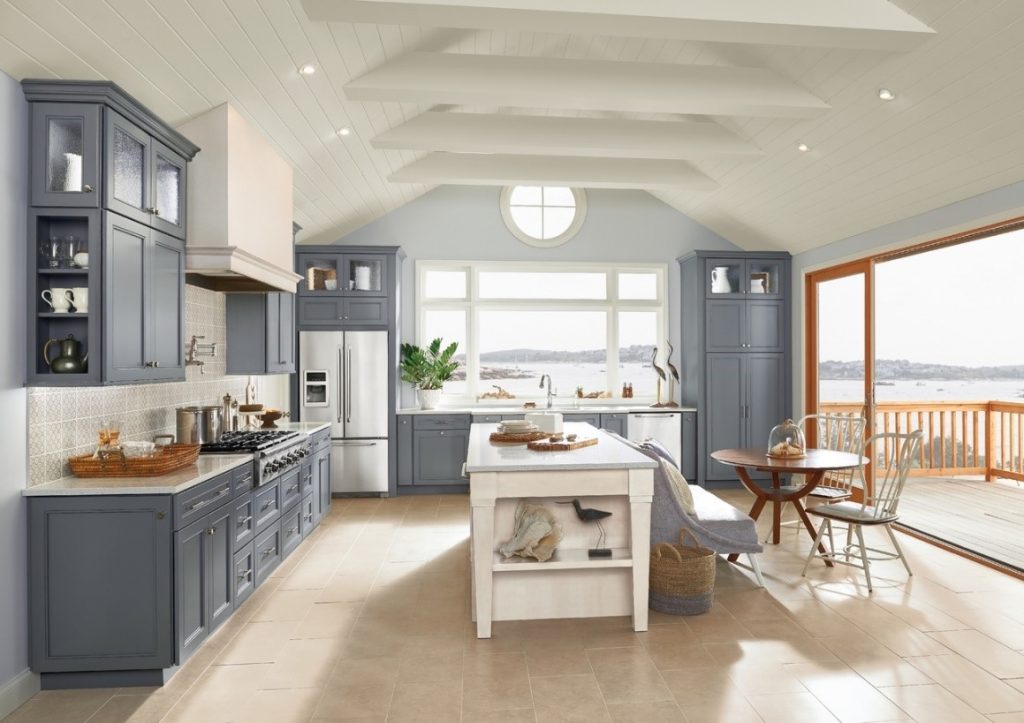
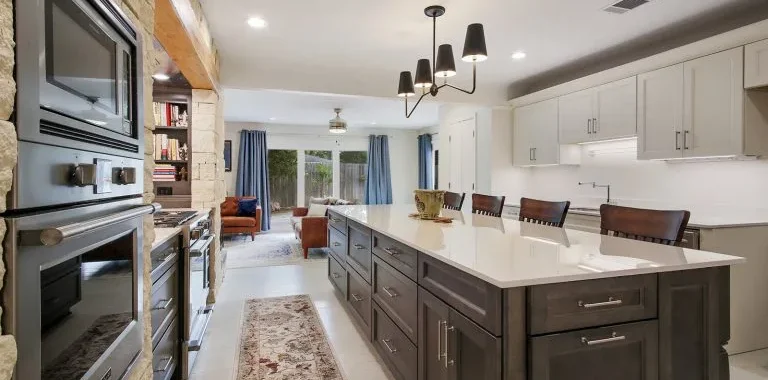
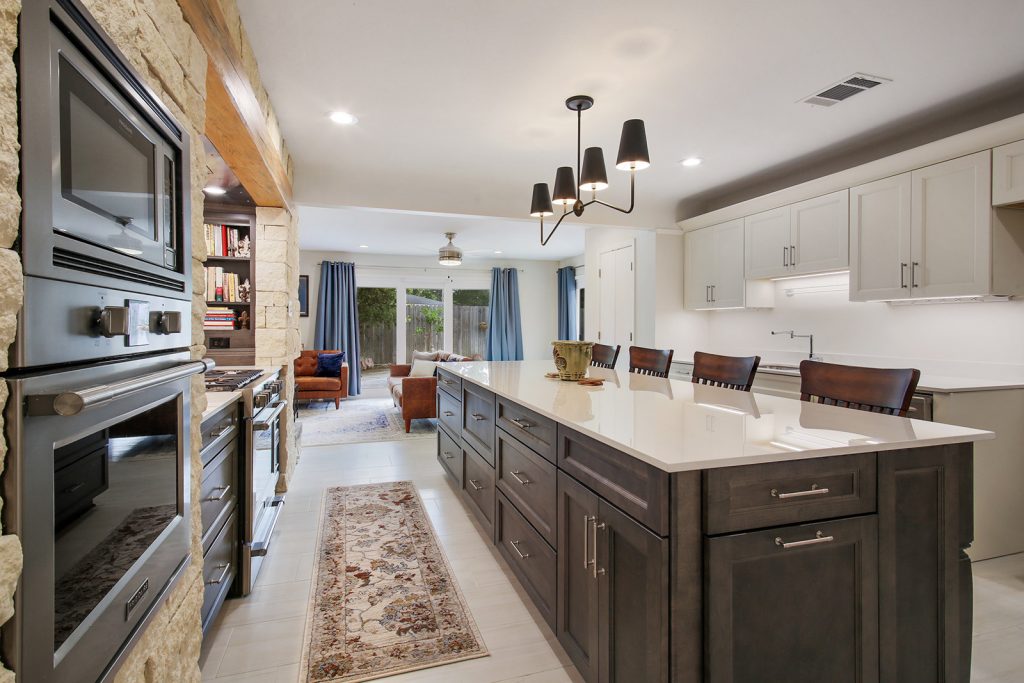
 will dictate the design of the room. Neutral walls work better with very colorful cabinets. So, if you want to go crazy with your kitchen paint colors, try opting for white cabinets instead.
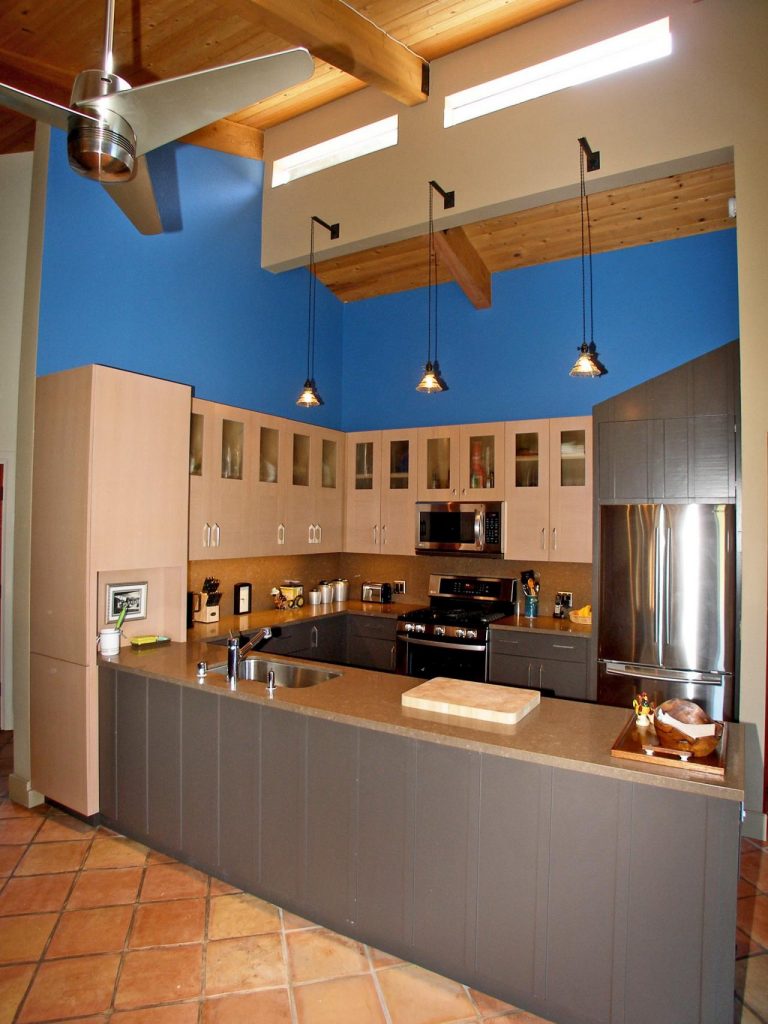
 Looking for kitchen remodel tips from the pros?
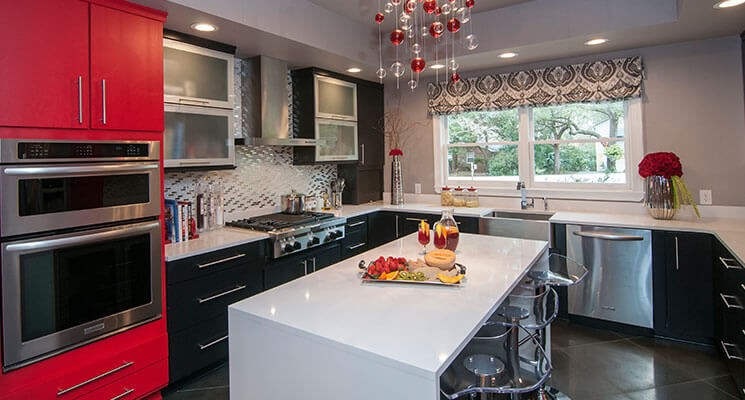
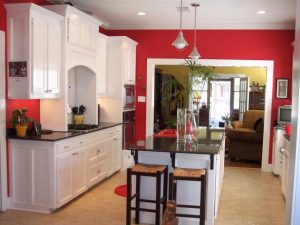
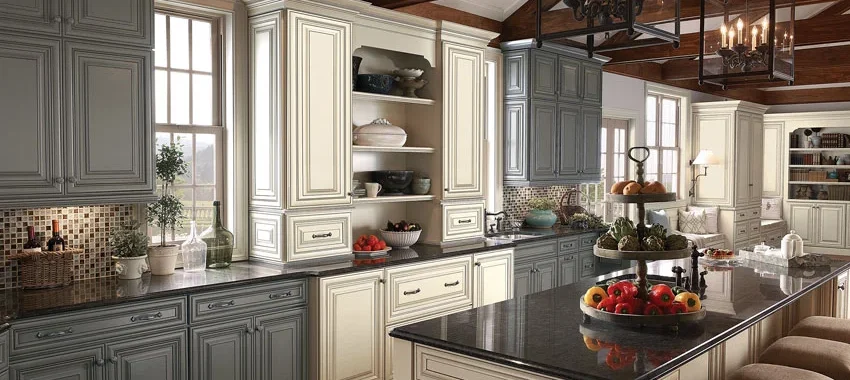
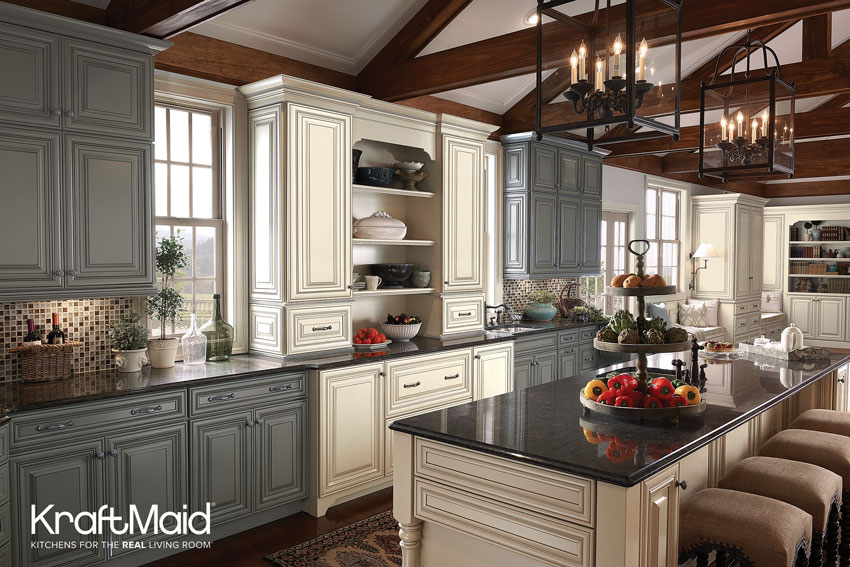
 There are several kitchen elements that can be brightened up with a fresh coat of paint, including:
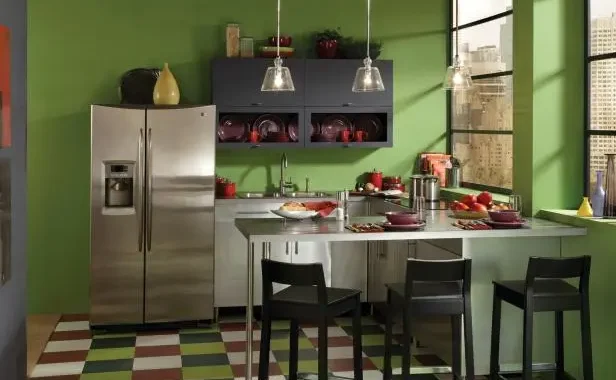
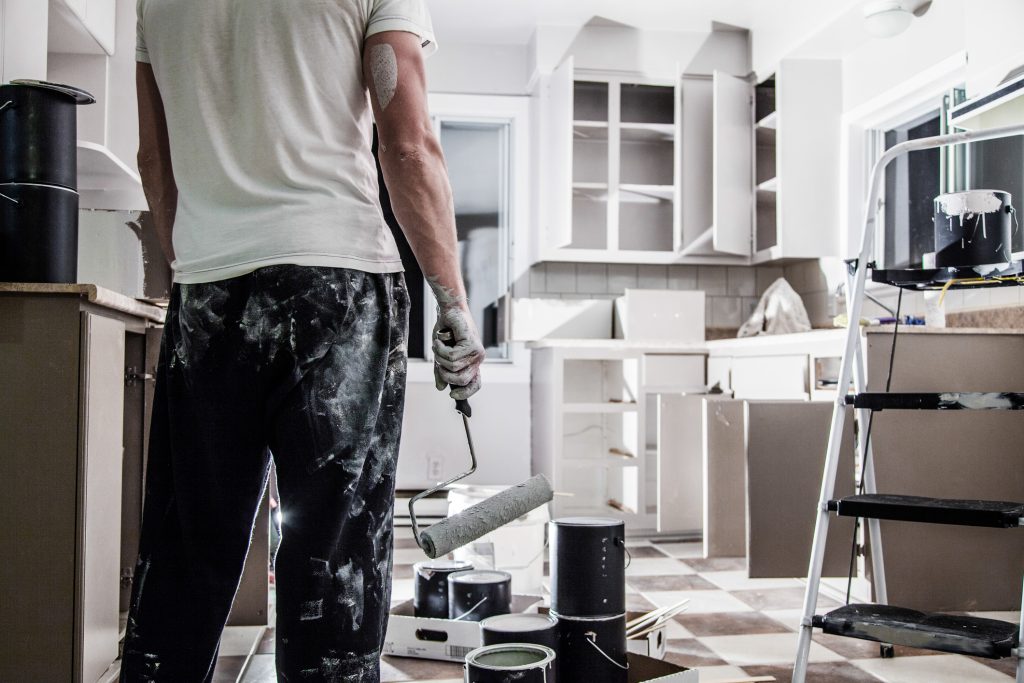
 If you’re working with a dark room, chances are you don’t have a lot of