Painting your child’s bedroom can be a lot of fun. Whether you’re preparing a nursery or supporting your child’s wish for a new look, here are eleven style ideas to consider:
There’s Value in Simplicity
1. Pastel Colors
Sometimes simple is best. Choosing to paint the whole room one solid color is quick, easy, and versatile. The walls are just a background; if you want the focus on posters, furniture, or other content in the room, why make them compete?
Get your painting project started!
Using pastel colors will fade the walls out of notice even further, and allow for extensive style changes as your child grows, without the need to repaint. Consider pale yellows, blues, greens, and tans. Just a hint of friendly color, to last an entire childhood.
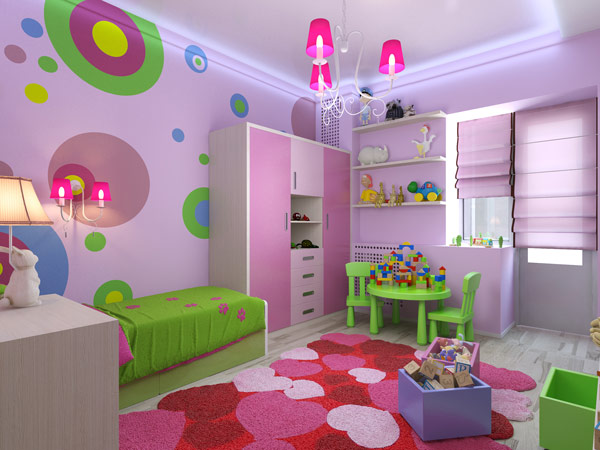
2. Bright Colors
Pastel sound too boring? Go bold! Keep the simplicity of one solid color, but add a bit of personality. Bright yellow, orange, blue, purple, pink… what kid wouldn’t love a bedroom painted their favorite color?
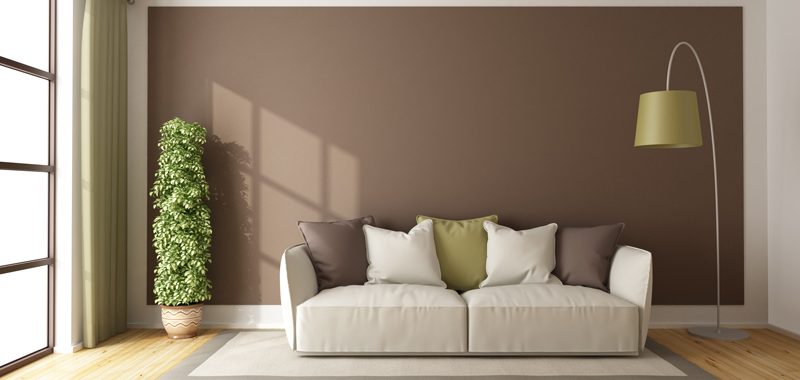
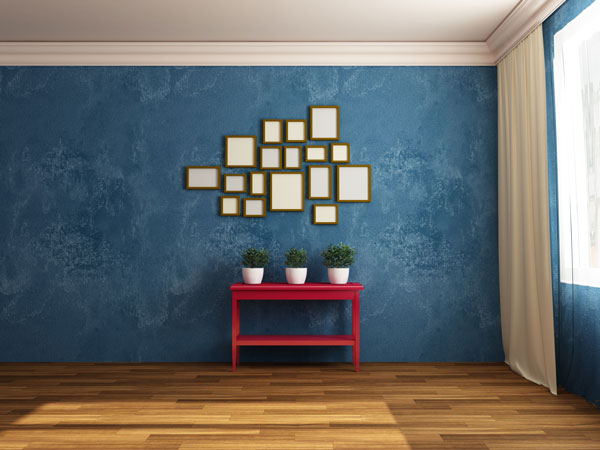
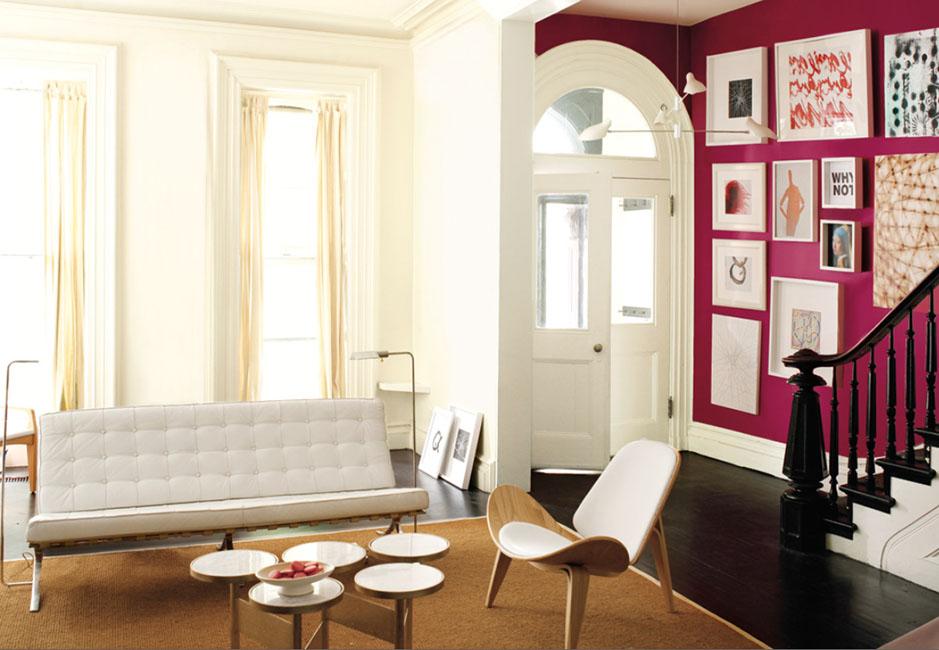
3. Accent Wall
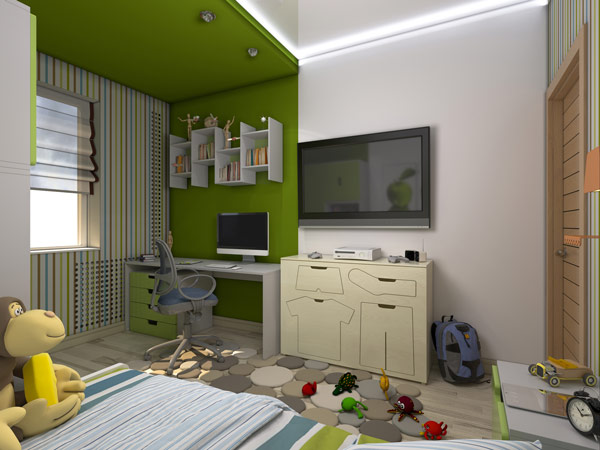 Add interest to the room by breaking away from the idea of a single, solid color.
Painting a single wall in a second color doesn’t take much extra work. Just be sure to let the first, lighter color dry before taping the corners and adding the second color.
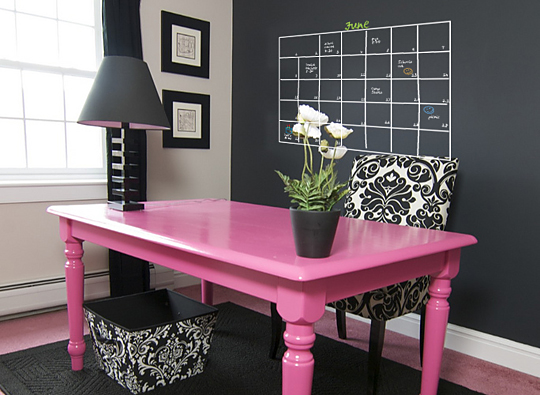
4. Chalkboard Paint
Best used as an accent wall, chalkboard paint will extend the fun long past the initial paint job. If your kid likes to write on the walls, now you can let them!
Alternatively, an entire room can be painted in chalkboard paint. Just be aware that the end result of this is black walls. Think carefully about how dark or bright the overall effect on a room will be before committing to dark-colored walls.
Fun for the Whole Family
5. Personal Touch
Allow your child to help paint their bedroom. With a drop cloth on the floor and tape or plastic over everything you don’t want painted, even a five-year-old can be allowed to help. Dress your child in an oversized shirt you don’t mind getting messy, and let the fun begin!
The image of your child with a paint roller a little too scary for you? Give them a smaller project: the light switches. Light switch covers can be removed from the wall – you may even have done so already, to more easily paint around them. Set your child up with the switch covers and their own paints, and they can design them however they want. Once finished, make sure the paint is dry and the switch openings clear, then screw them back in.
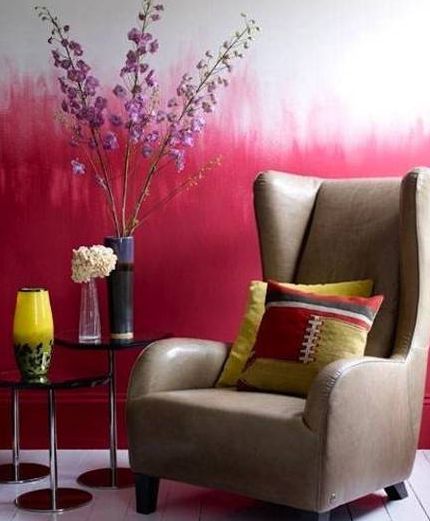
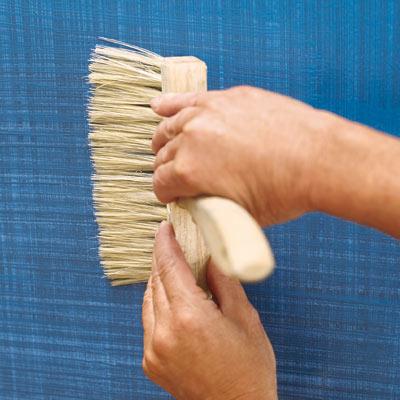
6. Sponge Painting
Another great way to get the kids involved is by sponge painting. Prepare the wall with a base coat, then let your children join the fun of sponge painting.
Natural sponges work best, though you can use any porous sponge. Mix the paint color of your choice with glaze – usually one part paint to four parts glaze – and begin dabbing the paint over the base color.
Experiment first on a piece of cardboard, but when you’re happy with the effect it’s time to start the walls.
For the best results, start in an upper corner of the wall, but if your child can’t reach let them start where they want. The best part of sponge painting is how easy it is to redo – just go back over an area with a different color. If only using two colors, this means mixing a little of your base color with glaze as well, to allow sponging over areas where your second color is too thick.
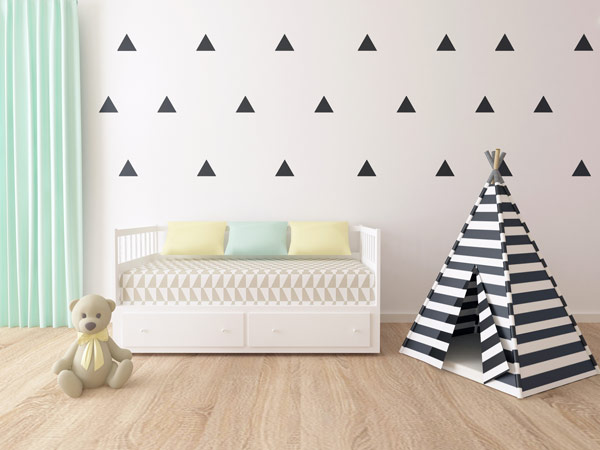
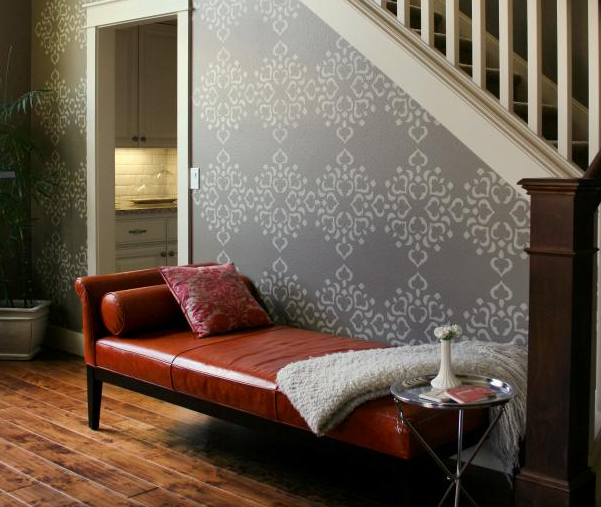
7. Stenciling
 You don’t have to be an artist to add images to the walls of your kid’s bedroom. Use stencils, which can be bought or homemade. For homemade stencils, cut a shape out of paper or cardboard. For smaller images, you don’t have to draw anything: you can print from your computer and then just cut along the outline.
Attach the stencils firmly to the wall before painting. For larger images, you can even trace the edges and let your child fill in the rest.
An alternative to stenciling – if you have a steady hand – is projection. Project the image you want onto the wall, and trace the outline. Then turn off the projector, and fill in within the lines. Kids can help here too; you’ll have turned the whole room into a coloring book.
A variant of using a projector is to use shadows. Turn off the main light for the room, and turn on a bright lamp or flashlight pointed at the wall. Then ask your child to pose in front of it, perhaps pretending to do their favorite activity and trace their shadow! You can get as creative as you want for this, even bringing in props.
A Work of Art
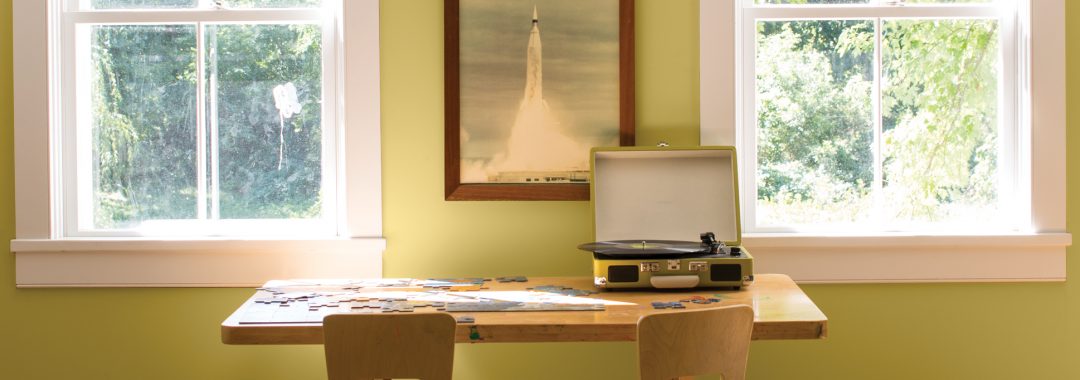
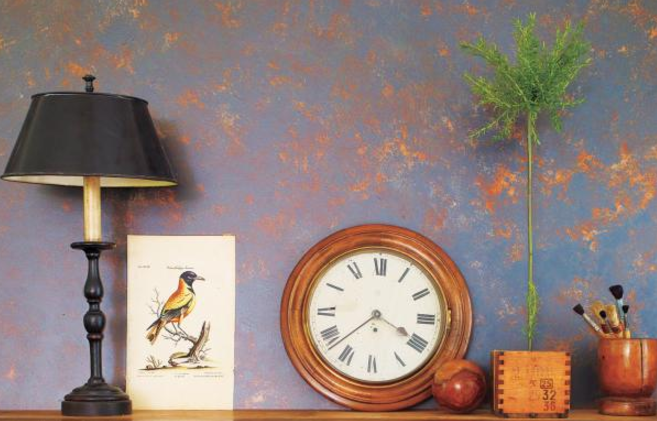
8. Accent Image
A kid’s bedroom can also be a chance to enjoy a real work of art. If you, your child, or another family member or friend has artistic talent, consider the opportunities for a truly unique bedroom. It doesn’t have to be too time-consuming. A single accent piece can add a lot of interest, without taking weeks to finish or making you reluctant to cover the walls with furniture.
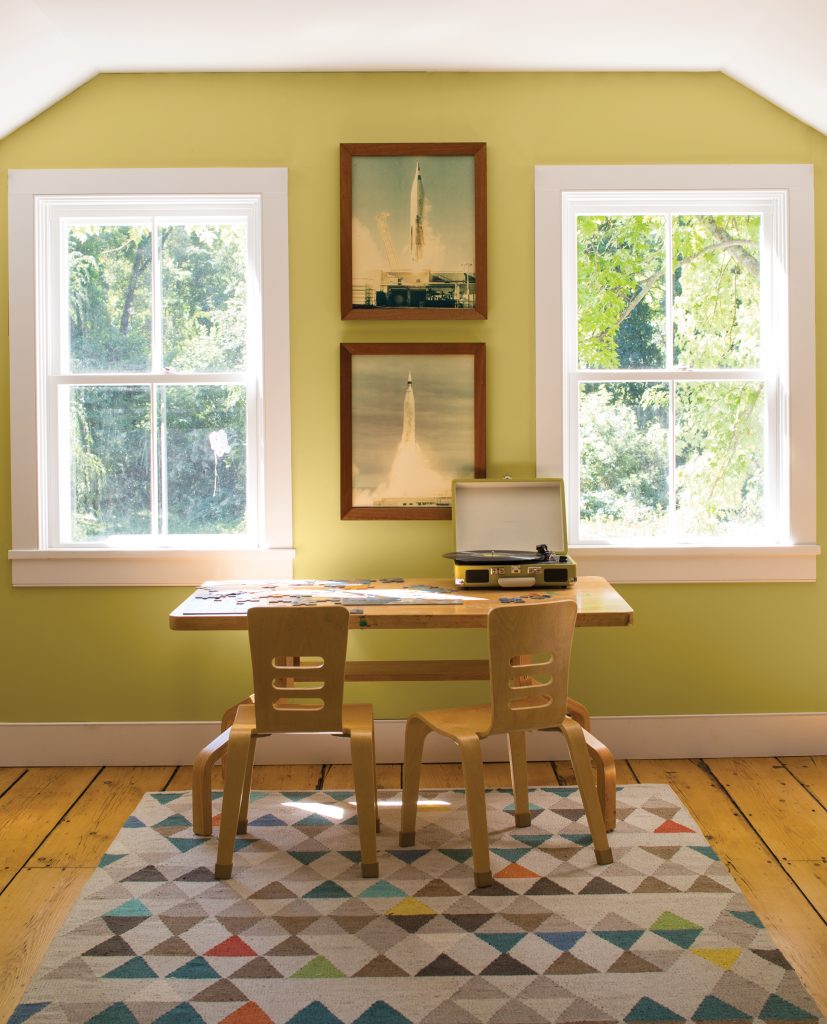
An accent image or design can be as unique as the child whose room it appears in, but some possibilities to consider are a tree in one corner, vines around a window, or a spaceship on one wall.
9. Literary Touch
When painting a kid’s bedroom, you’re not limited to colors and images for accents. You can also use words. Consider a favorite poem or saying, or the opening lines of a favorite story. Letters can be stenciled or hand-drawn; for more stylized fonts you can even use a projector.
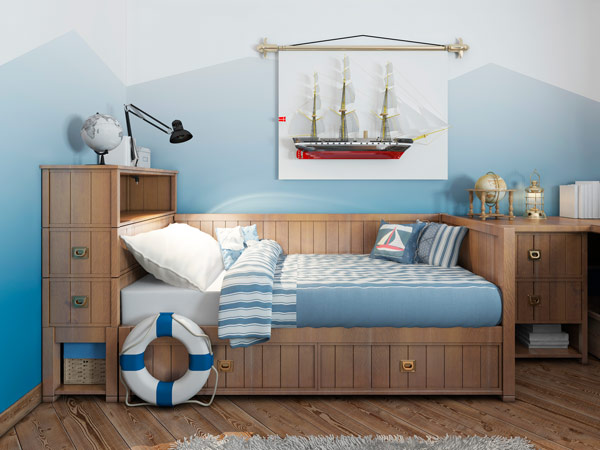
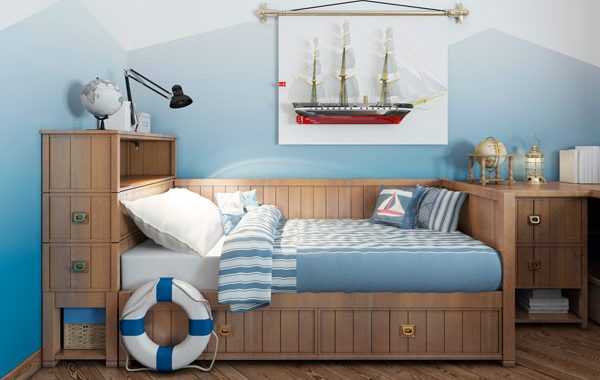
10. Themed Room
 Feeling ambitious? You’re certainly not limited to a few accents. Many kids enjoy having a themed room. What does your child enjoy the most? Can you create a bedroom that reflects this theme?
A kid who loves mermaids could have a room with sponge-painted walls in blues and greens, with stenciled fish scattered over the walls and a mermaid painted on one wall. A kid who loves soccer could have a soccer net painted around a window, and the outline of themselves kicking a soccer ball traced onto the wall.
11. Mural
Are you all in? Imagine your kid’s bedroom as a sprawling mural that covers all four walls and maybe even the ceiling. If you have the time and talent to do this yourself, go for it! If not, it may be possible to hire someone to help.

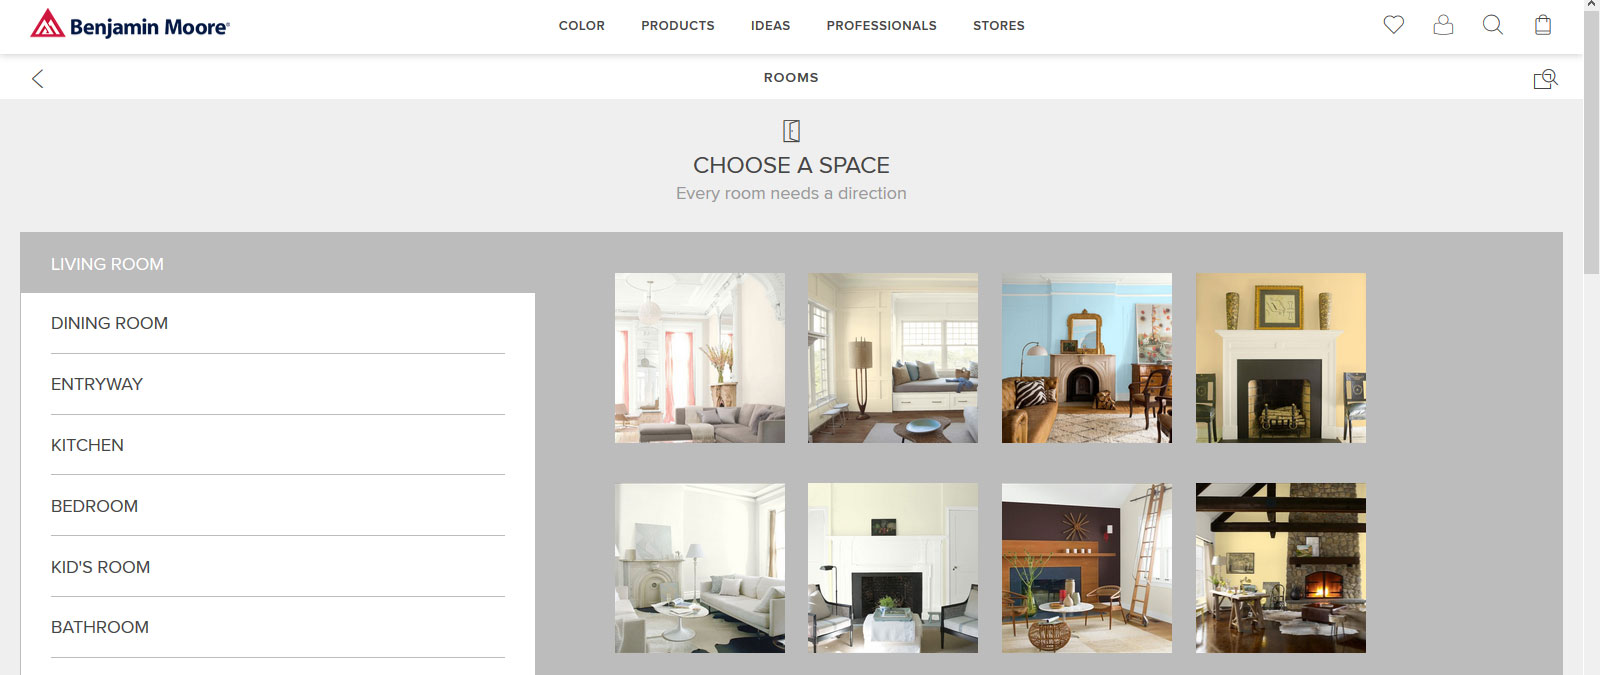
 If you’re looking for the perfect indoor project to get the whole family involved, considering putting a fresh coat of beautiful paint on your interior walls! Whether it’s the kitchen, bedroom, hallway, living room, bathroom or den, a gorgeous splash of color will completely reinvent the same boring old space. And the best part is, you can choose the perfect Benjamin Moore paint color online! With Ben Moore’s suite of Paint Color Picking Tools, you can match any mood, style or whimsical idea to create the palette your family will love.
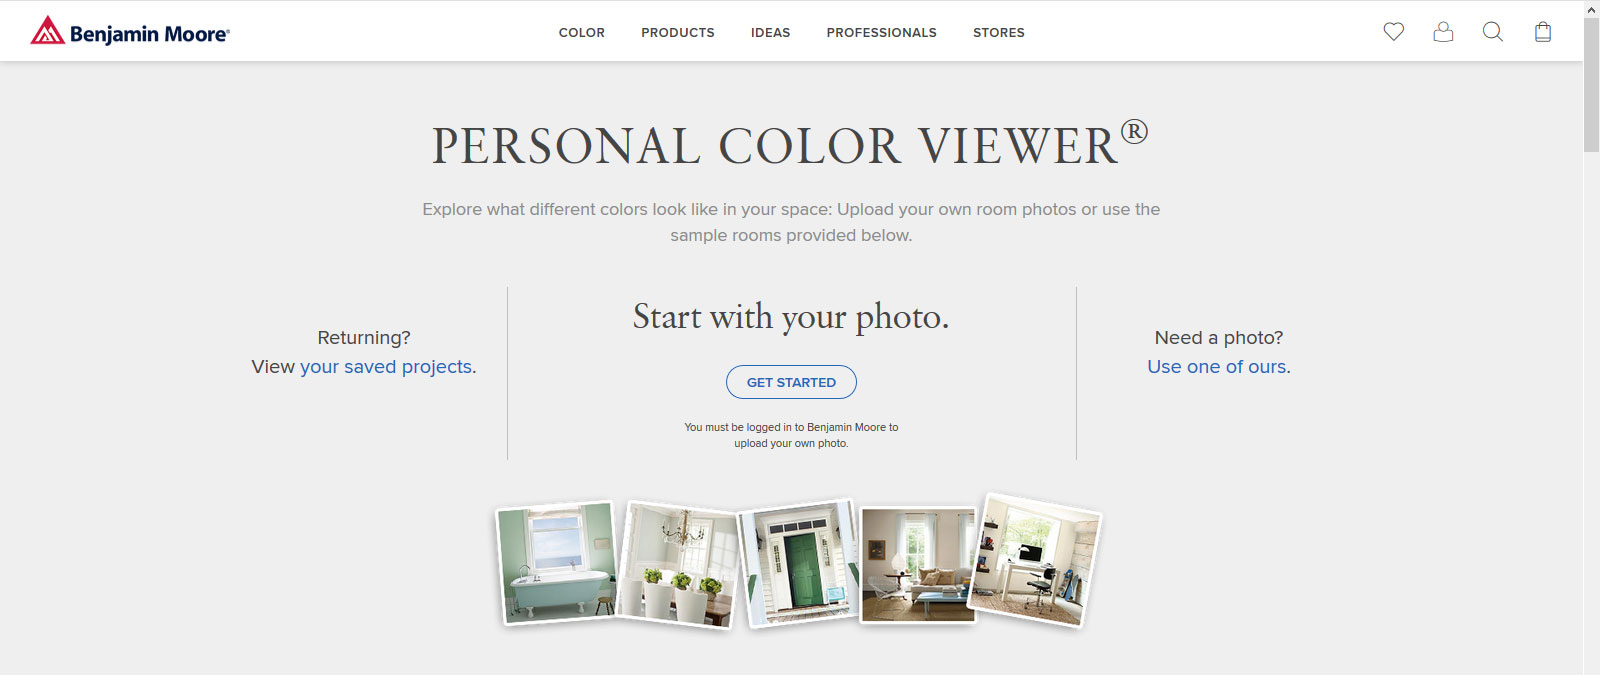

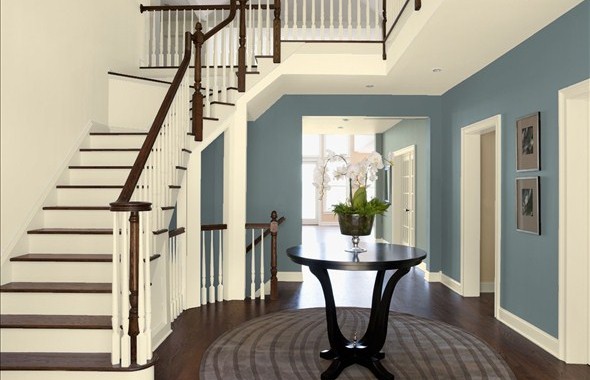
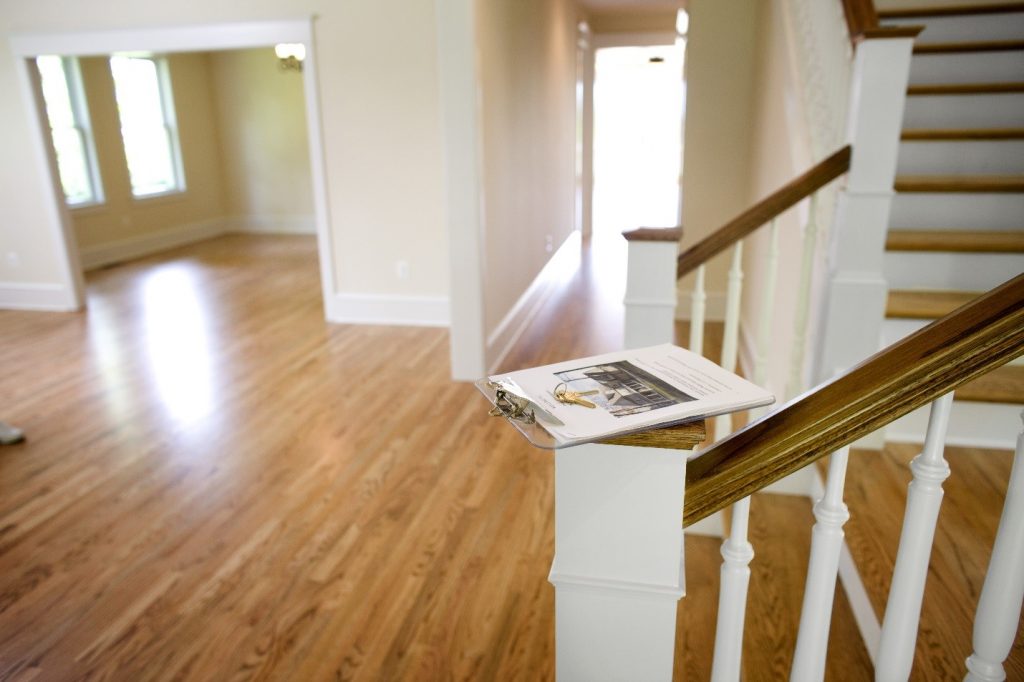 When it comes to selling your home, first impressions are everything. Eager buyers may ask questions about
 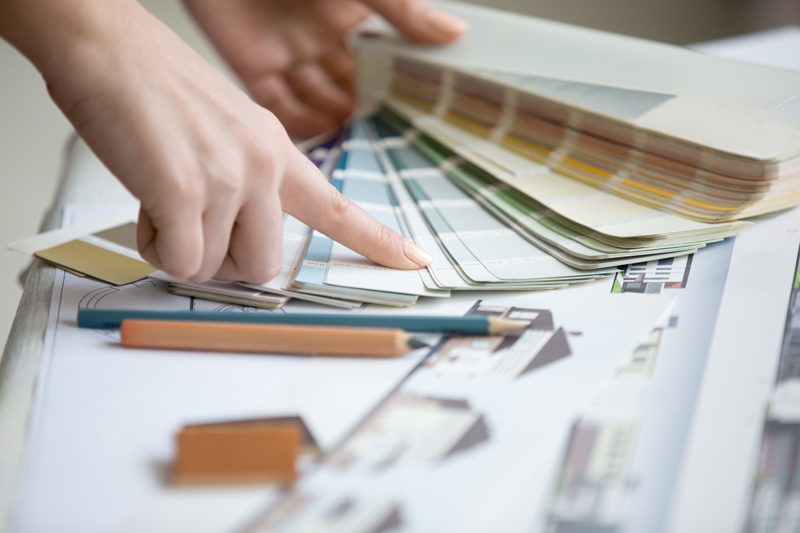 Paint is a simple way to apply or change the whole feeling of a home. The wrong color inside or out can turn a buyer off from the entire house. To help appeal to the most buyers, seasoned real estate professionals recommend painting your home in neutral colors.
 Bathrooms:
 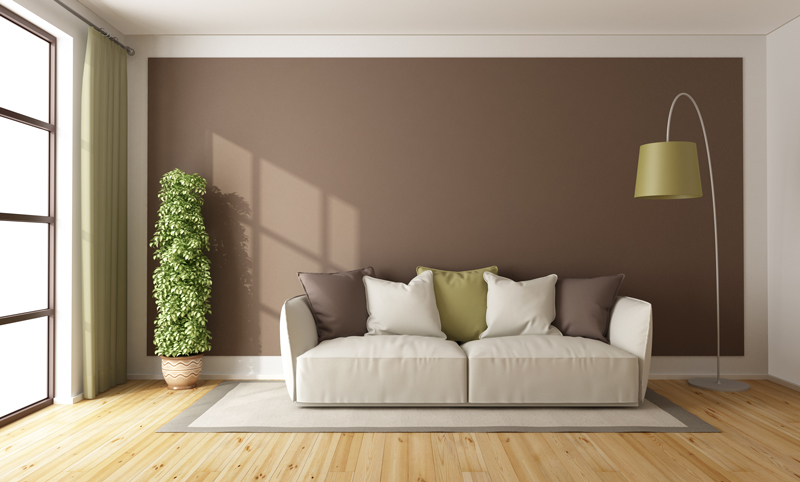 Living Room:
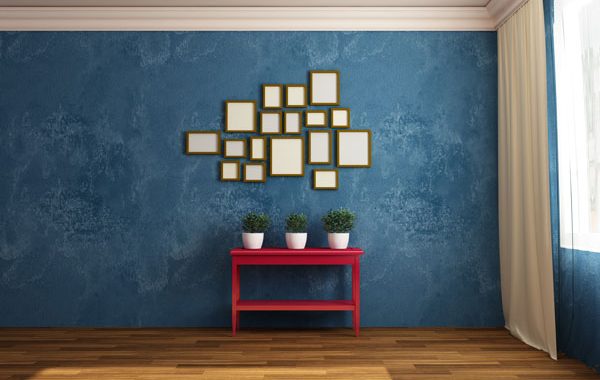


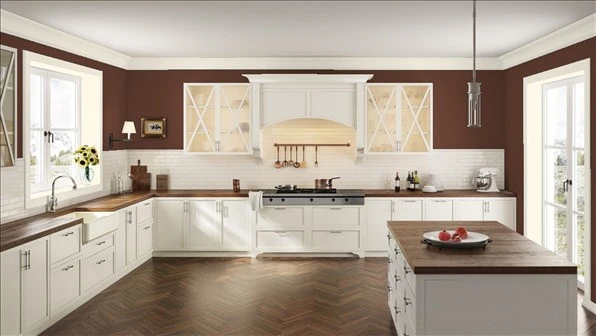
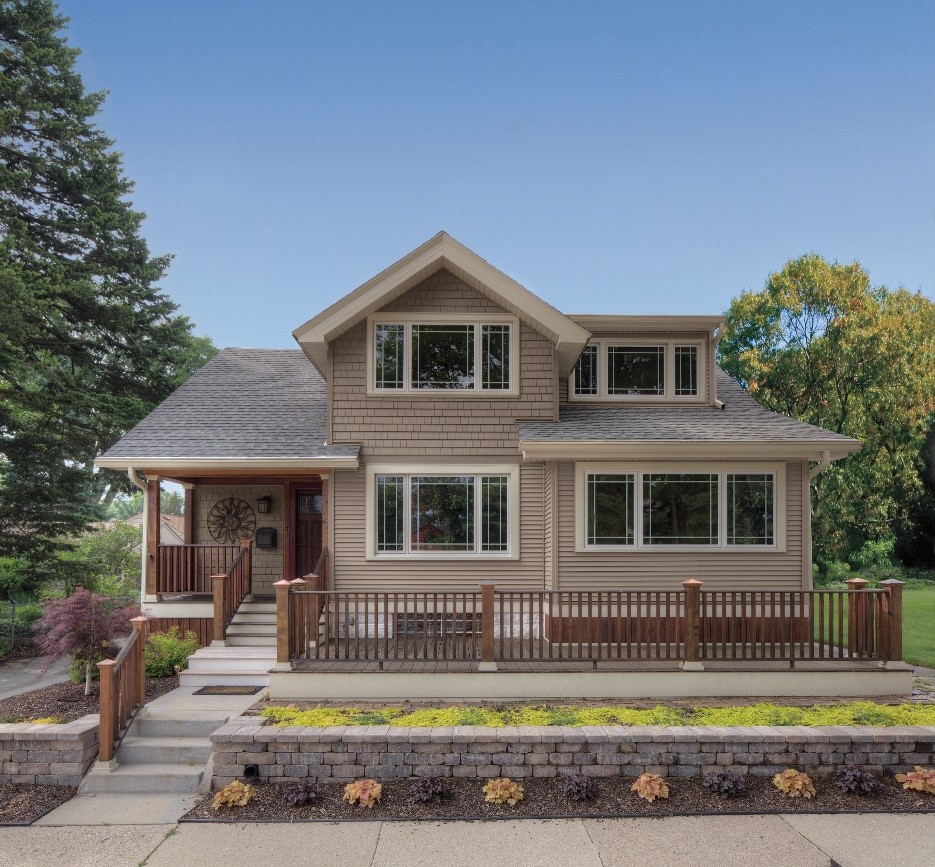 Whether your home is brand new or in need of an update, the best way to make it stand out on the curb is with a beautiful coat of
  These are time-tested hues that work well against green lawns and gardens, and complement reddish brick fireplaces and roofs. You can add more impact by using darker or lighter variations of the main house color to accent things like window frames, shutters and trim.
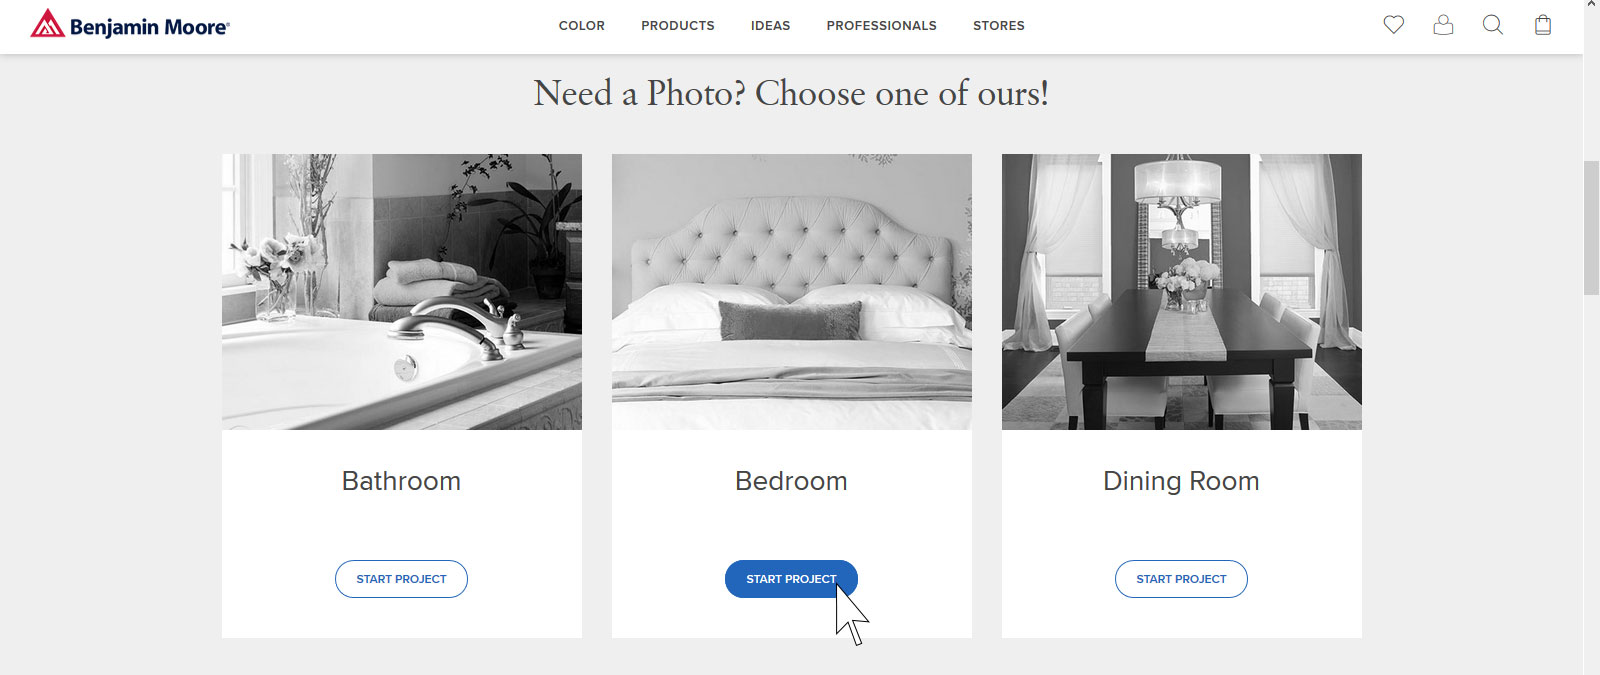
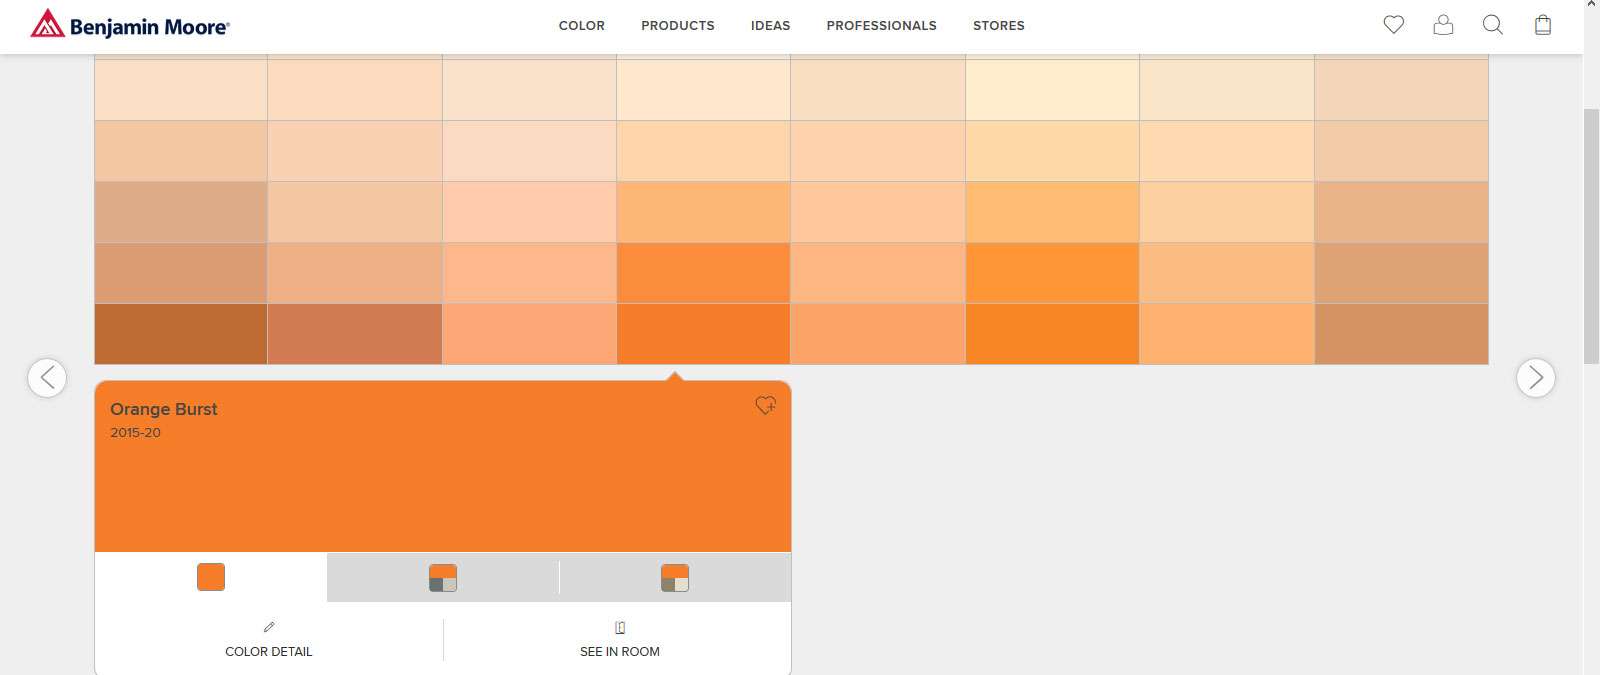
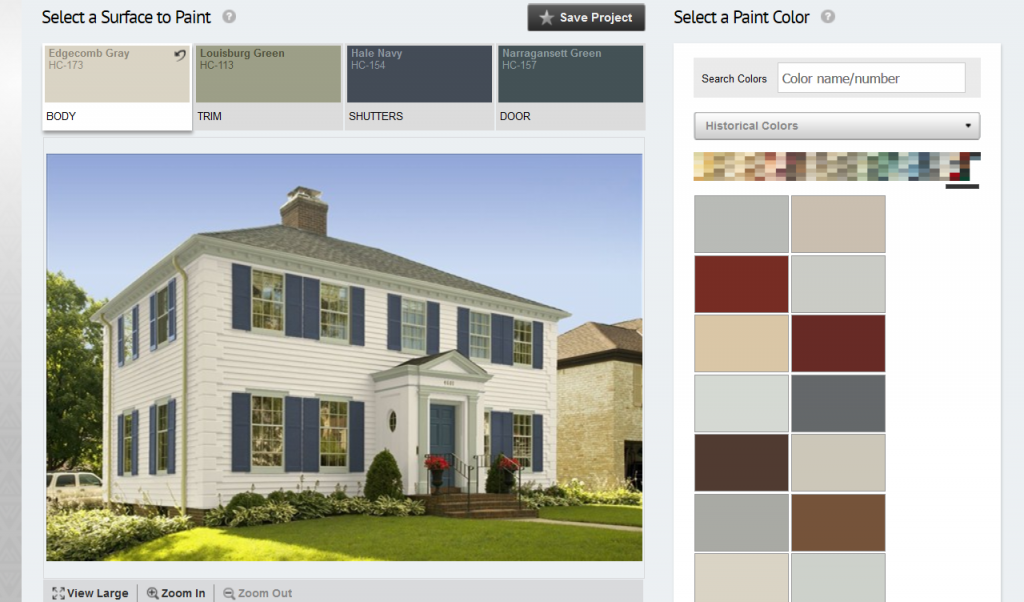 Not sure what your final color scheme will look like? Looking for a way to test out some wild ideas? Check out this great tool from Benjamin Moore! Paint your home online and see how colors will look before making a purchase with the
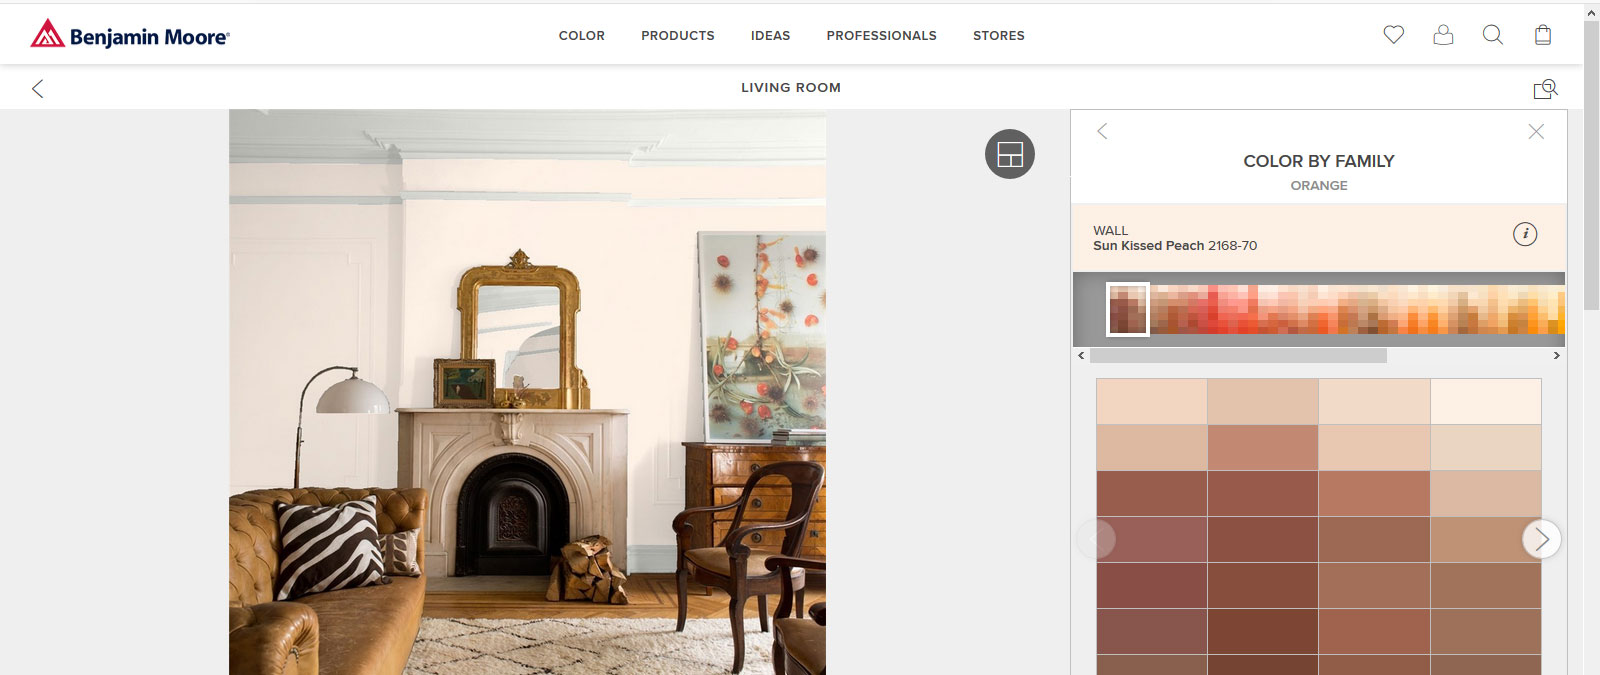
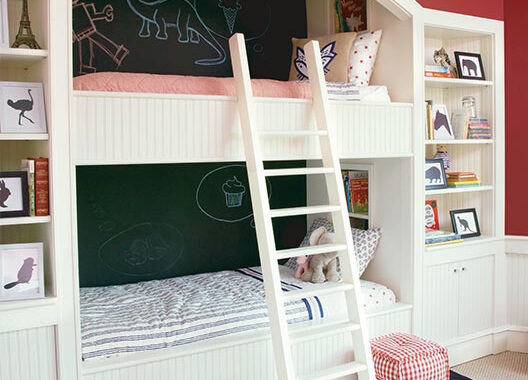
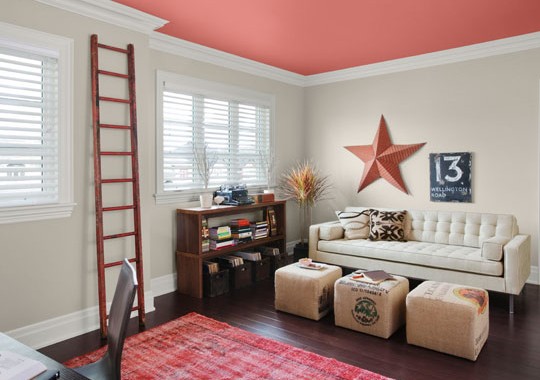
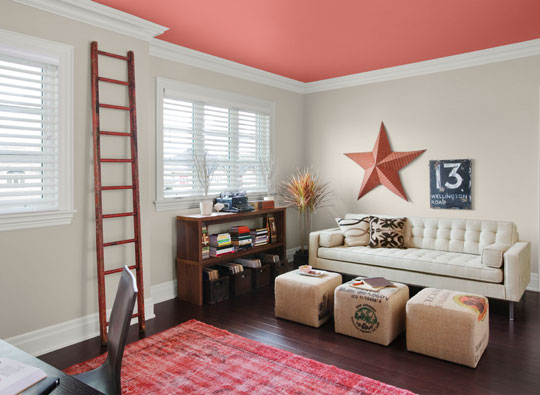
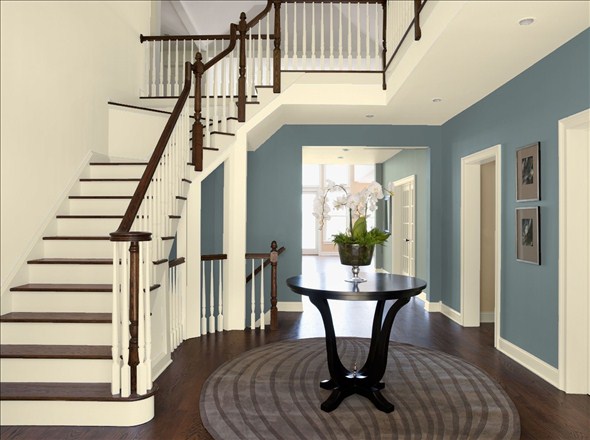
 Many designers love the idea of an accent wall. Well, why not make the accent wall your ceiling? An unexpected pop of color on the ceiling in a room with neutral colored walls can add personality and charm to a room. If you need help deciding on a color, just look to the furnishings and other room elements for inspiration and choose a color that complements them. Don’t be afraid to stock up on color samples to get the best idea of how different combinations will work.